3. Gamepad Assembly
3.1 Installation
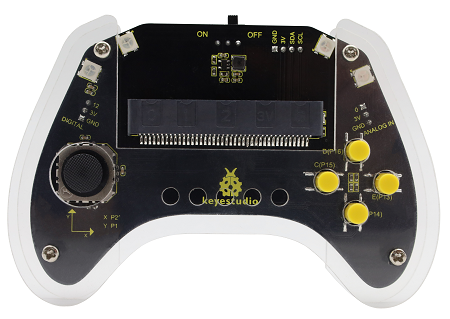
Parts required:
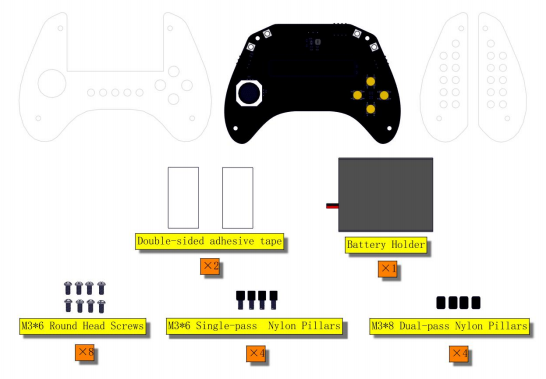
Install these nylon pillars on the control board.
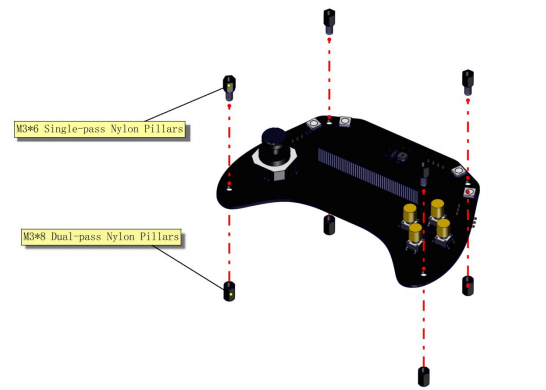
Like this:

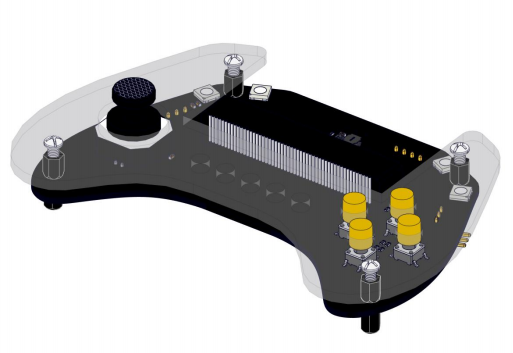
And then mount the top acrylic board to the control board with four M3*6 screws.
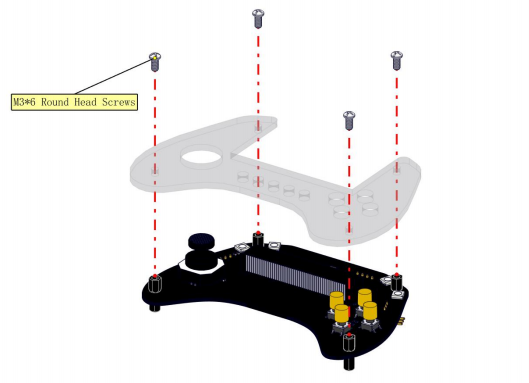
Like this:
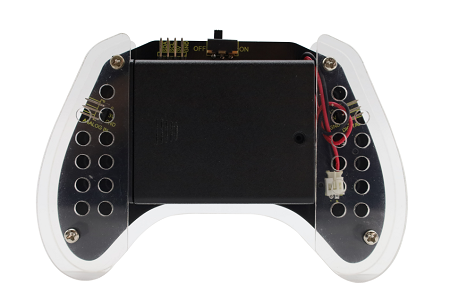
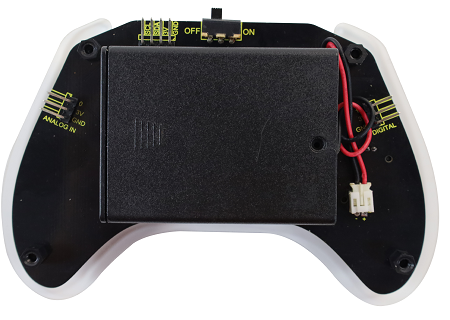
Turn the board upside down, and stick the 3M double-sided adhesive tape in the yellow box of the back of the control board.
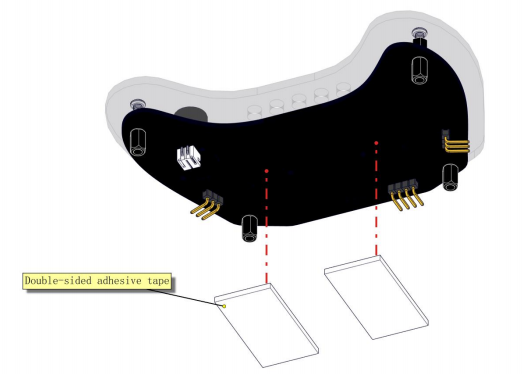
Like this:
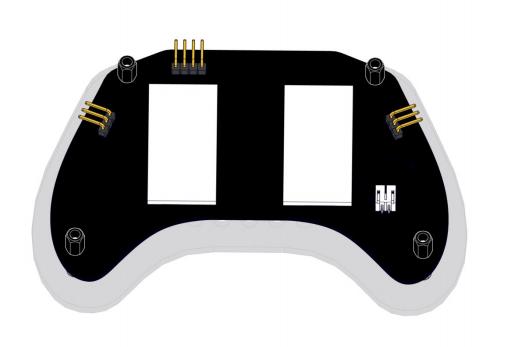
Toggle the switch on the battery holder to “ON”. The side with the switch should be facing the adhesive tape when attaching (Pay attention to the direction and position of the battery box. Please align it accurately with the yellow line; or the following acrylic boards may get blocked).
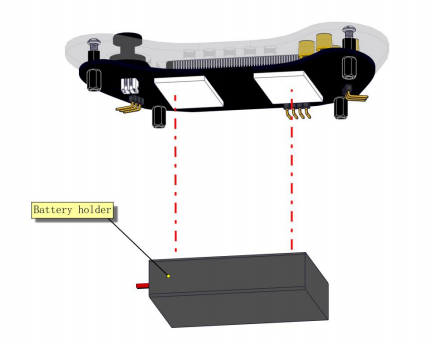
And then connect the cable of the battery holder to the control board. Like this:
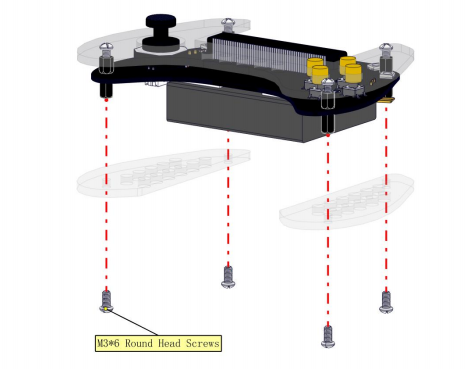
Now mount the two bottom acrylic boards to the gamepad with four M3*6 screws.
Congratulations! Installation completed!