KS0064 keyestudio I2C 8x8 LED Matrix HT16K33
1. Introduction
A fun way to make a small display is to use an 8x8 matrix or a 4-digit 7-segment display.
Matrices like these are ‘multiplexed’ - to control 64 LEDs you need 16 pins. That’s a lot of pins, and there are driver chips like the MAX7219 that can control a matrix for you, but there’s a lot of wiring to set up and they take up a ton of space. After all, wouldn’t it be awesome if you could control a matrix without tons of wiring? That’s where these lovely LED matrix backpacks come in.
The matrices use the constant-current drivers for ultra-bright, consistent color, 1/16 step display dimming, all via a simple I2C interface.
2. Features
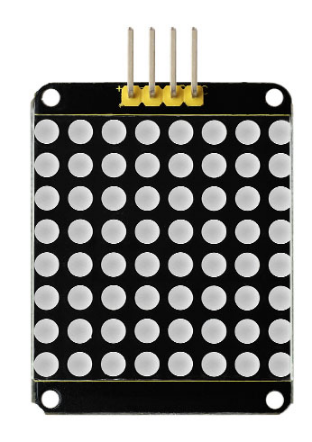
8 rows and 8 cols LED matrix
Driven by HT16K33 chip
Access to I2C communication pins
Occupy less IO ports of microcontrollers
Easy connection and available for more experiment extensions
3. Parameters
Input voltage: 5V
Rated input frequency: 400KHZ
Input power: 2.5W
Input current: 500mA
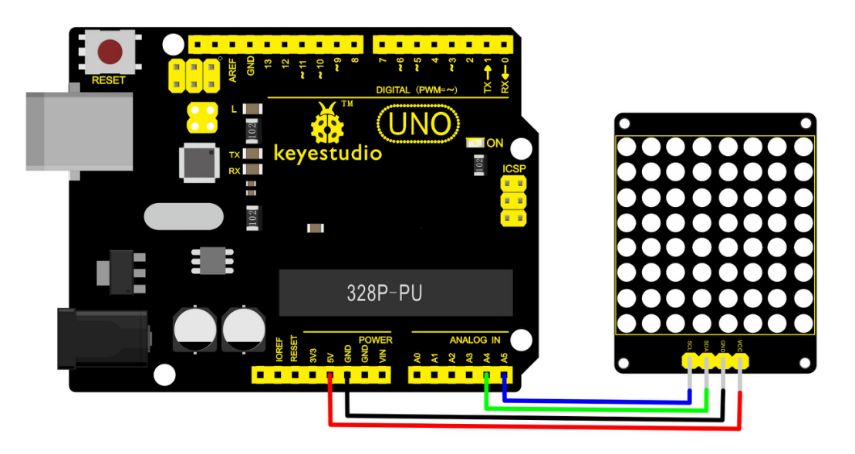
4. Pinout

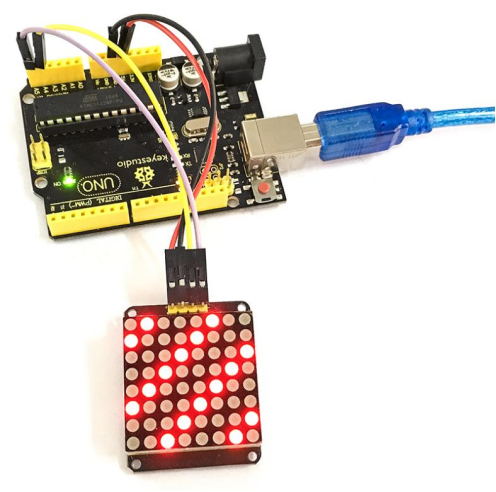
5. Wire it Up
Connect the SCL pin to Analog A5, SDA pin to Analog A4 port; Connect VCC pin to 5V port, GND pin to GND.
6. Sample Code
Download Resources : Resources
Note: before uploading the code, you need to import the library files; otherwise, the code upload will fail.
#include <Wire.h>
#include "Adafruit_LEDBackpack.h"
#include "Adafruit_GFX.h"
#ifndef _BV
#define _BV(bit) (1<<(bit))
#endif
Adafruit_LEDBackpack matrix = Adafruit_LEDBackpack();
uint8_t counter = 0;

void setup()
{
  Serial.begin(9600);
  Serial.println("HT16K33 test");
  matrix.begin(0x70);  // pass in the address
}

void loop()
{
  // paint one LED per row. The HT16K33 internal memory looks like
  // a 8x16 bit matrix (8 rows, 16 columns)
  for (uint8_t i=0; i<8; i++)
  {
	 // draw a diagonal row of pixels
     matrix.displaybuffer[i] = _BV((counter+i) % 16) | _BV((counter+i+8) % 16)  ;
  }
  // write the changes we just made to the display
  matrix.writeDisplay();
  delay(100);
  counter++;
  if (counter >= 16) counter = 0;
}
7. Example Result
Done wiring and powered up, upload well the code to UNO board, you will see the dot matrix display the image shown below.