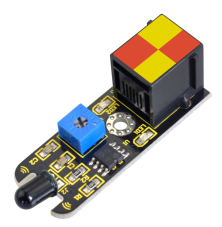
KS0116 keyestudio EASY plug Flame Sensor Module
1. Introduction
The flame sensor can be used to detect fire or other wavelength at 760nm ~1100nm light. In the fire-fighting robot game, the flame plays an important role in the probe, which can be used as the robot’s eyes to find fire source.
The potentiometer on the flame sensor can be used to adjust the sensitivity. This module should be used together with EASY plug control board.
Special Note:
The sensor/module is equipped with the RJ11 6P6C interface, compatible with our keyestudio EASY plug Control Board with RJ11 6P6C interface.
If you have the control board of other brands, it is also equipped with the RJ11 6P6C interface but has different internal line sequence, can’t be used compatibly with our sensor/module.
2. Specification
Connector: Easy plug
Supply Voltage: 3.3V to 5V
Detection range: 500px (4.8V) ~ 2500px (1V)
Spectral Bandwidth Range: 760nm ~ 1100nm
Operating temperature: -25℃ to 85℃
Sensor type: digital
3. Technical Details
Dimensions: 48mm * 17mm * 18mm
Weight: 4.6g
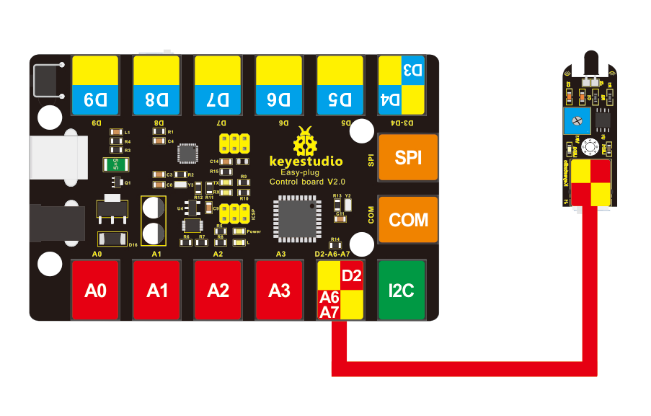
4. Connect It Up
Connect the EASY Plug Flame Sensor and LED module to control board using RJ11 cables. Then connect the control board to your PC with a USB cable.
5. Upload the Code
Download code: Code
const int flamePin = 2;// flame pin
const int ledPin = 13;// LED pin
// variables will change:
int State = 0; // variable for reading status

void setup()
{
    // initialize the LED pin as output:
    pinMode(ledPin, OUTPUT);
    // initialize the push button pin as input:
    pinMode(flamePin, INPUT);
}

void loop()
{
    // read the state of the value:
    State = digitalRead(flamePin);
    if (State == HIGH)
    {
        // turn LED on:
        digitalWrite(ledPin, HIGH);
    }
    else
    {
        // turn LED off:
        digitalWrite(ledPin, LOW);
    }
}
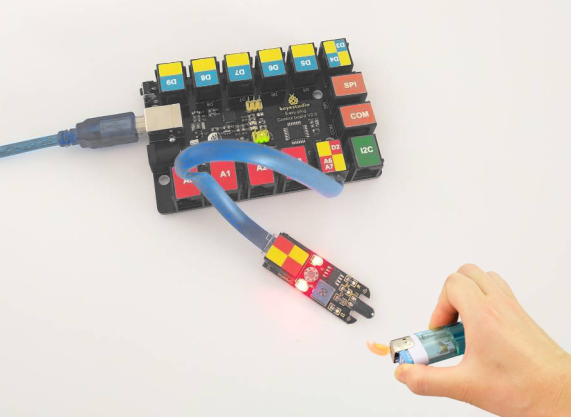
6. Result
Done uploading the code, put a lighter close to the flame sensor. Once the sensor detects the flame, you should see the led light up. If isn’t, you are able to adjust the sensitivity by a potentiometer.