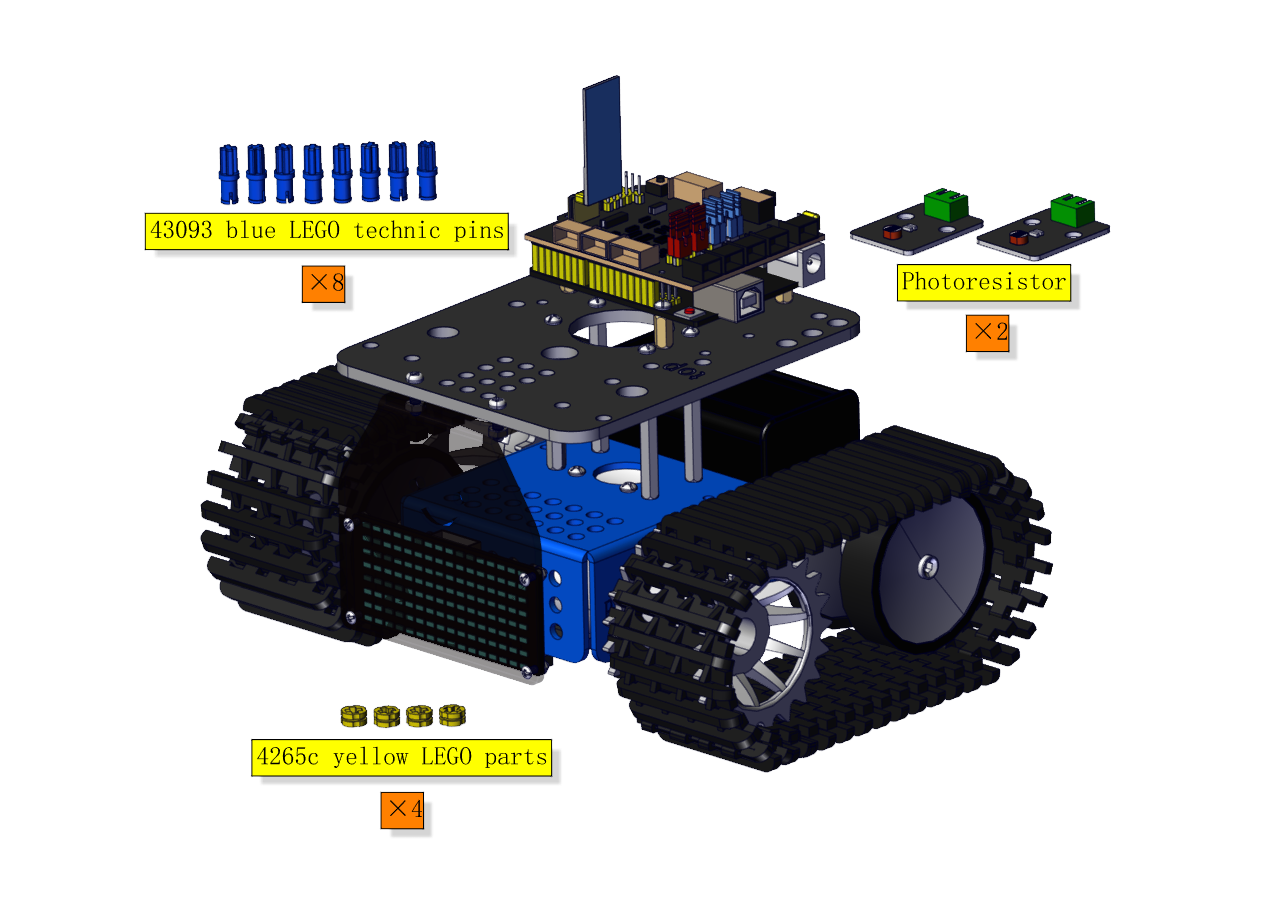
2. Product setup
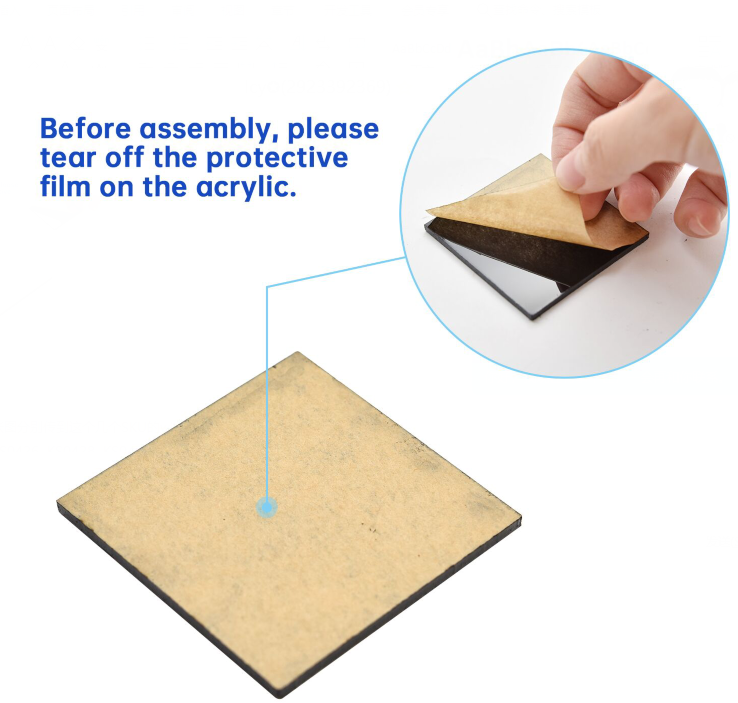
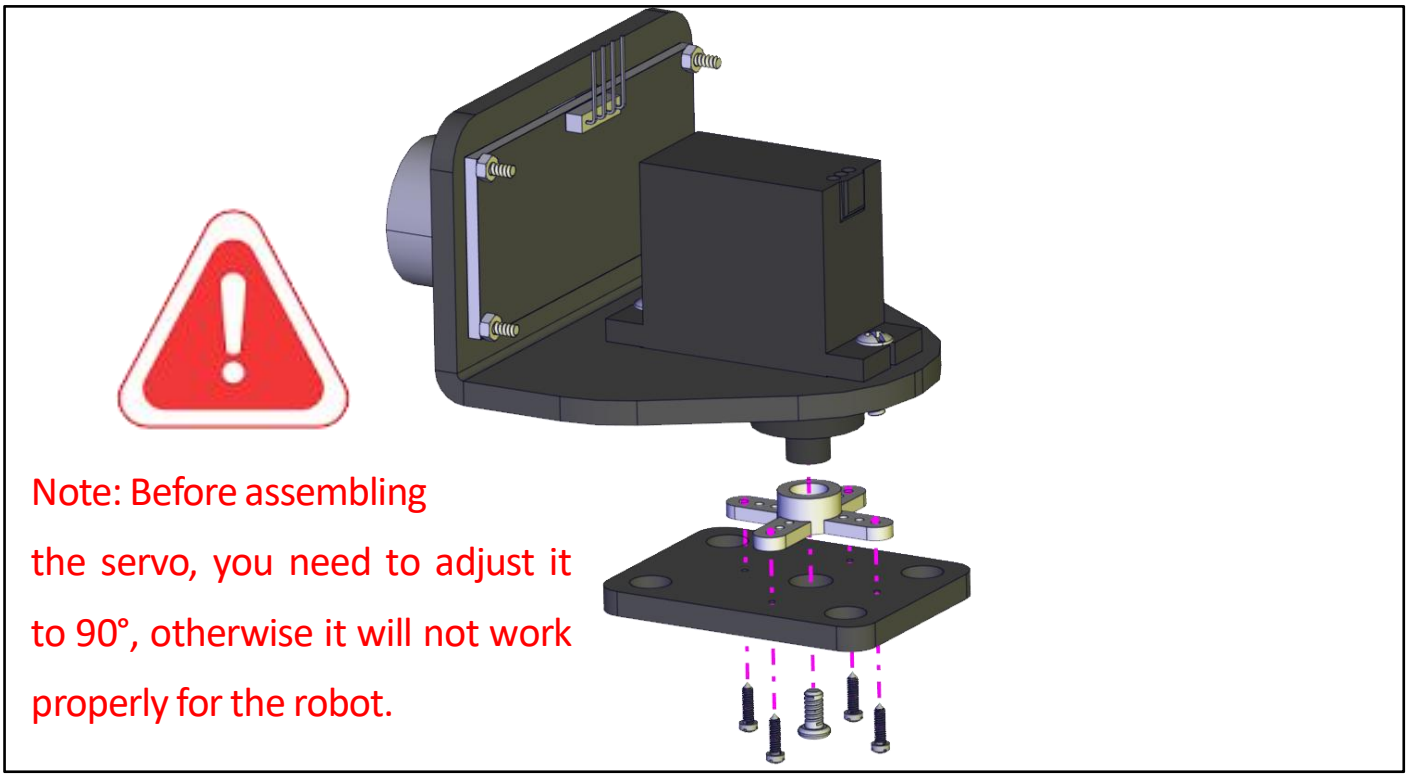
Caution: Peel thin films off boards before installing this robot. Note that the initial angle of the servo must be set during installation.
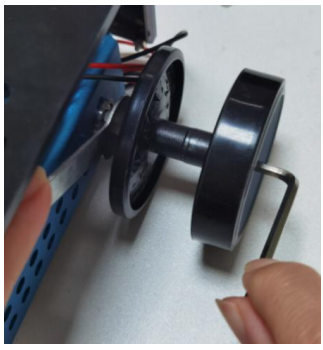
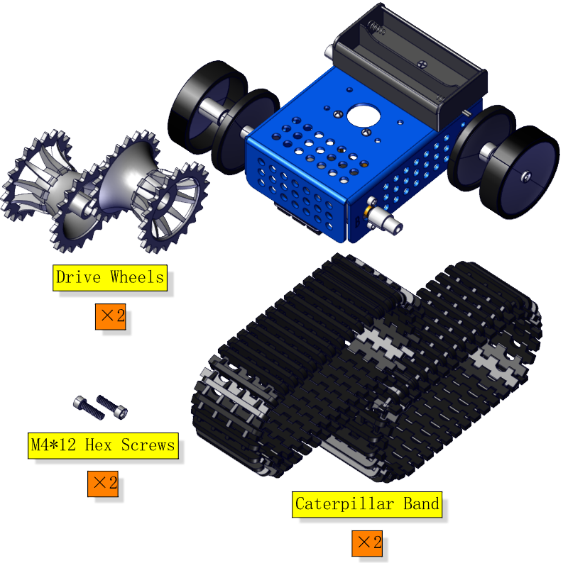
Step1
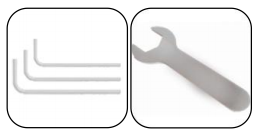
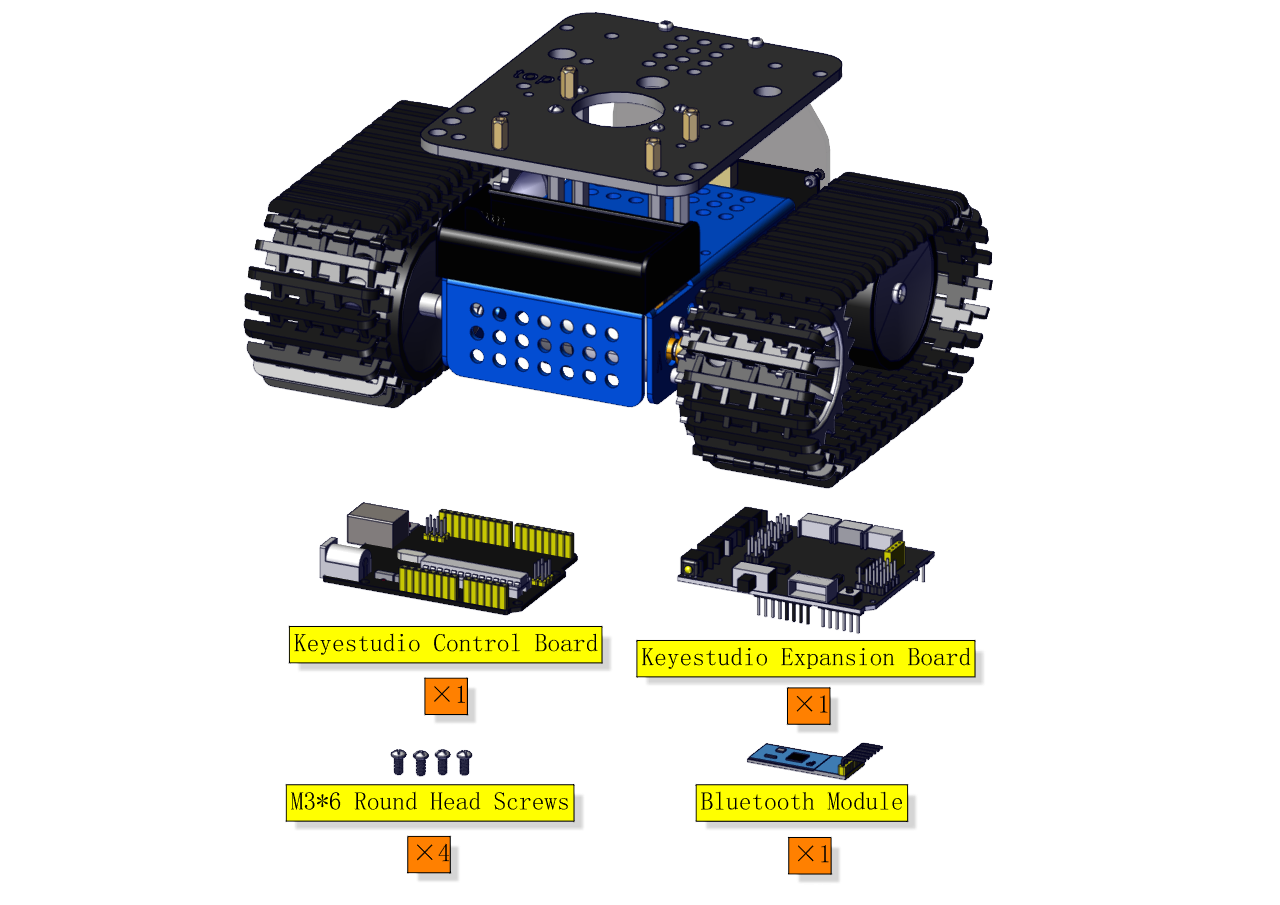
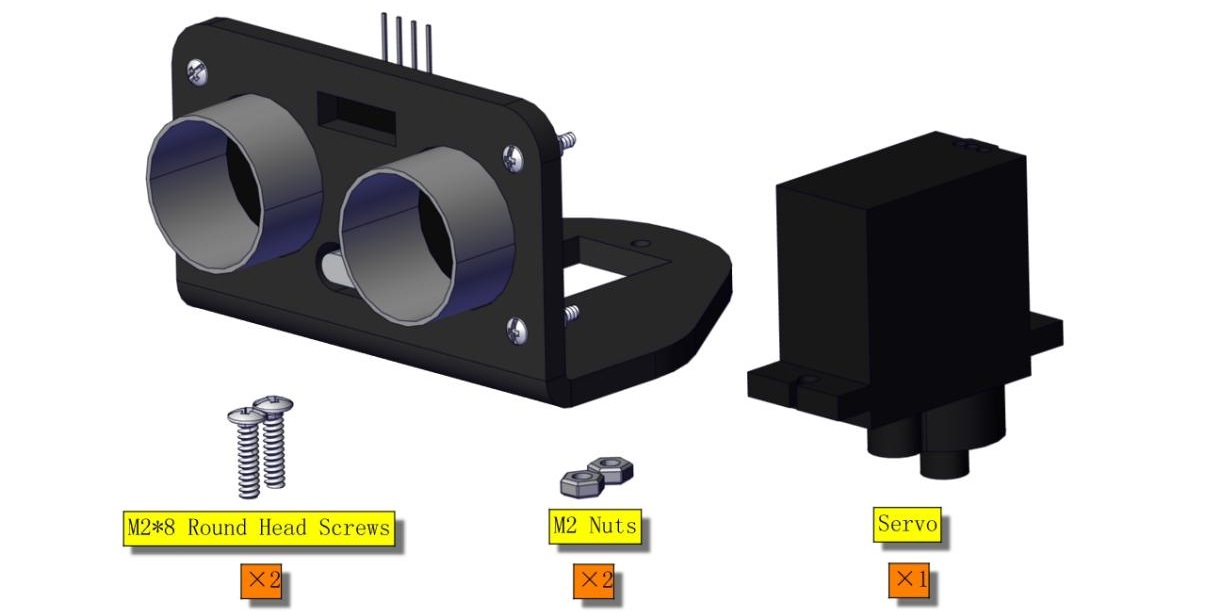
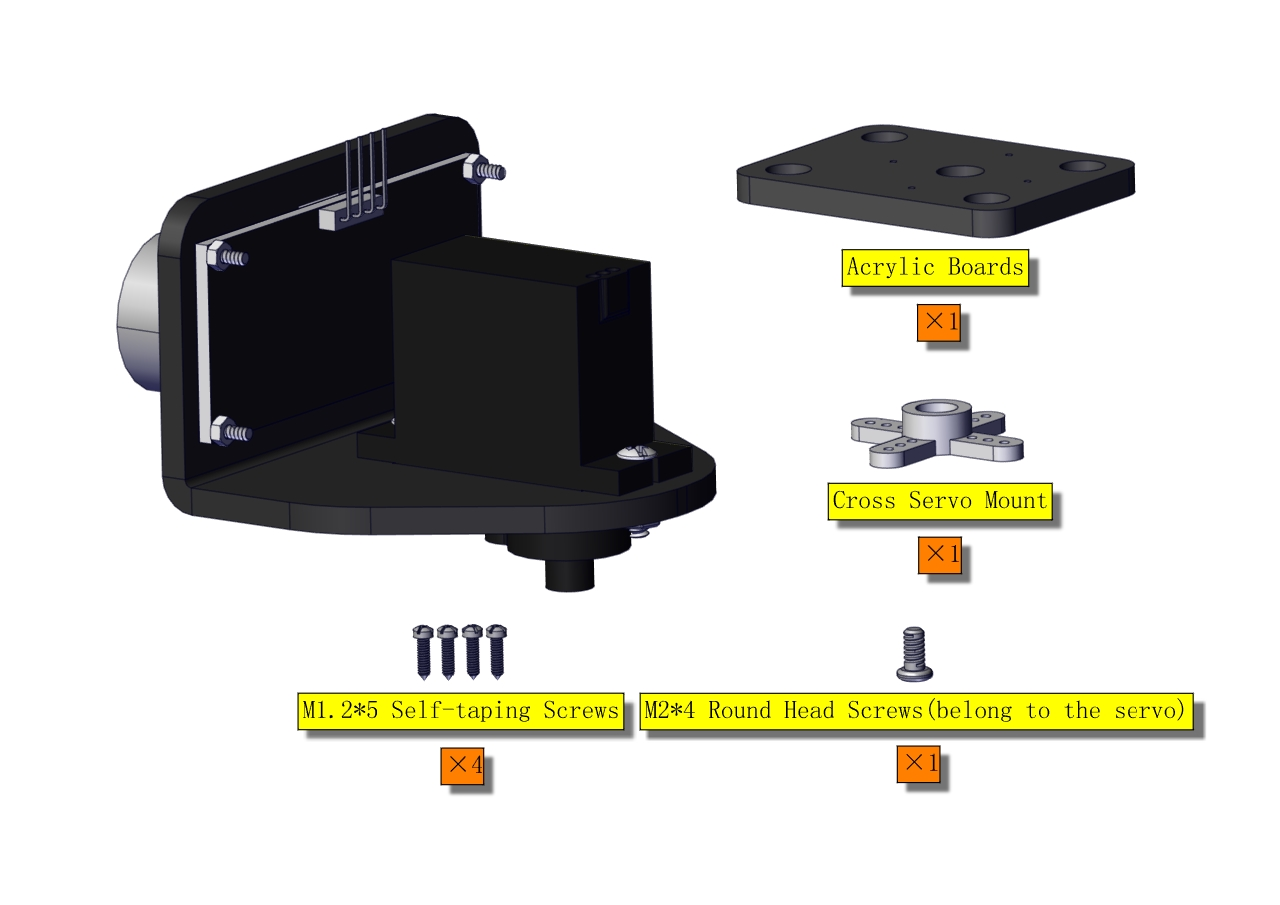
Tools needed:


Note: Pay attention to the installation direction of the wheels. The thick side should be on the outside.
Step2
The wheels and tracks must be installed. Then mount them on the car body simultaneously. Otherwise the tracks cannot be installed.
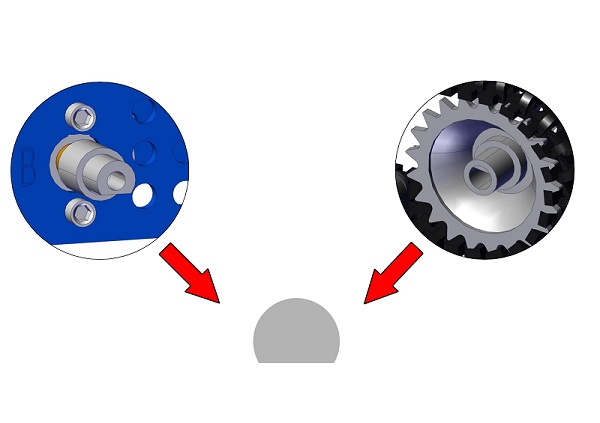

Note: Pay attention to where the wheels are mounted on the tracks.


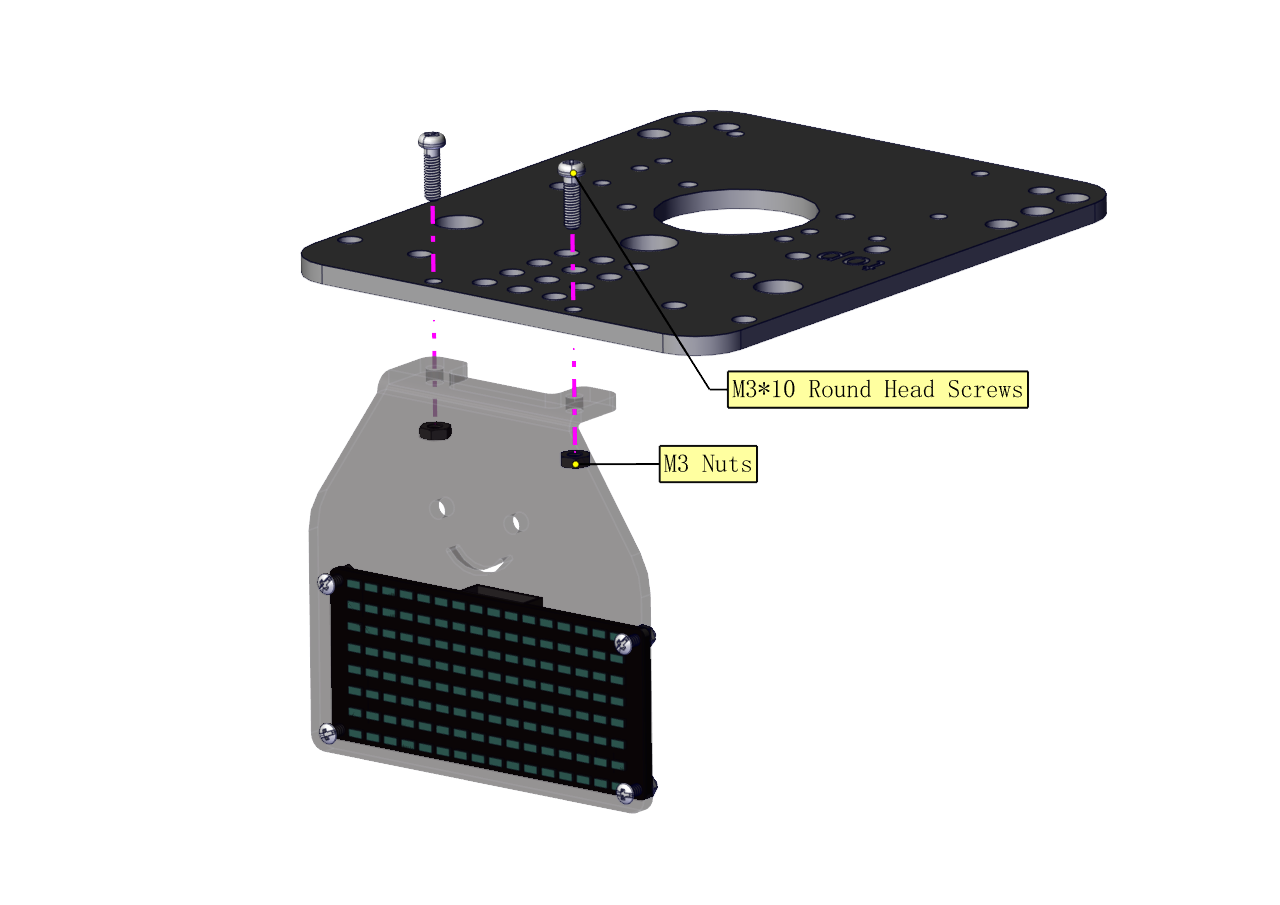
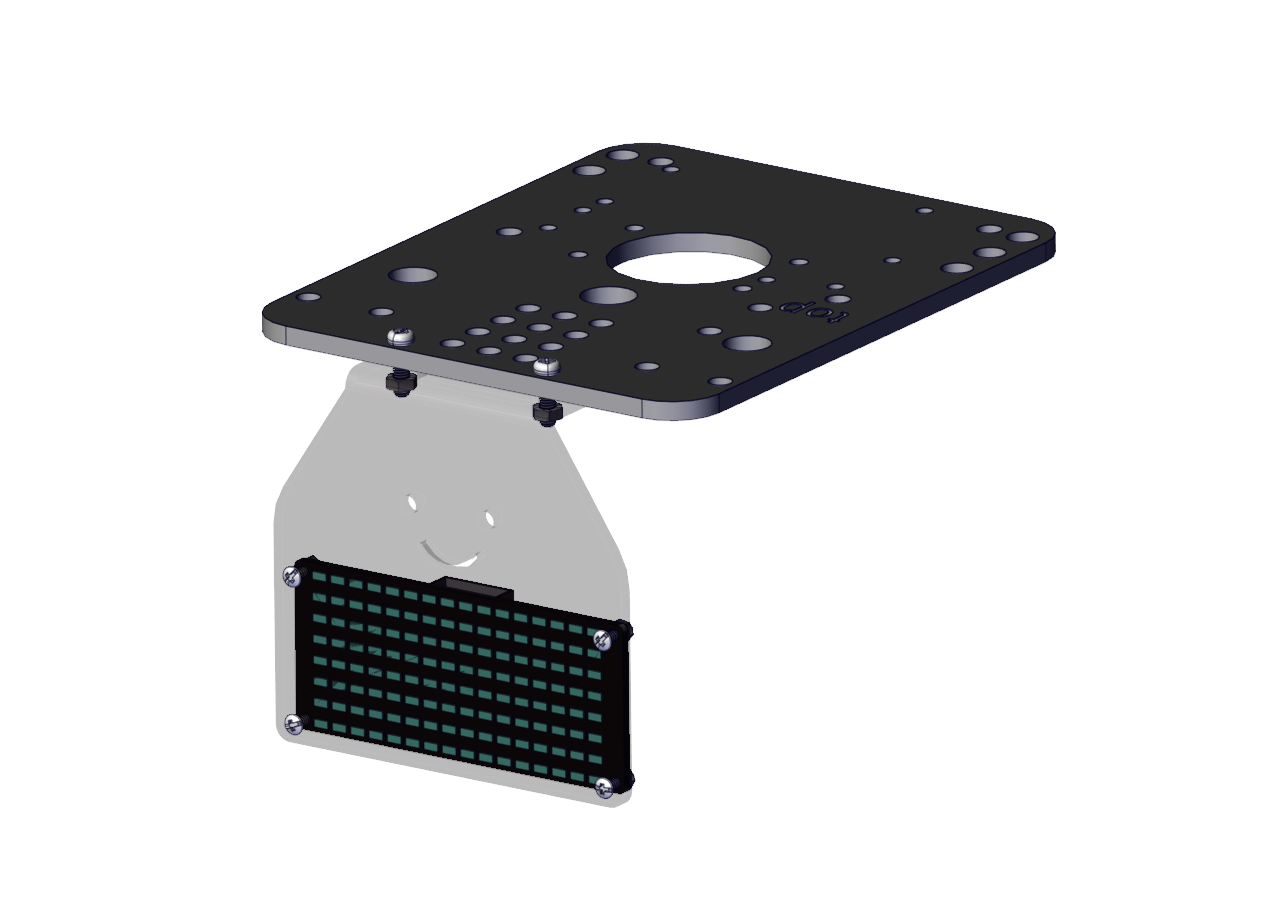
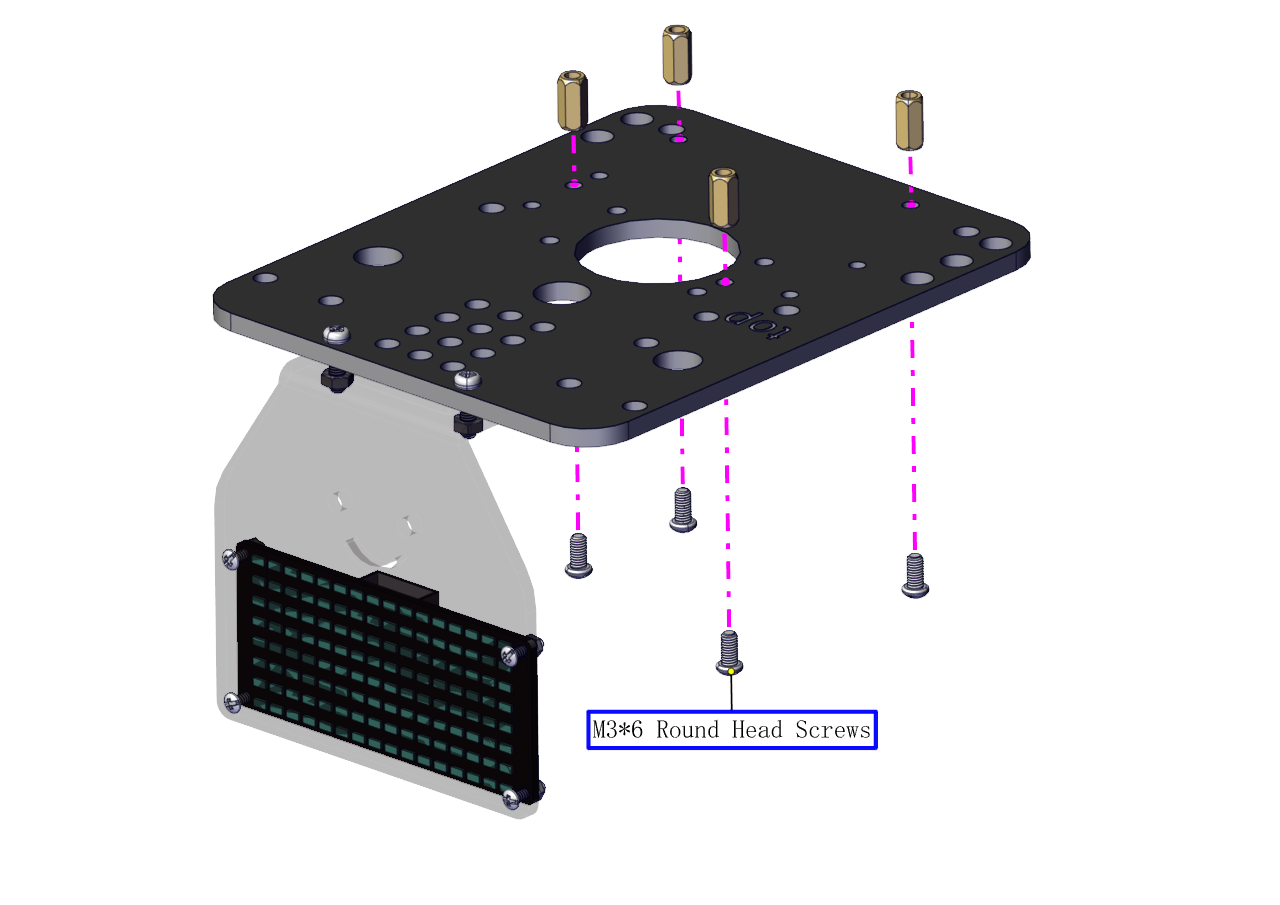
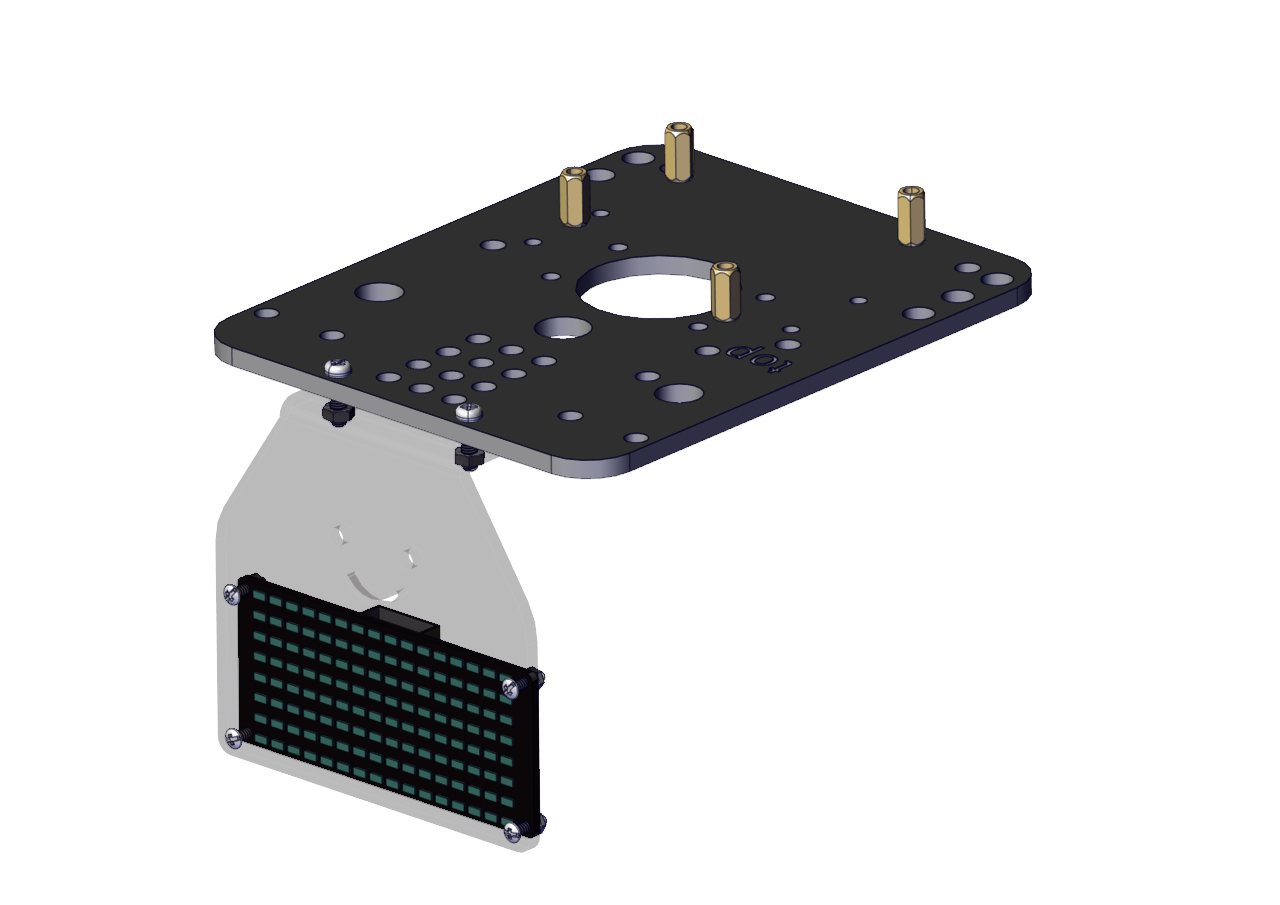
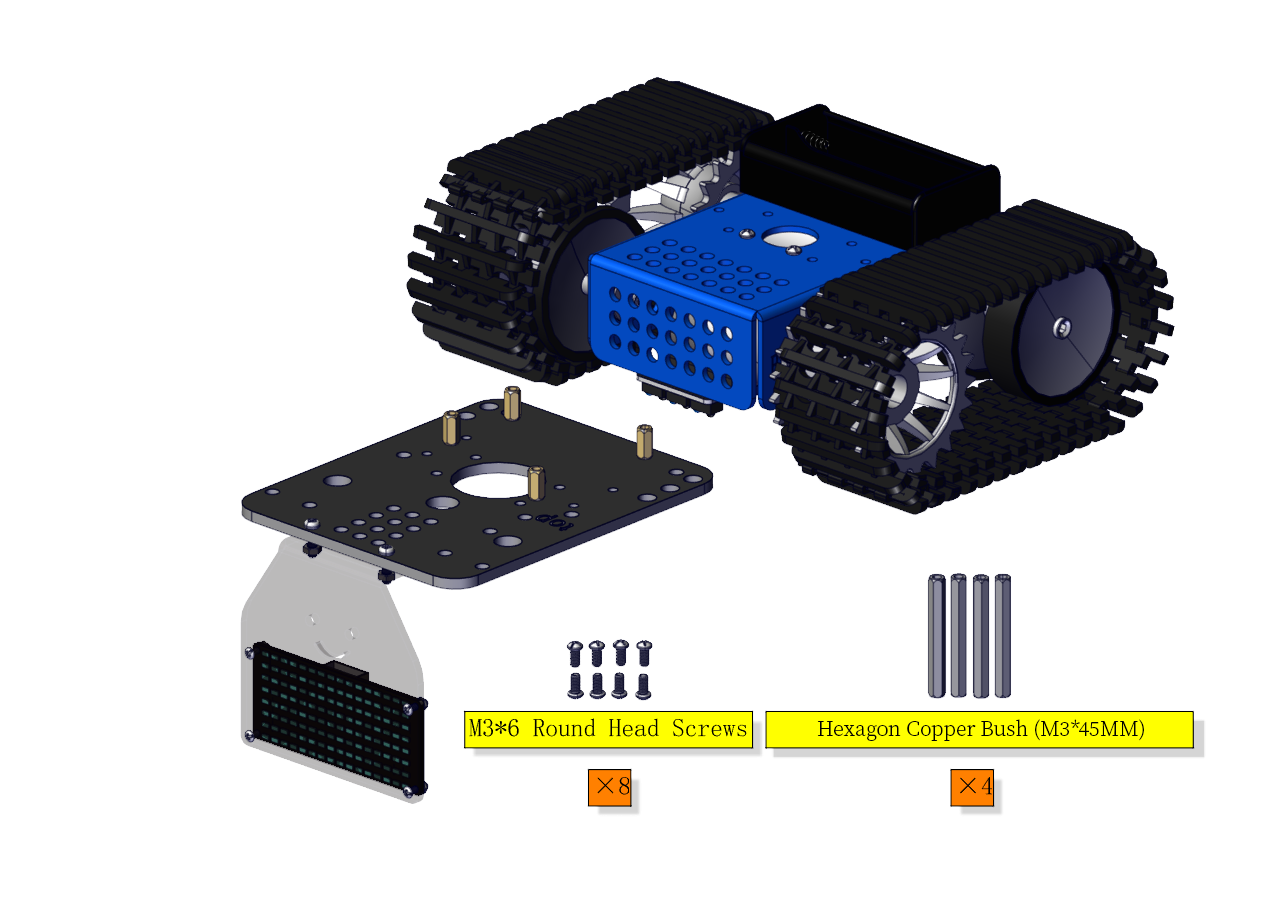
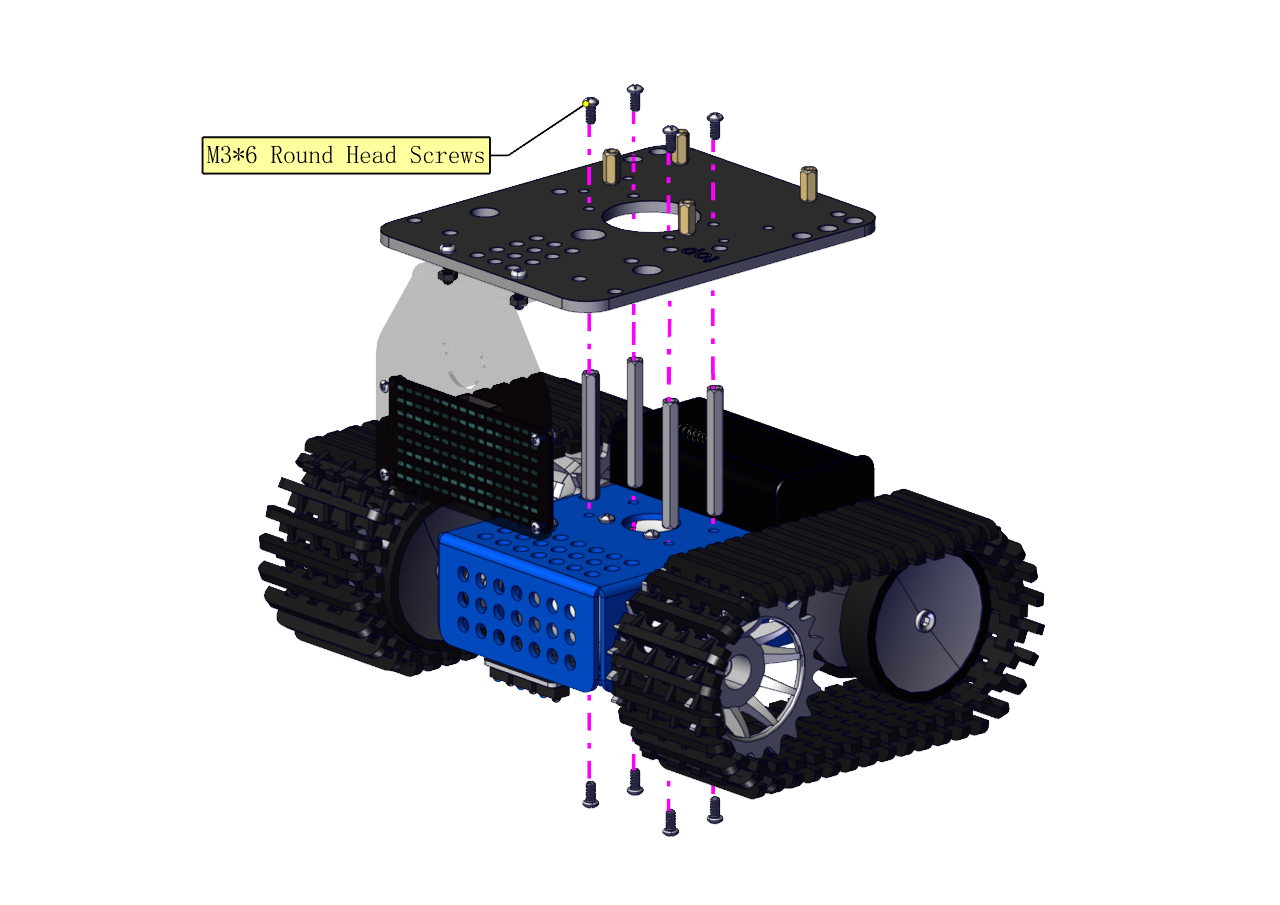
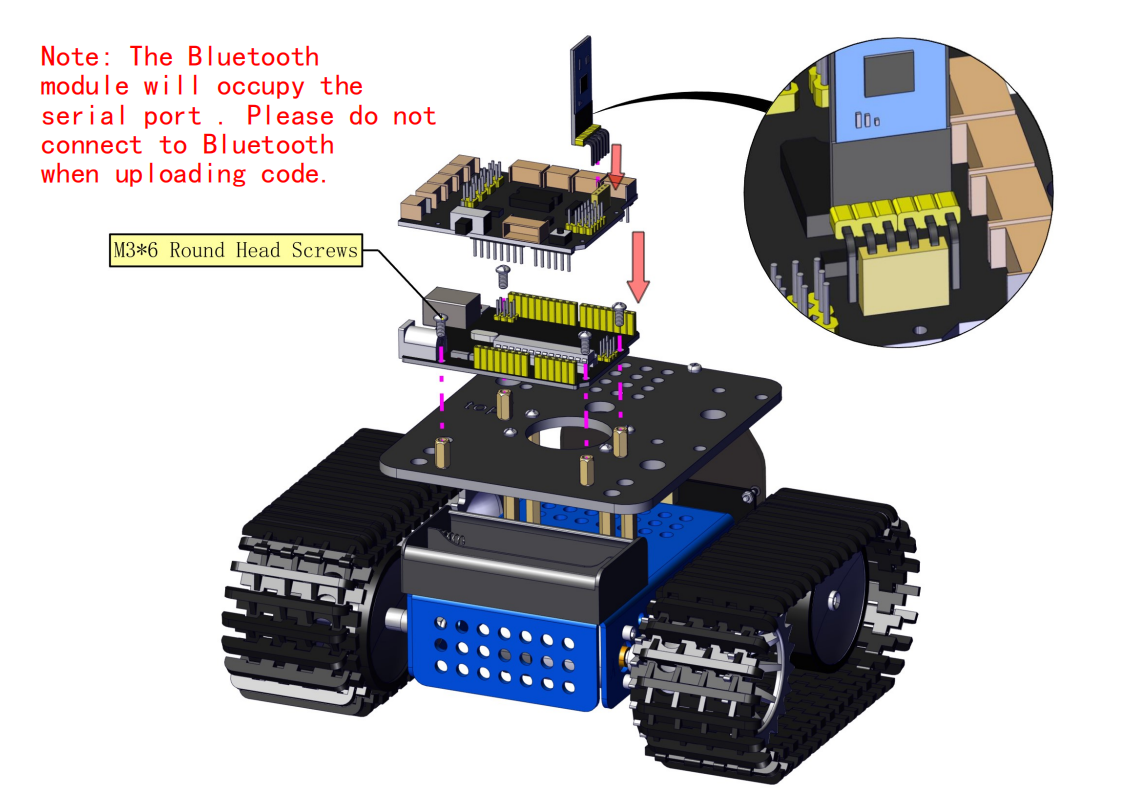
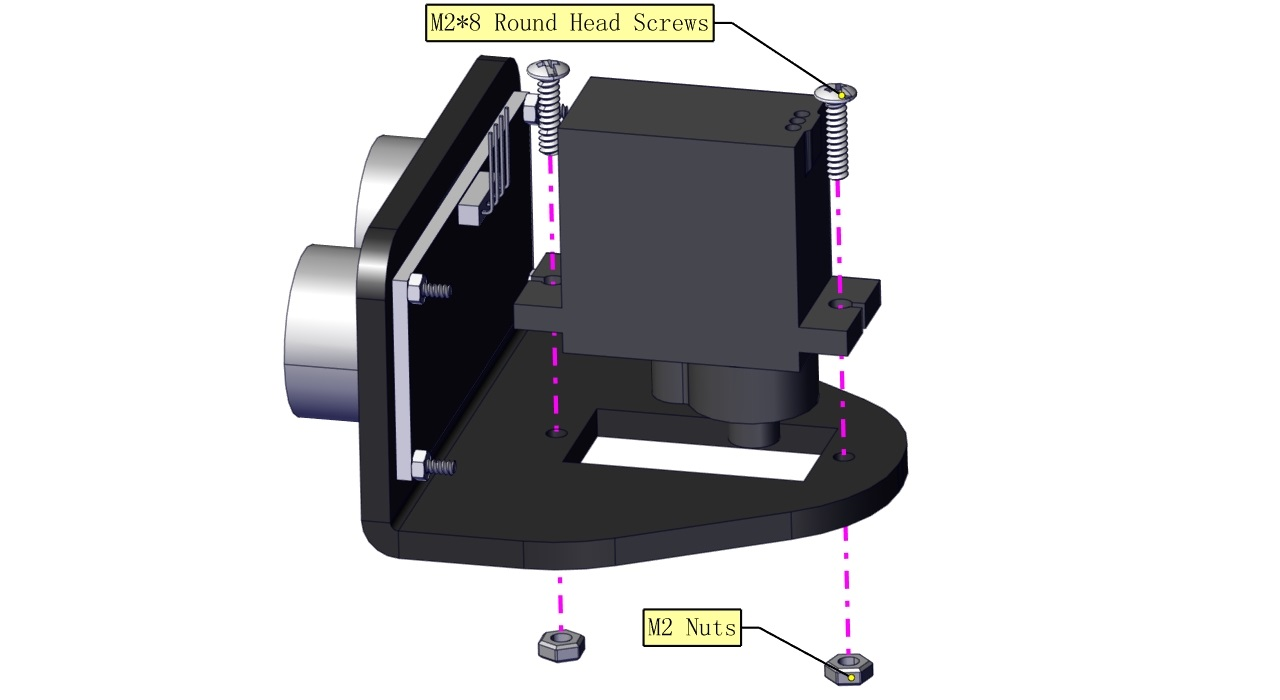
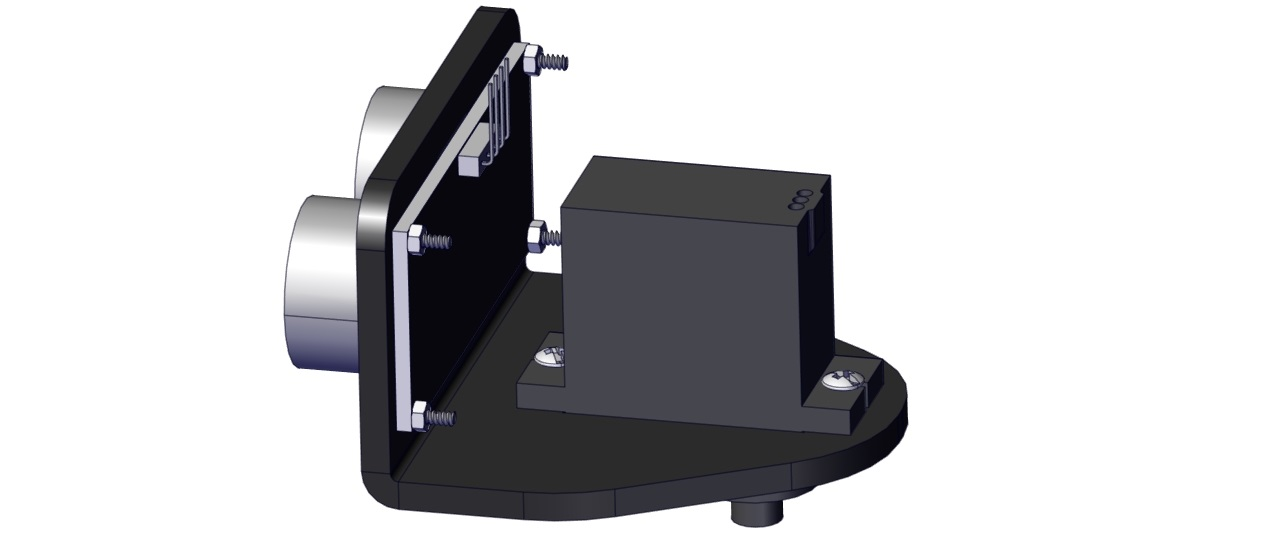
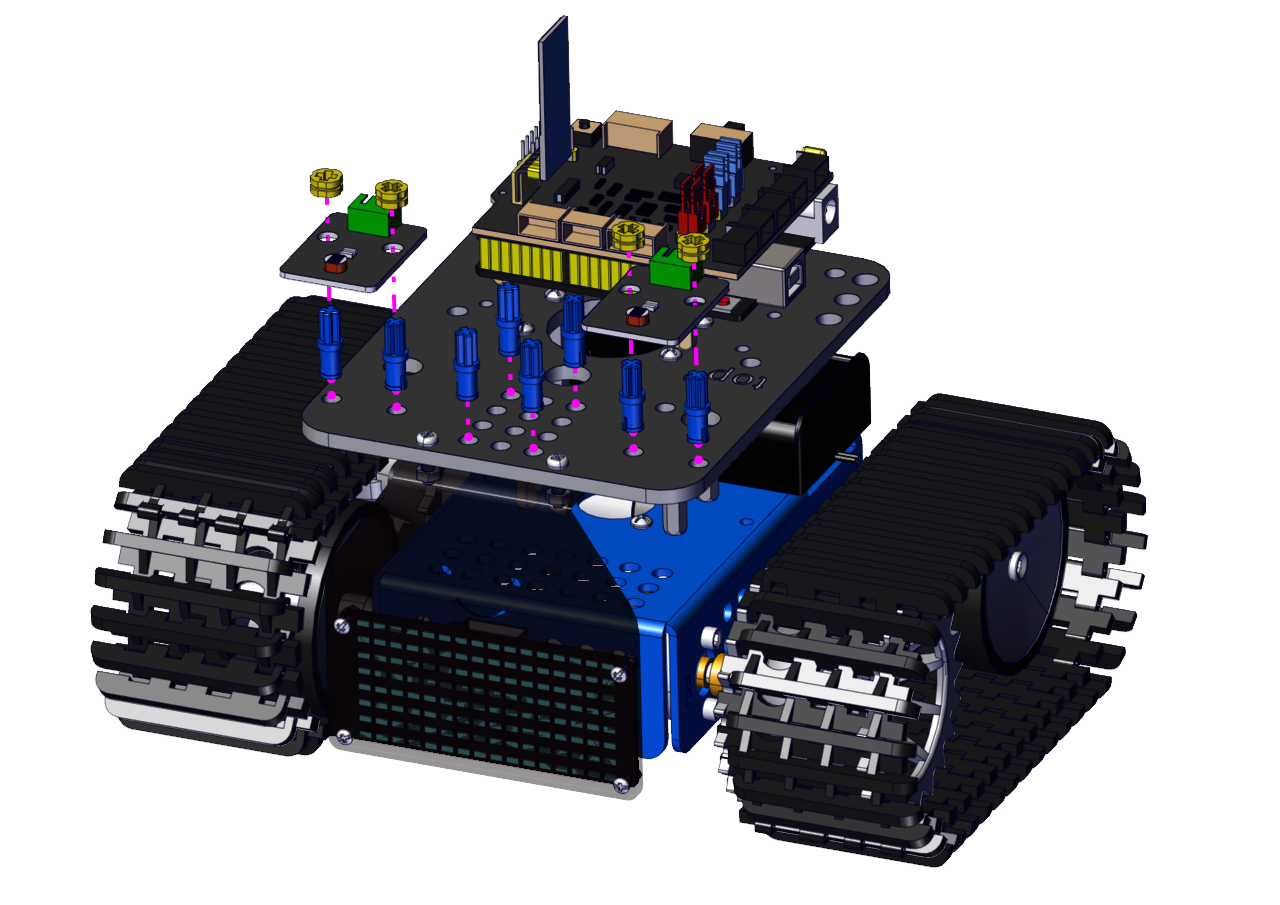
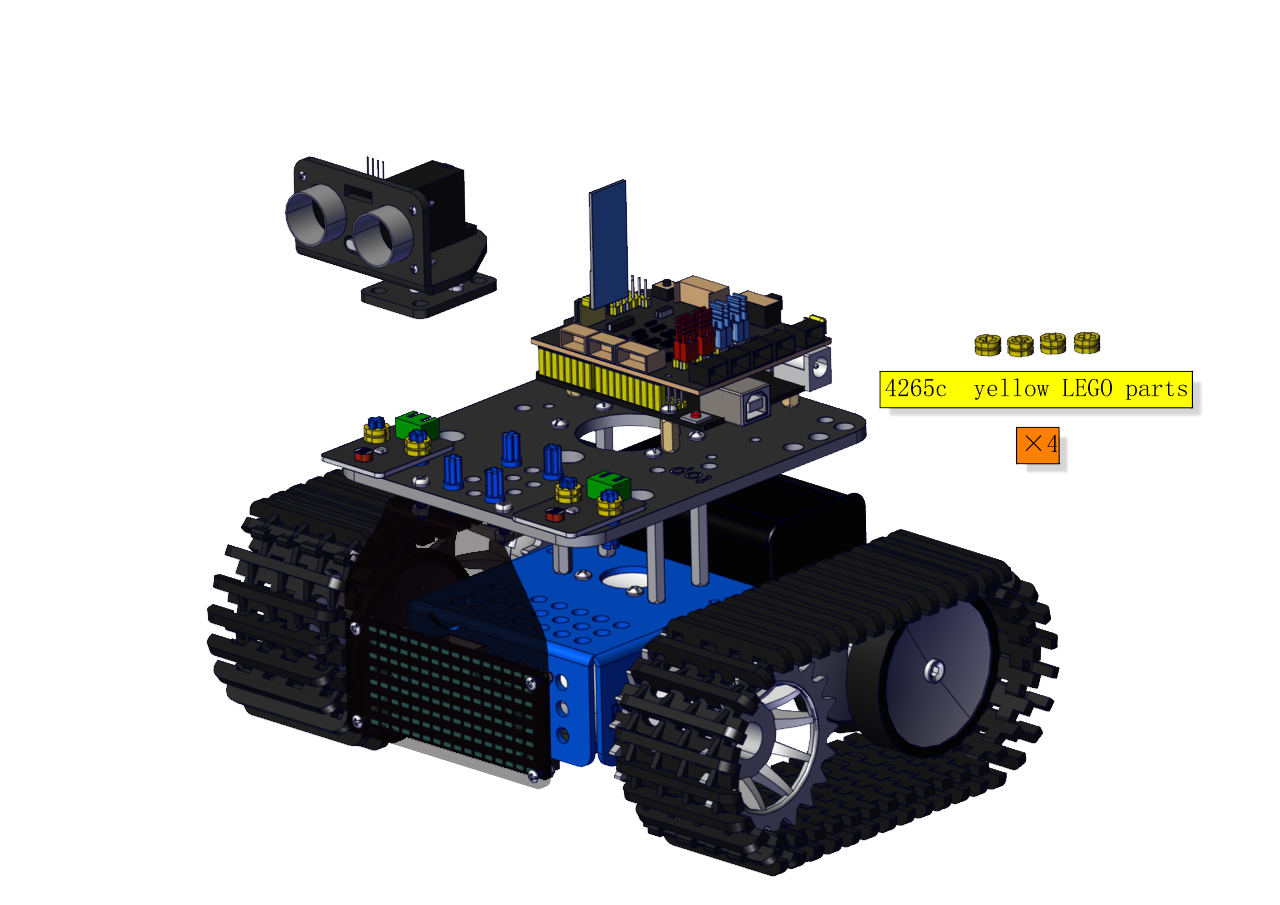
Step3

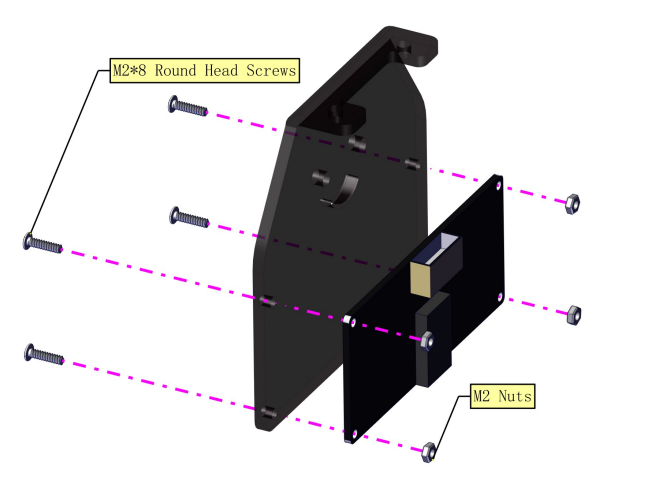

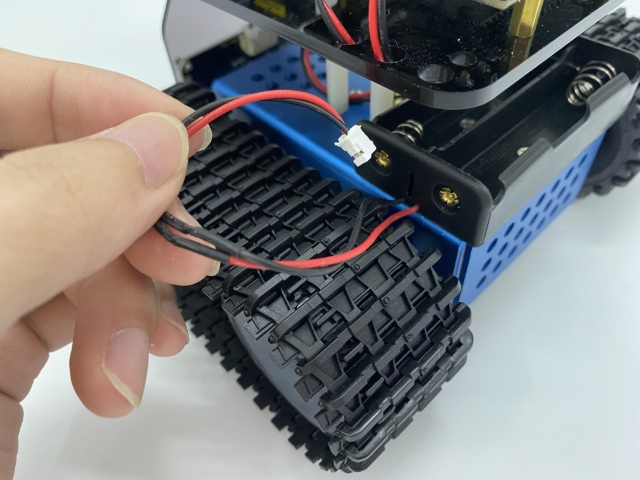
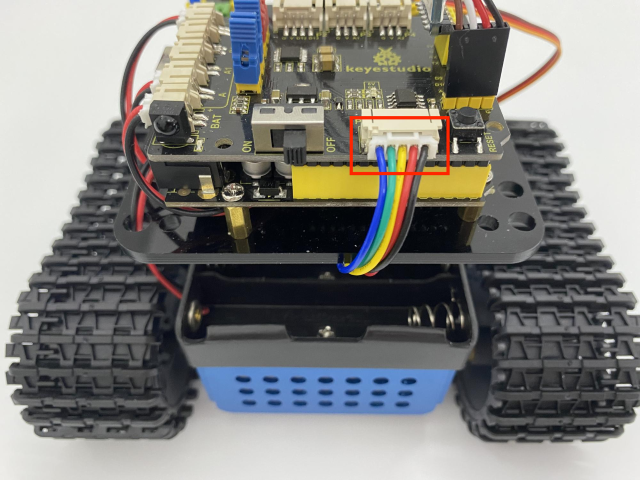
Note: Please wire up first.


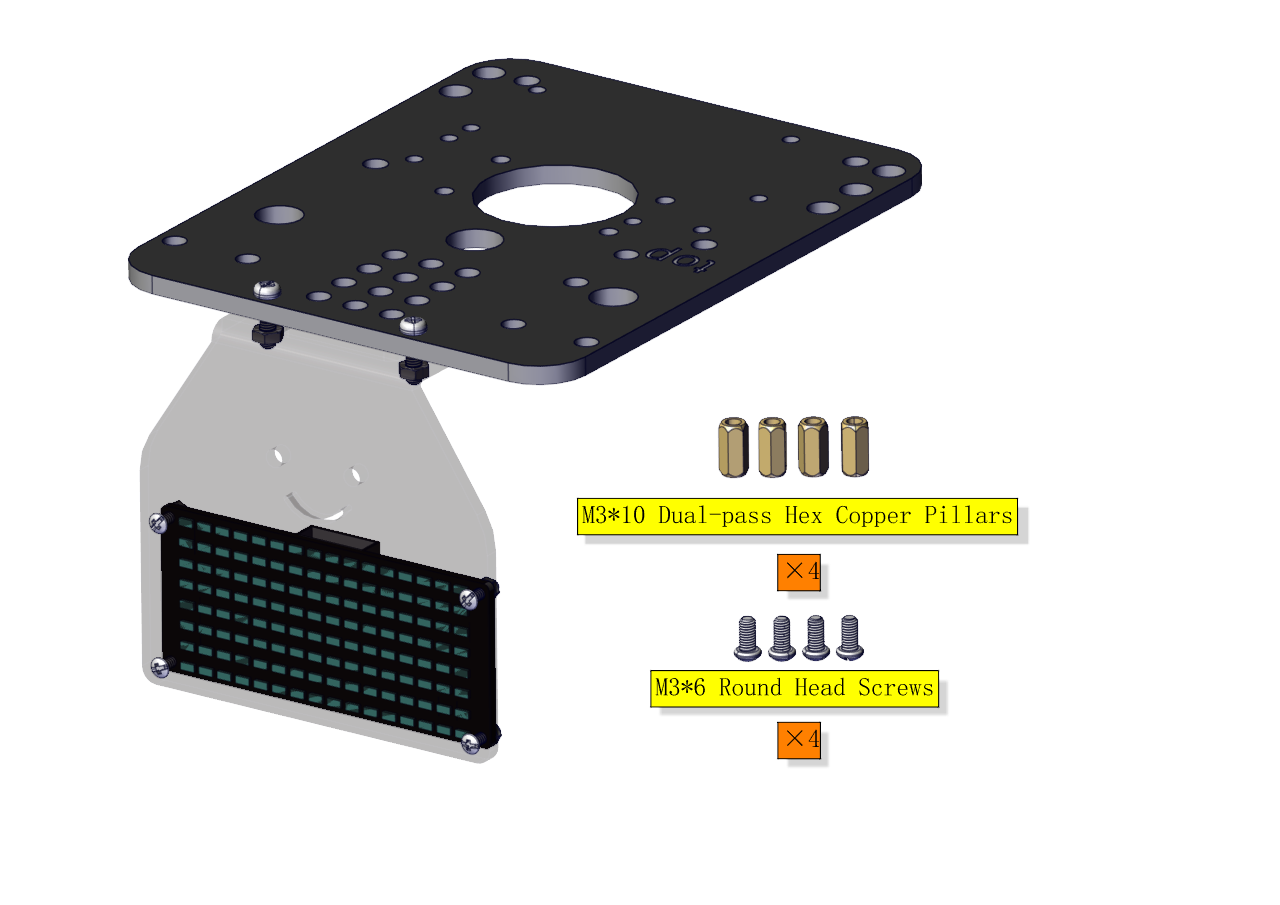
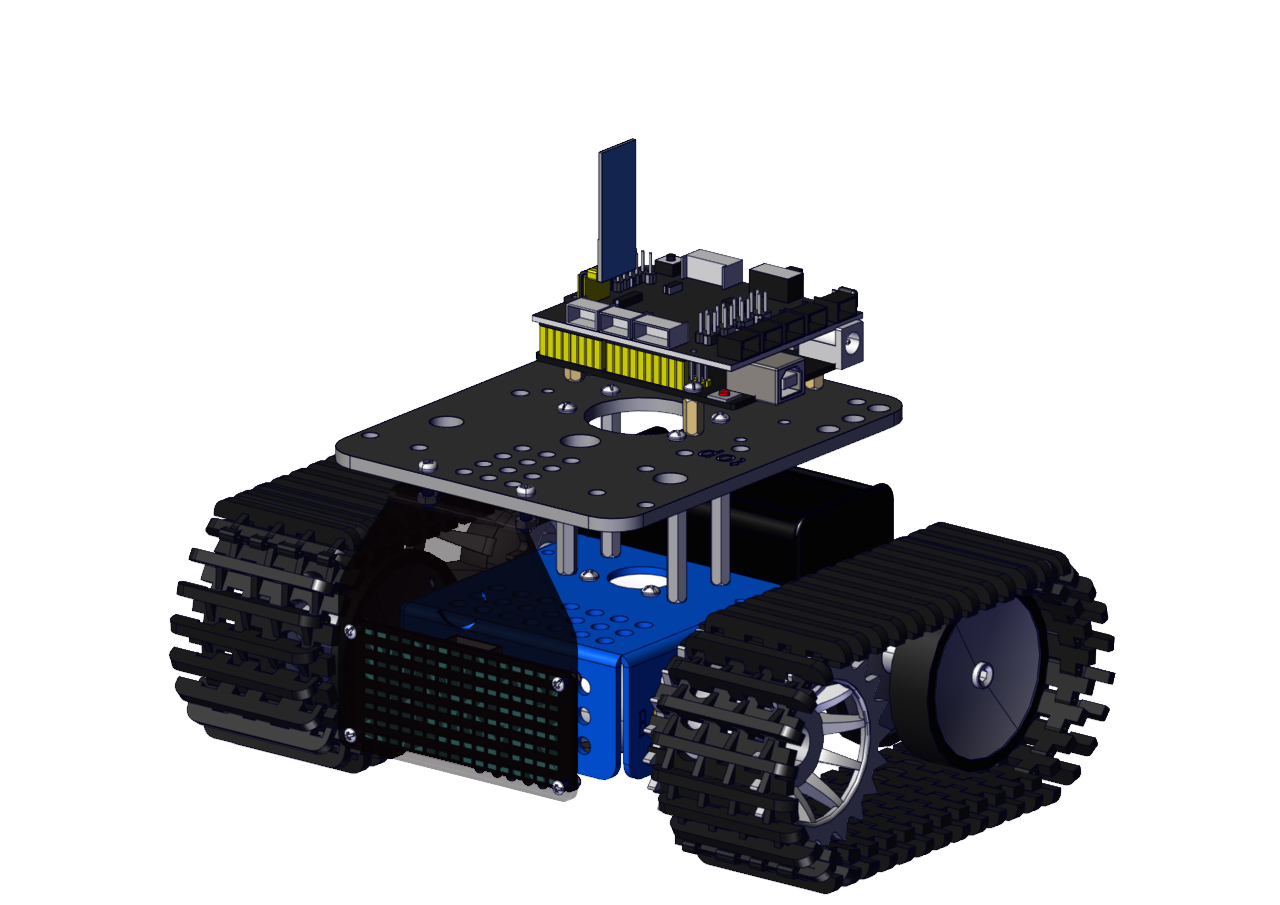
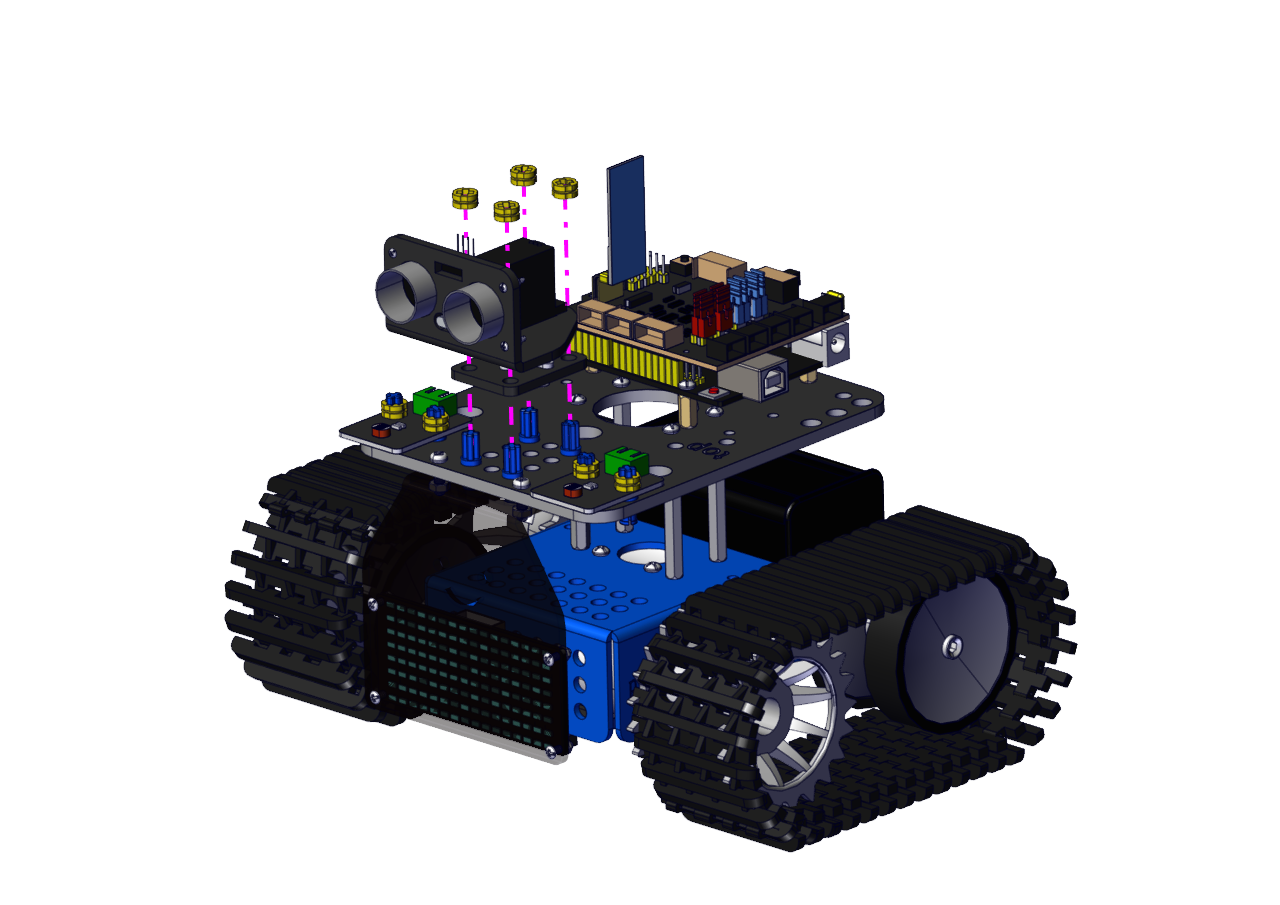
Step 4
Step 5

Step 6
Step 7
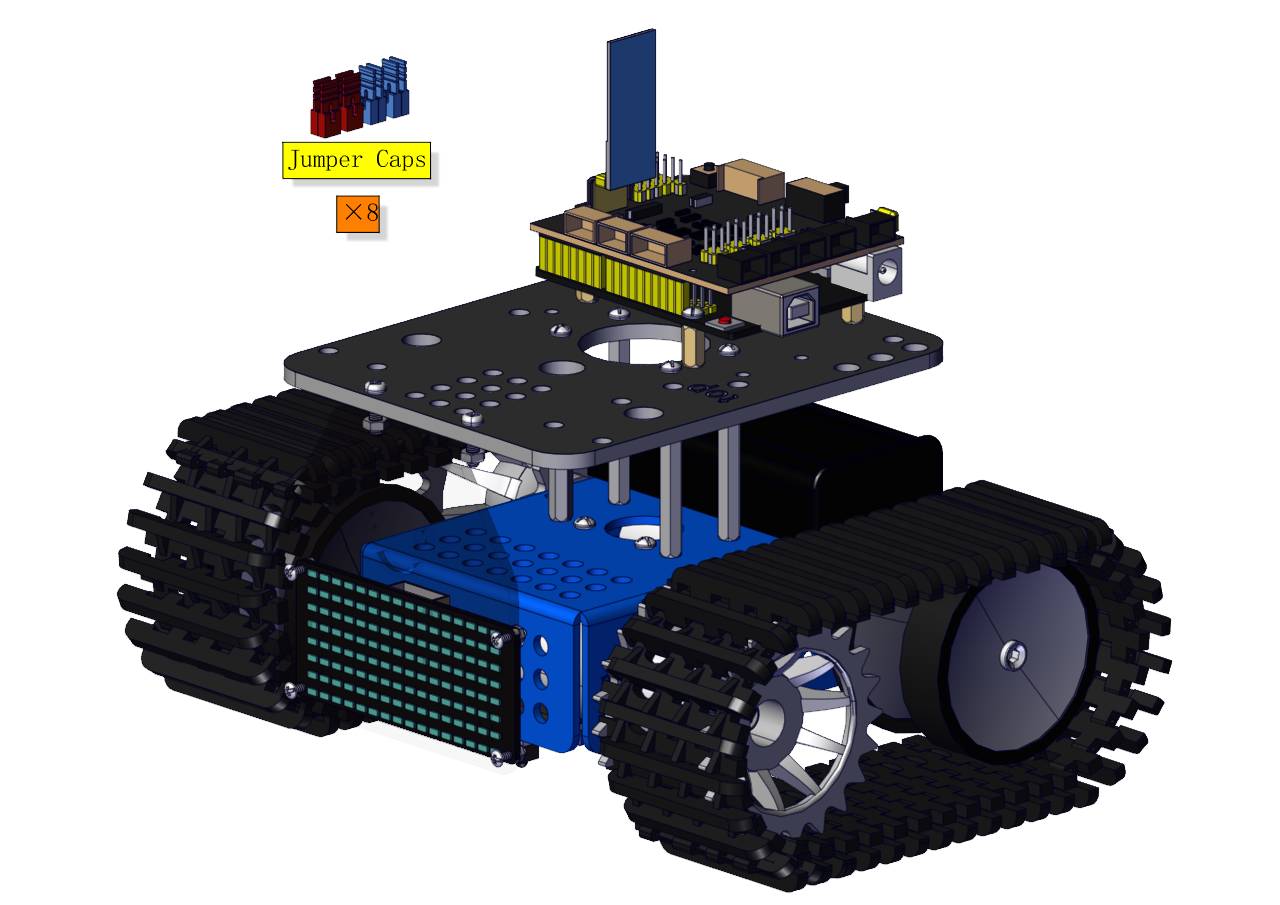
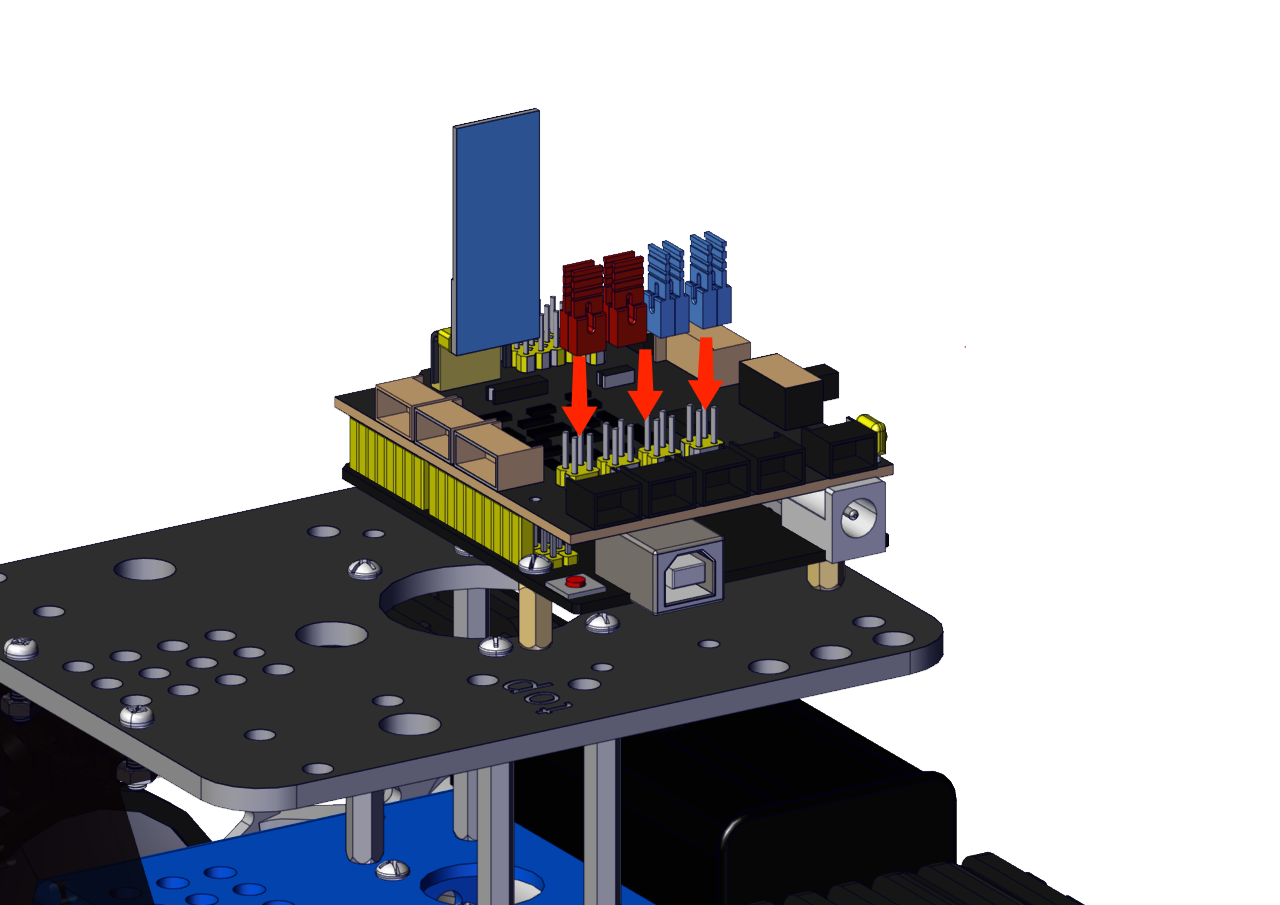
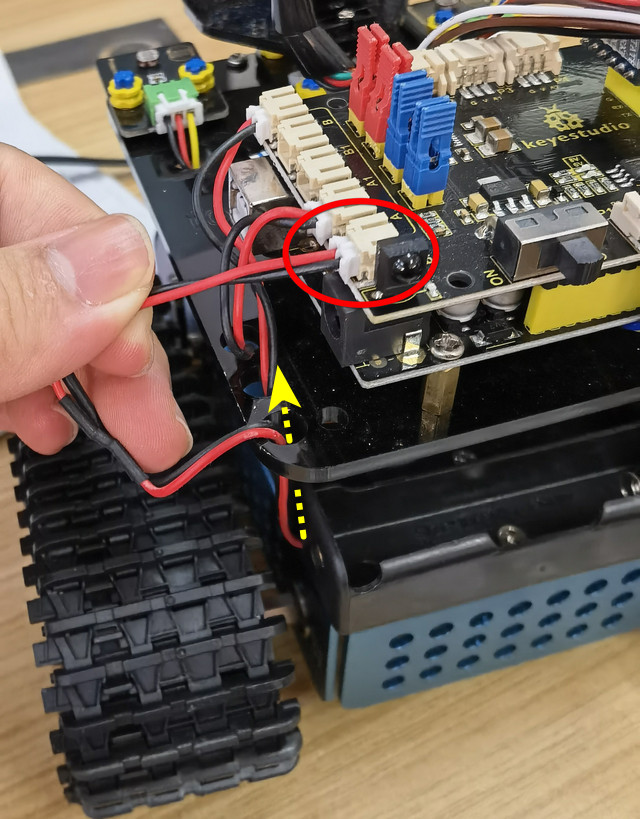
Note: Pay attention to the direction of jumper caps.
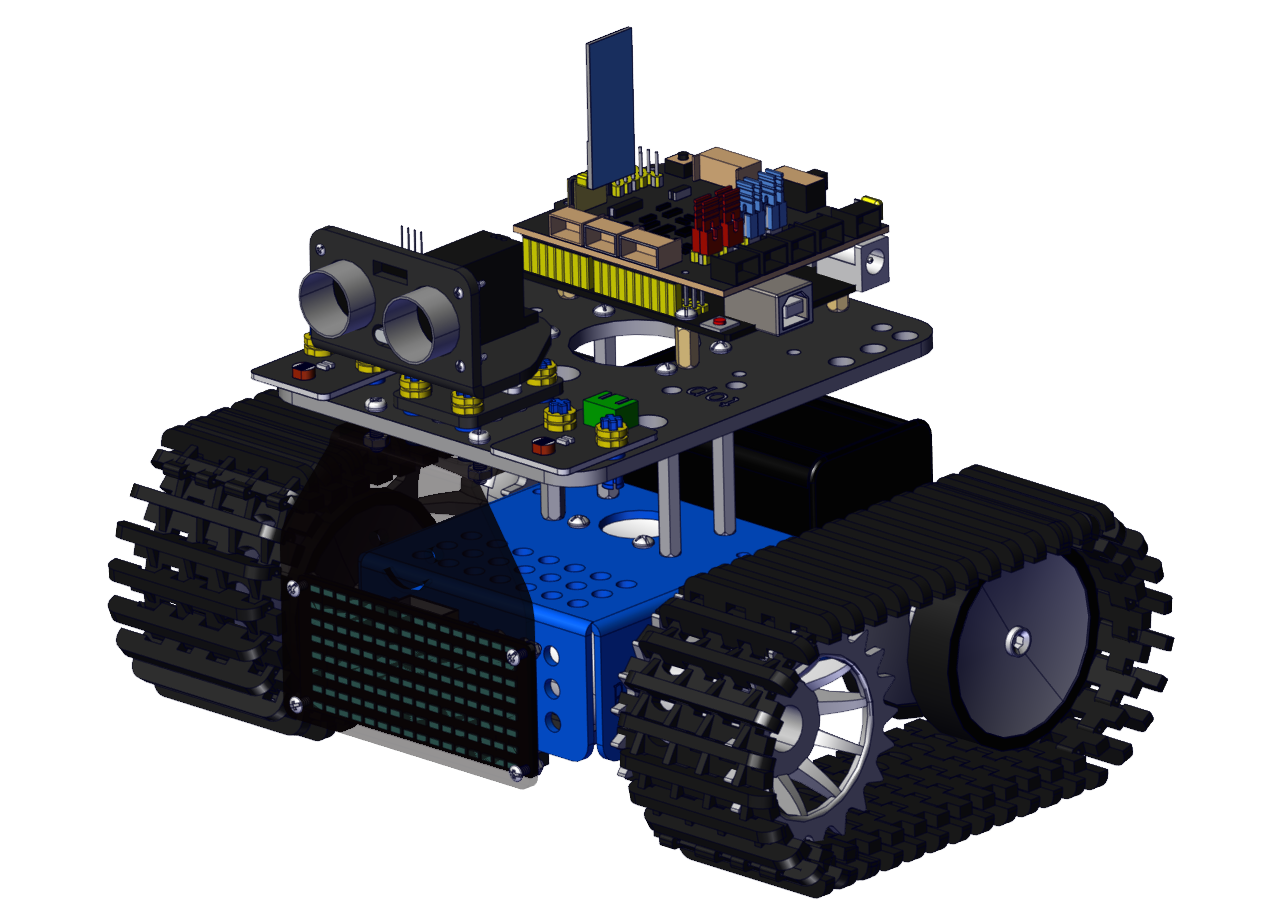
Step 8
Step 9
Step 10
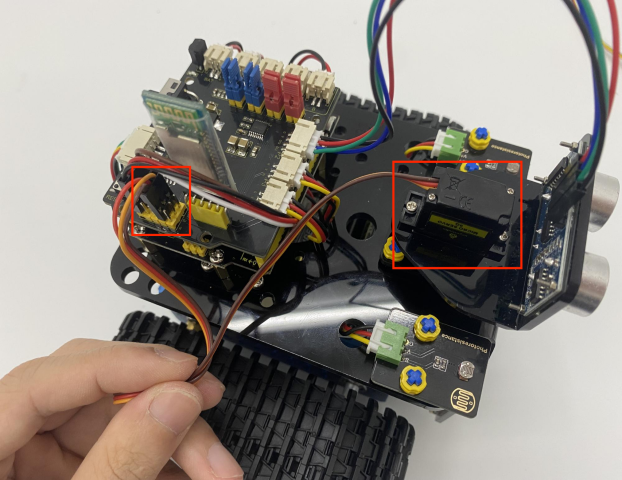
(Need to adjust the angle of the servo)
Set the angle of the servo to 90°
To adjust the code of the servo, please select the corresponding code according to the course.
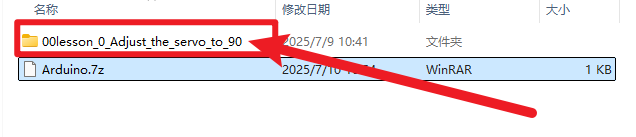
1.**Arduino:**Download the code file:Arduino
2.**Kidsblock:**Download the code file:Kidsblock

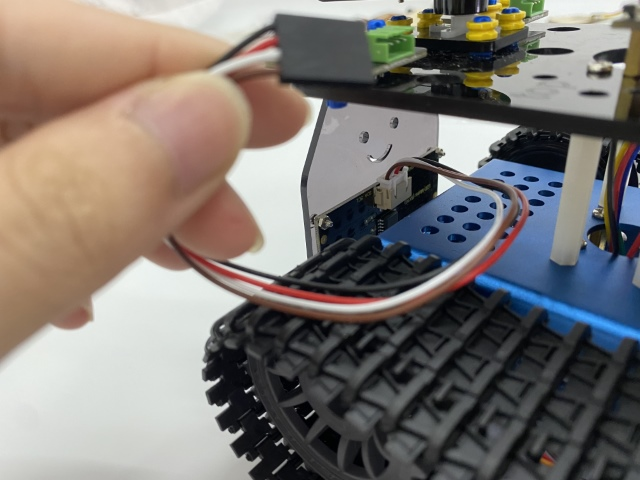
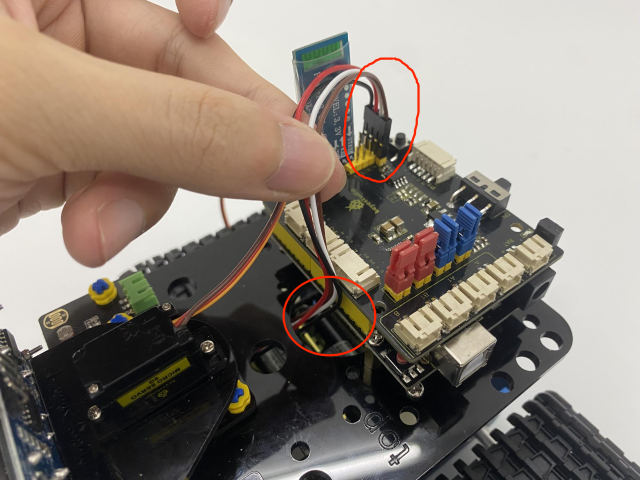
After initializing servo angle, install the Bluetooth module.
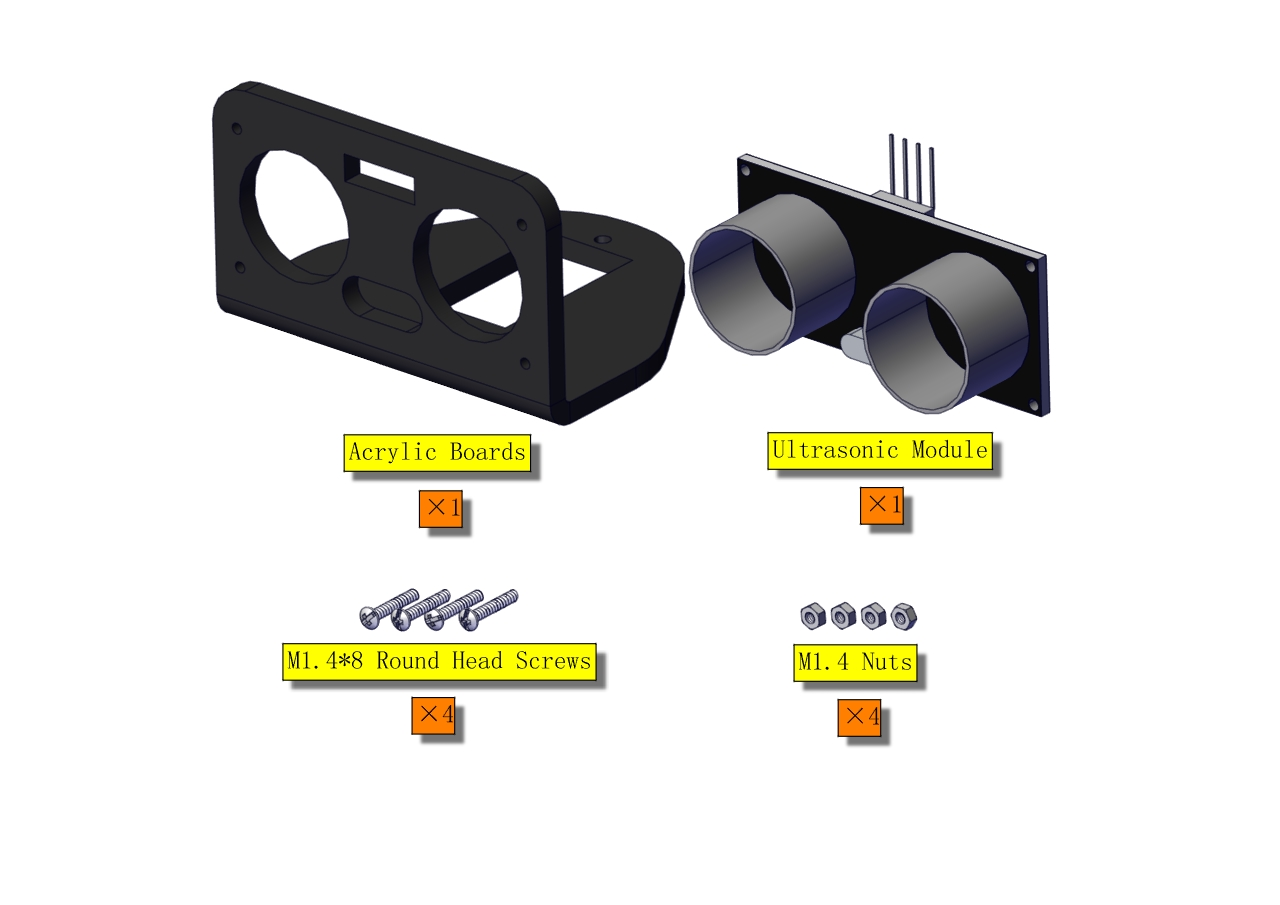
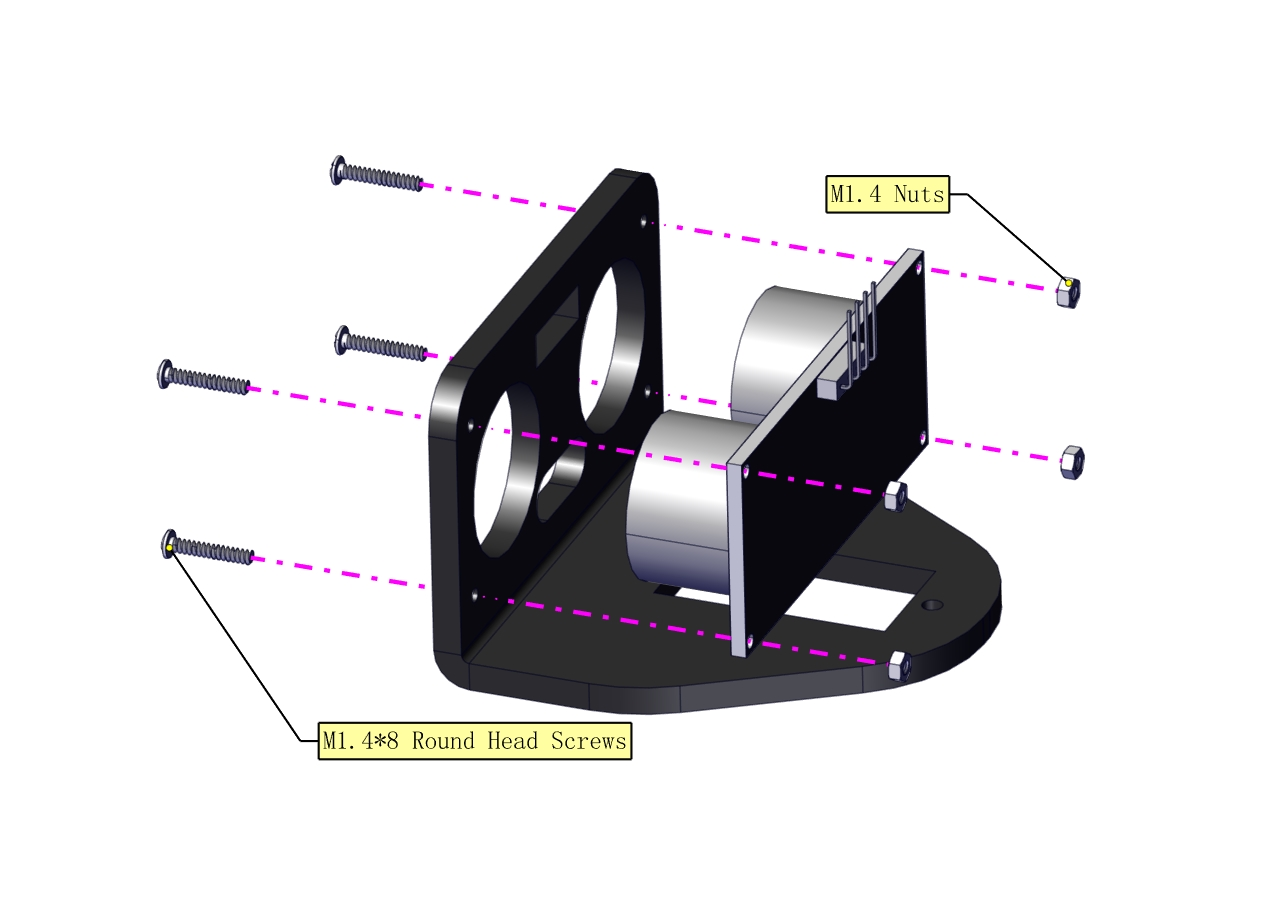
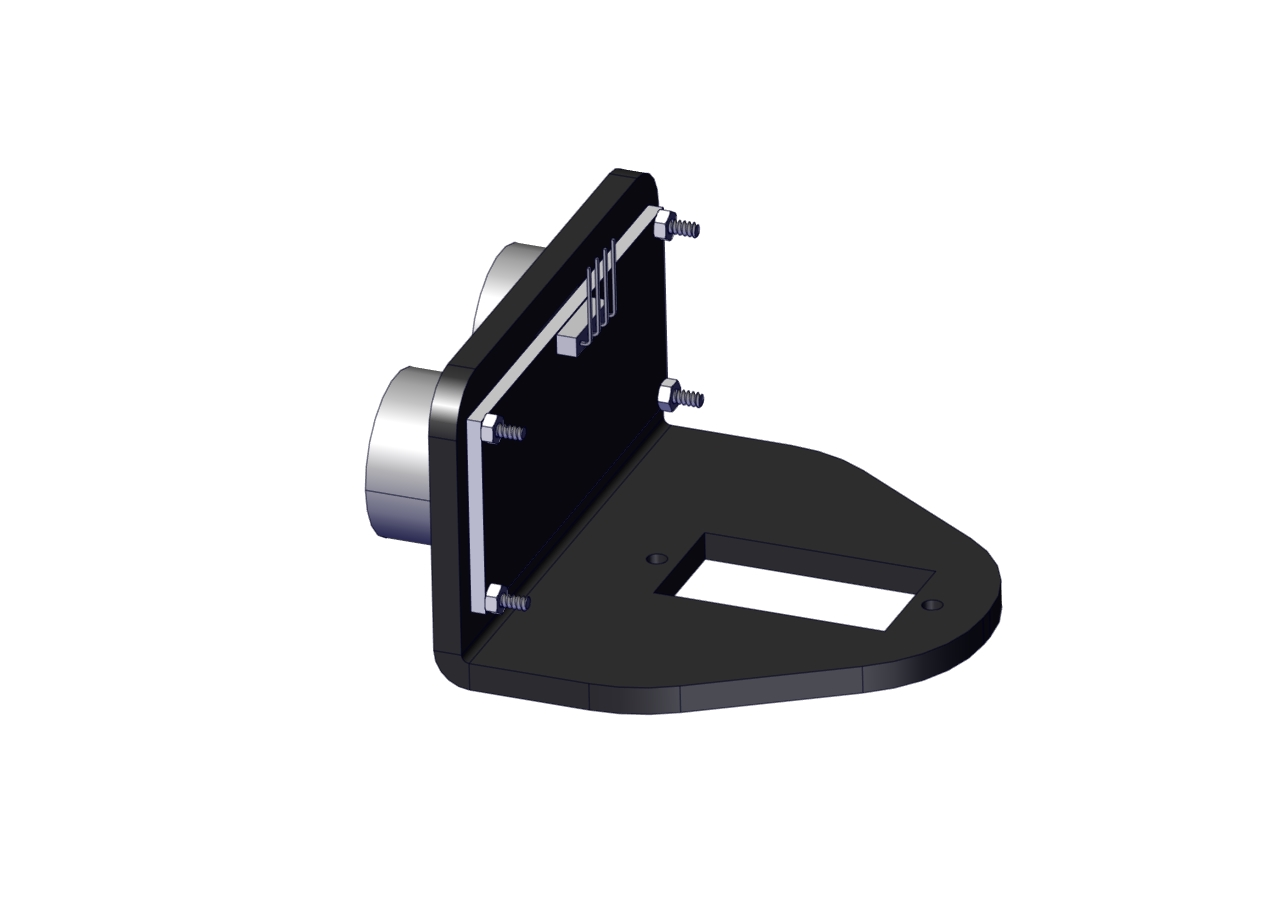
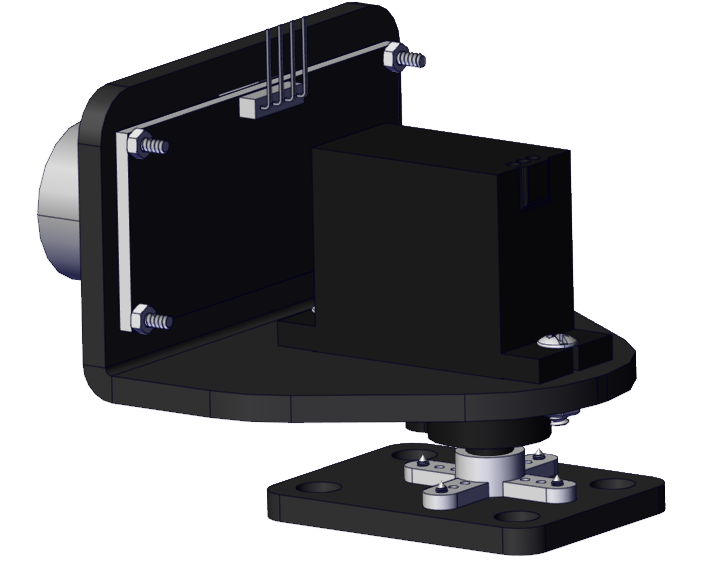
Keep the ultrasonic sensor parallel to the board.
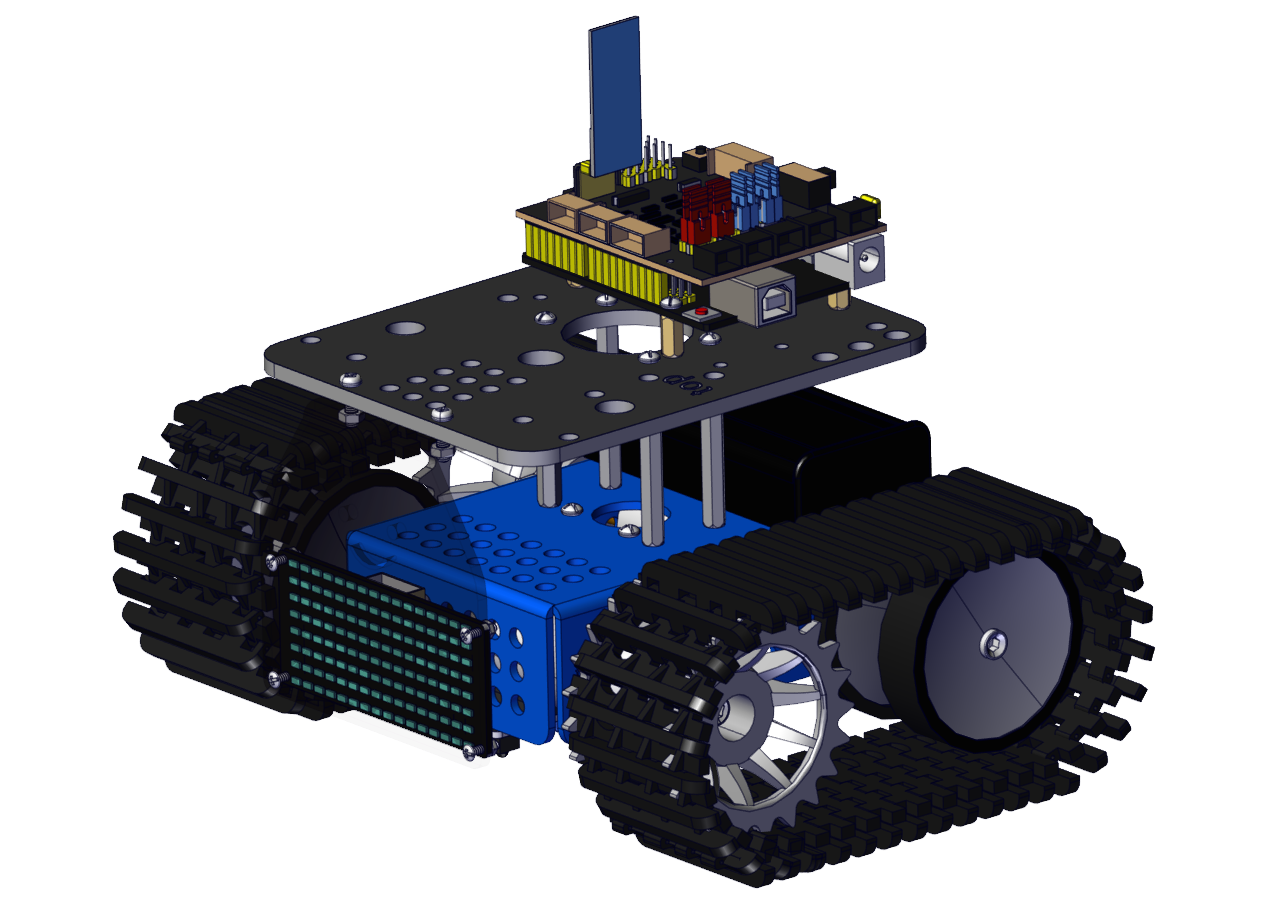
Step 11
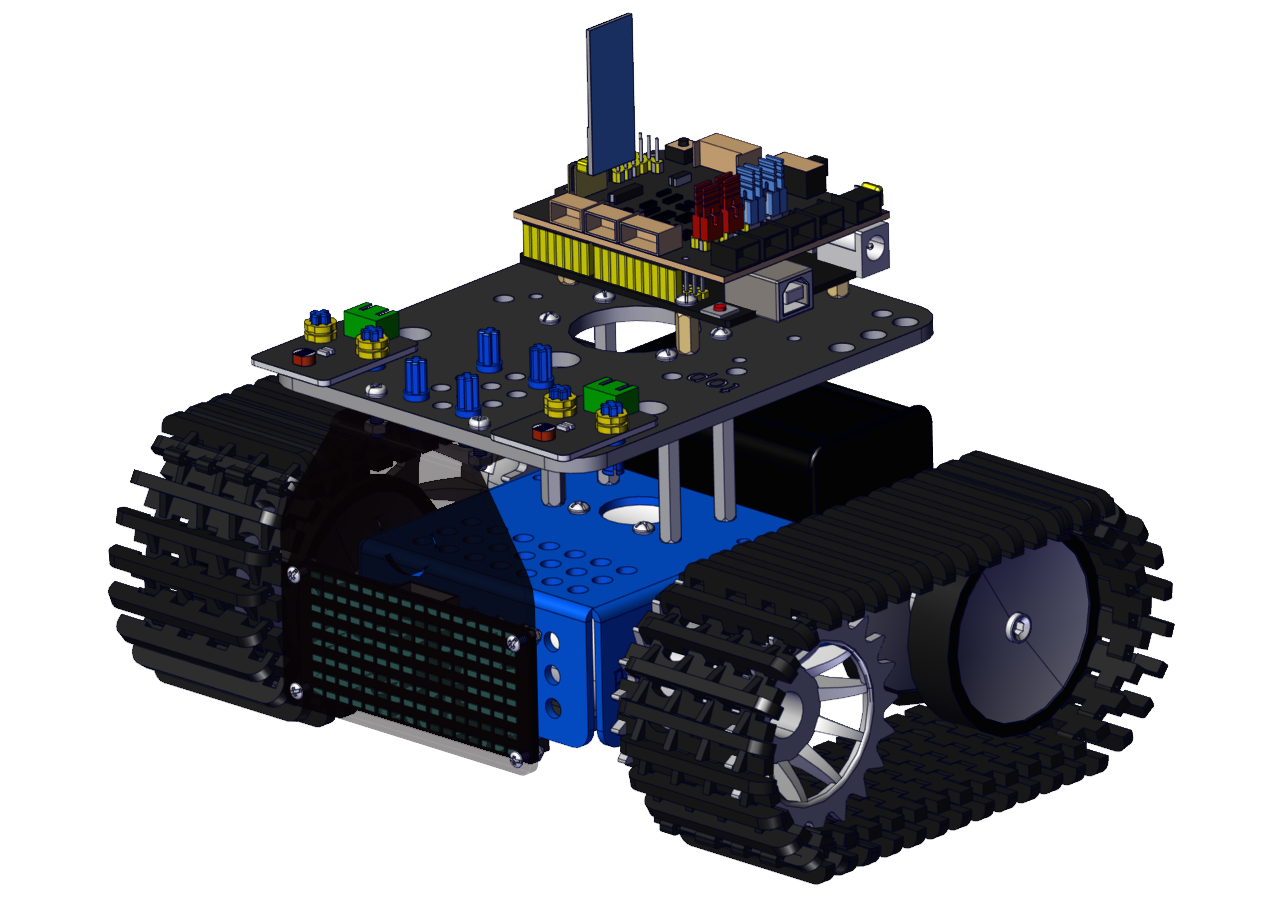
Step 12
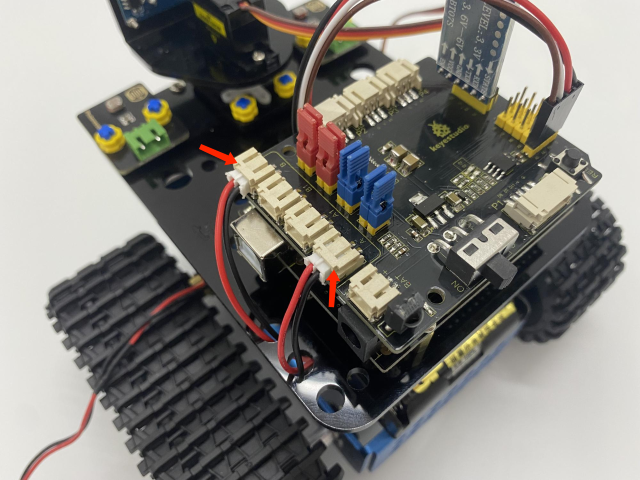
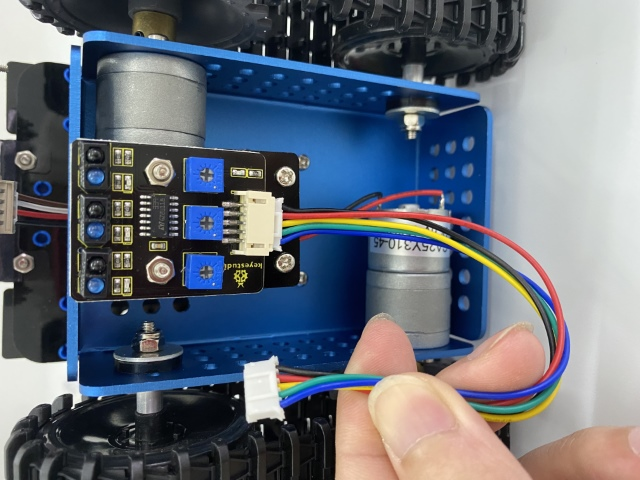
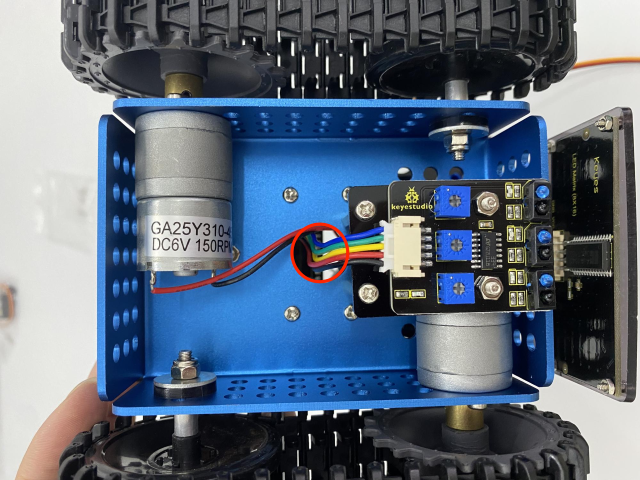
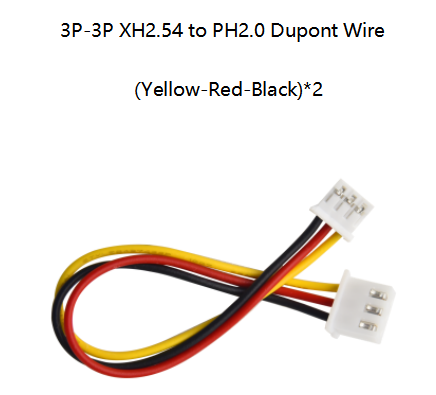
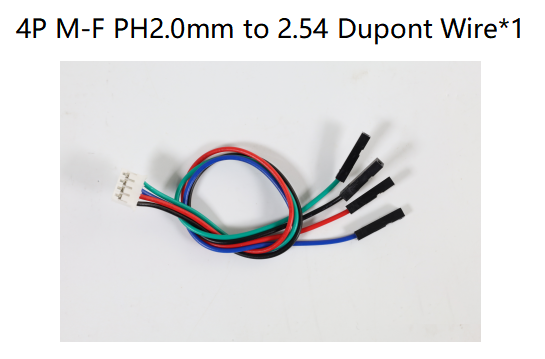
Wire up
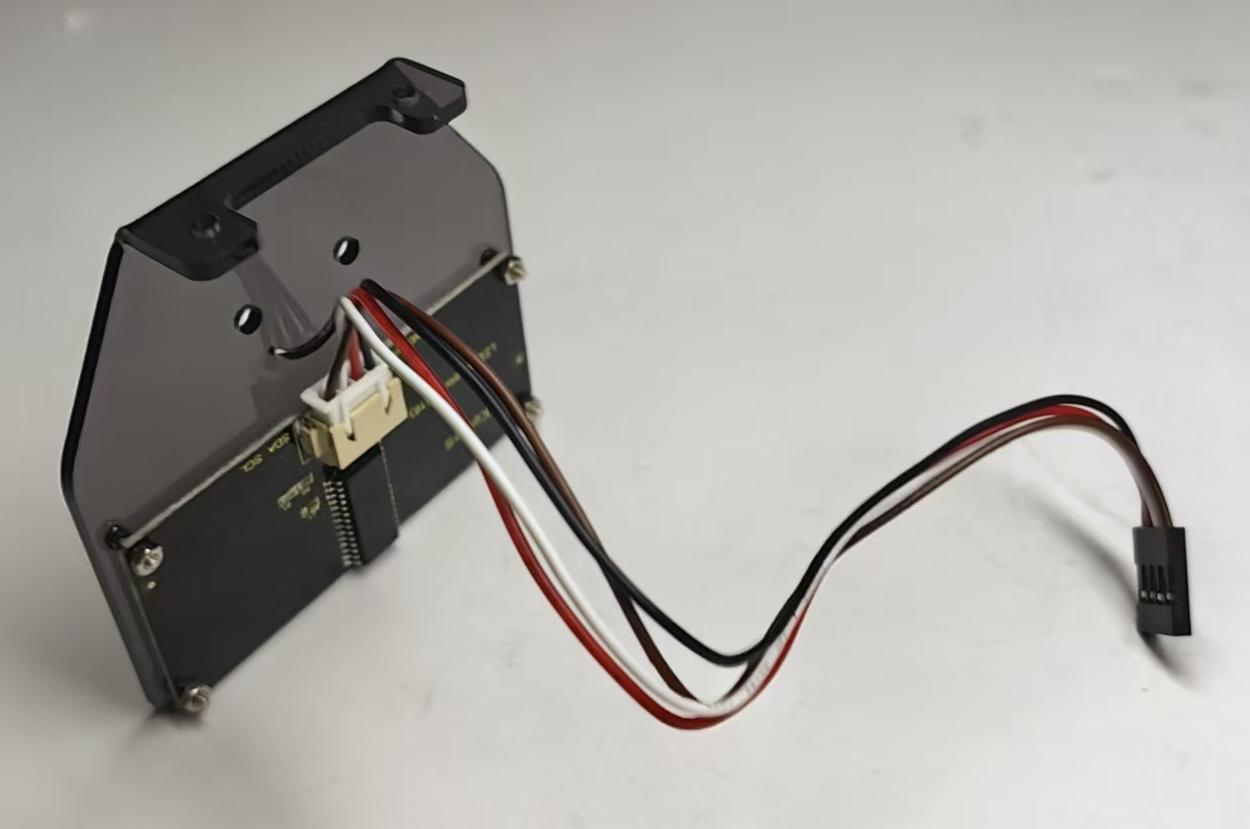
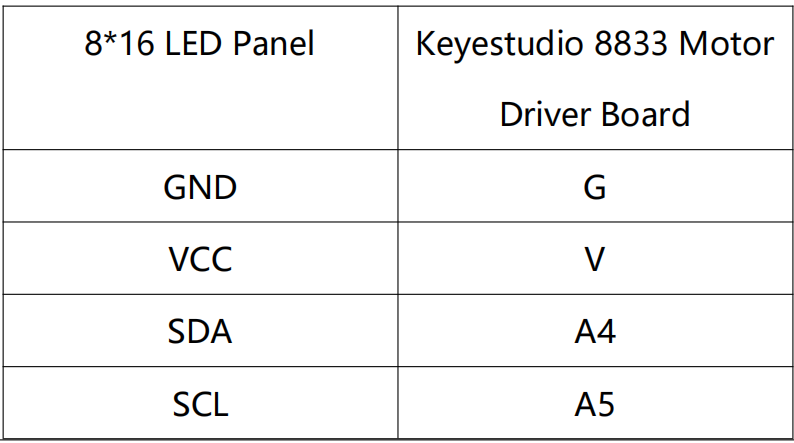
For the 8*16 LED panel, connect the wires to A4 and A5.
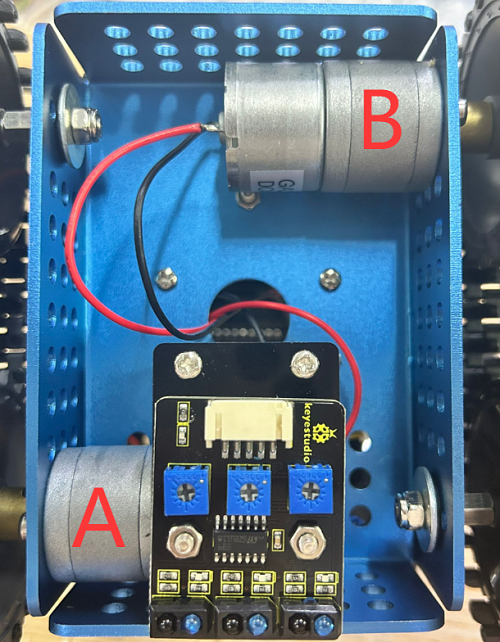
Connect motor A to the A port and motor B to the B port.
Connect the power wire.
Line Tracking Sensor (see the picture):

Wire up the photoresistors:
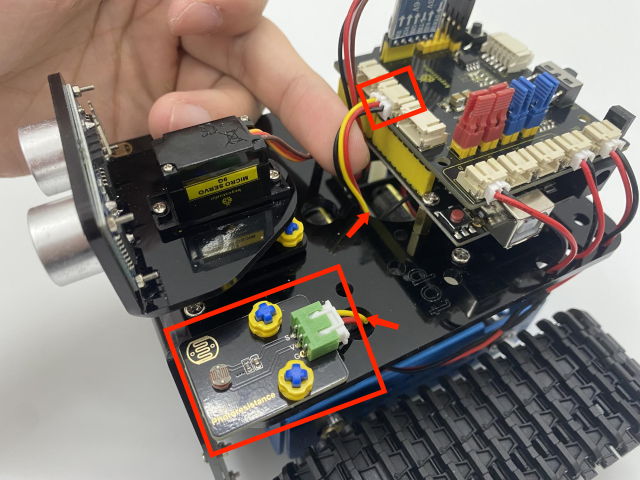
Photoresistor |
Keyestudio 8833 Board |
|---|---|
G |
G |
V |
V |
s |
A1 |
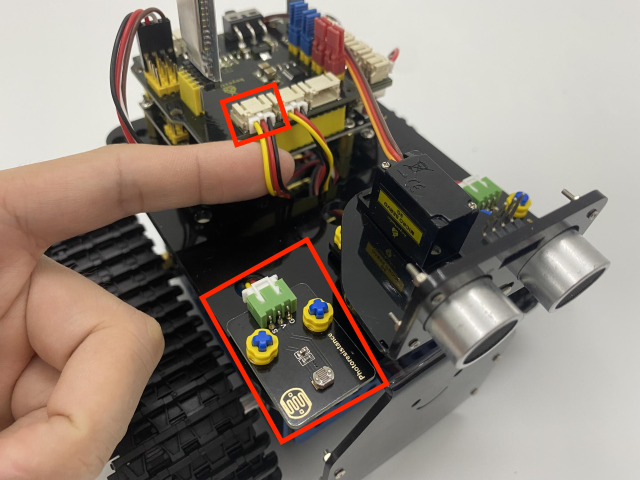
Photoresistor |
Keyestudio 8833 Board |
|---|---|
G |
G |
V |
V |
S |
V2 |
Wire up the ultrasonic sensor:

Ultrasonic Sensor |
Keyestudio 8833 Board |
|---|---|
Vcc |
V |
Trig |
D12 |
Echo |
D13 |
Gnd |
G |
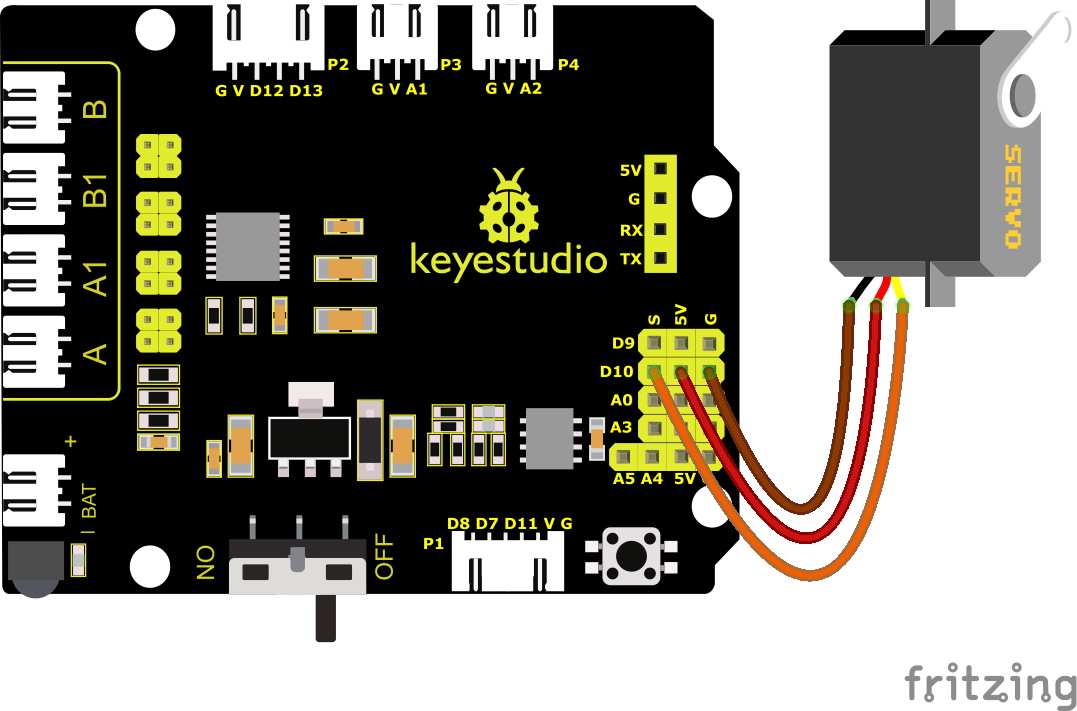
Wire up the servo (D10):
Servo |
Keyestudio 8833 Board |
|---|---|
Brown |
G |
Red |
V(5V) |
Orange |
D10 |
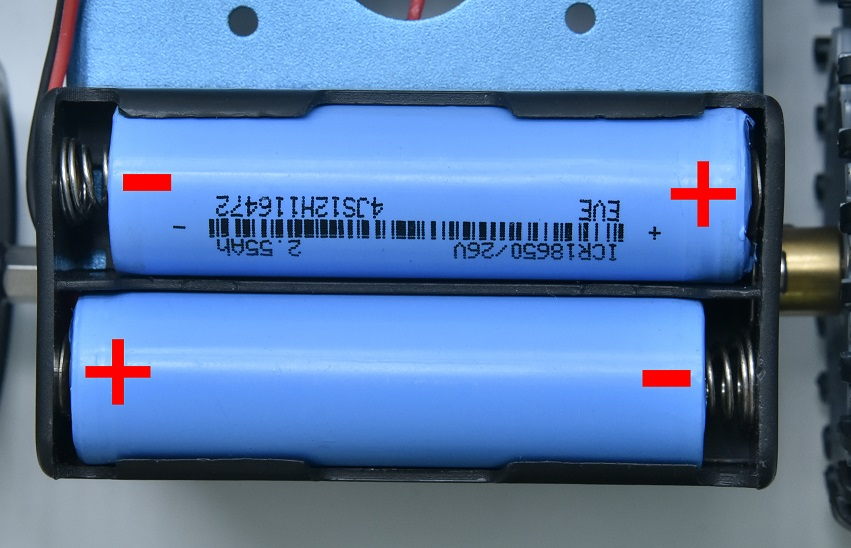
We adopt a model 18650 lithium battery with a pointed positive pole, whose power and capacity are not required.