Development Environment Settings
1. Windows System:
1.1. Install Arduino:
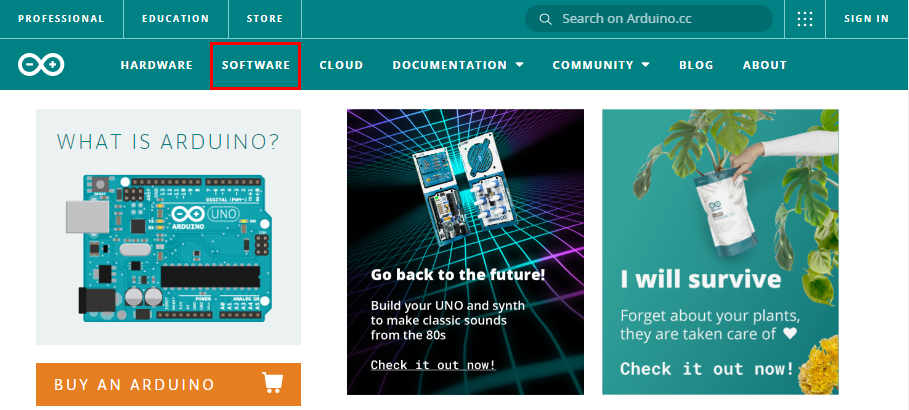
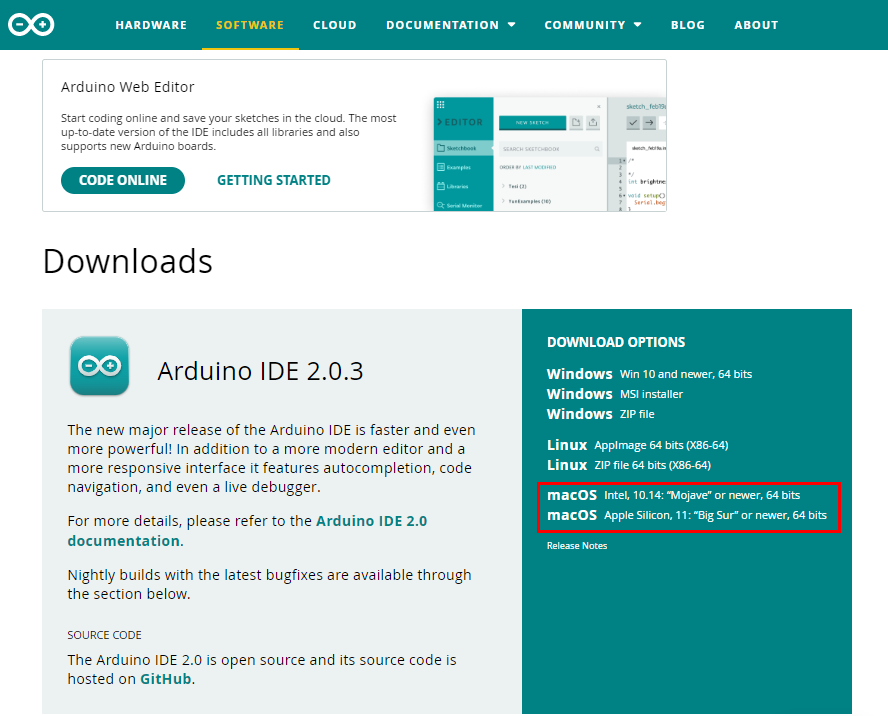
(1)Firstly, download Arduino IDE from the official website: https://www.arduino.cc/ , on the browse bar, then click “SOFTWARE” to enter download page, as shown below:
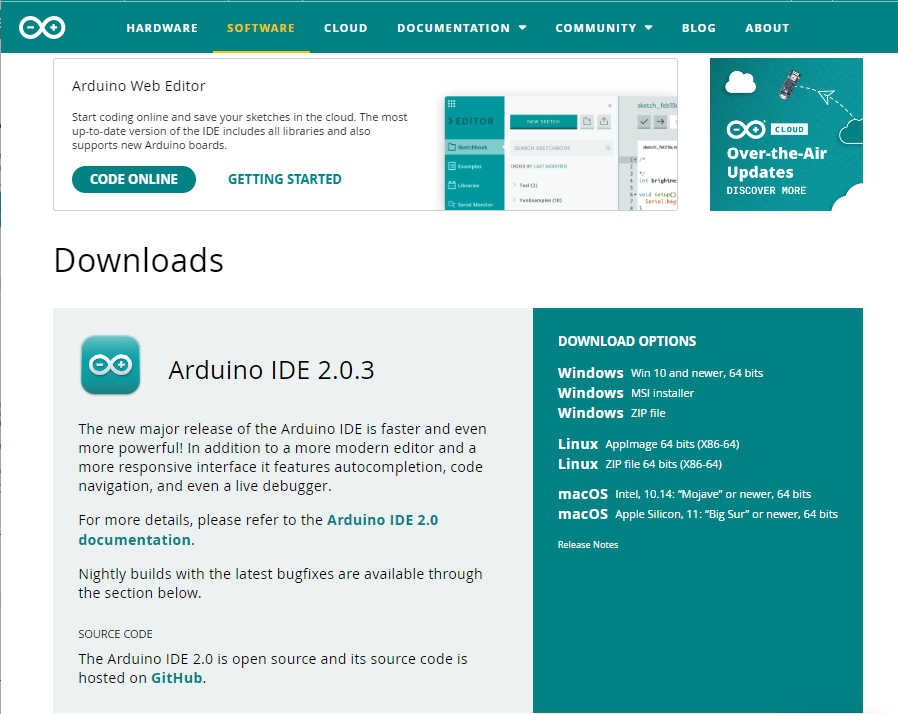
(2)There are various versions of IDE for Arduino. PLease just download a version compatible with your system.
If you are Windows, please install Arduino IDE of v2.0.3. Click “Windows Win10 and newer, 64bits” or “Windows MSI installer” to download and install(.exe).
Here you need to manually download and install the windows version of Arduino IDE. If we click “Windows ZIP file”, Arduino IDE v2.0.3 directly download in a zip format, so you can unzip it to operate without installation.

Click the icon below to install the Arduino IDE directly:
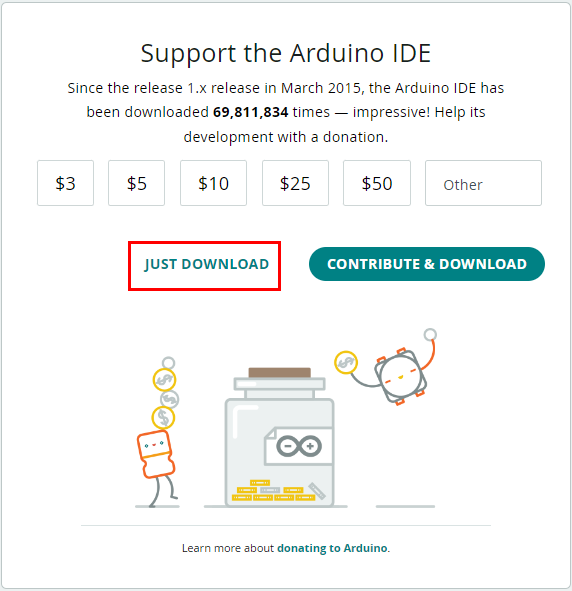
In general, just click “JUST DOWNLOAD” for download, yet if you want, you can choose a small sponsorship to help the great Arduino open source business.
(3)After the Arduino is downloaded, if you download file(.exe)“arduino-ide_2.0.3_Windows_64bit.exe” by clicking “Windows Win10 and newer,64bits” or “Windows MSI installer”, you need to double click file(.exe) to continue its installation.
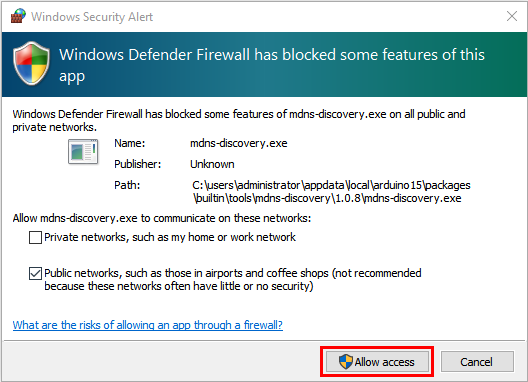
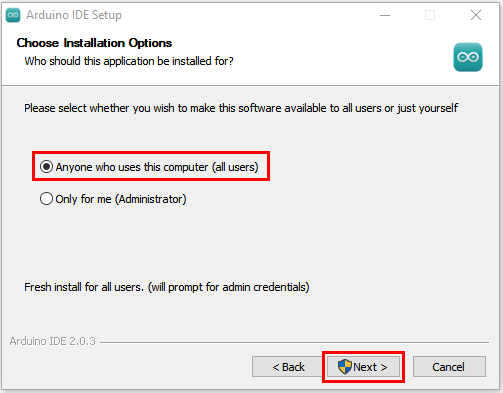
When you are warned by operating system, please click “Allow access” for allowance. Click “I Agree” and select “Anyone who uses this computer(all users)”, and then click “Next”.
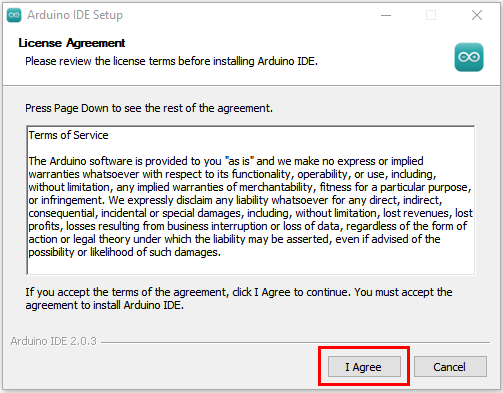
(4)After “Next”, If the following window appears again, please click “I Agree”.
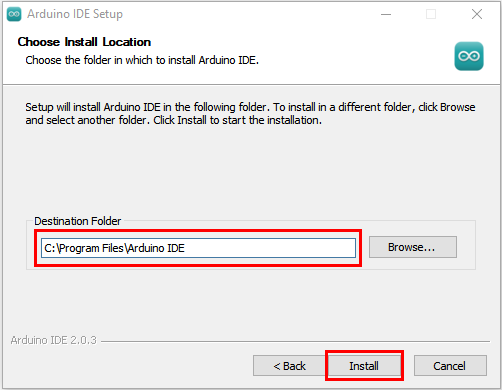
(5)Select your installation path (We recommend keeping the default), and click “Install”.
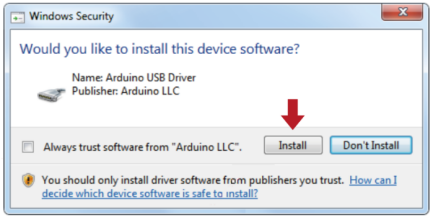
(6) If the following window pops up, please select “Install”.
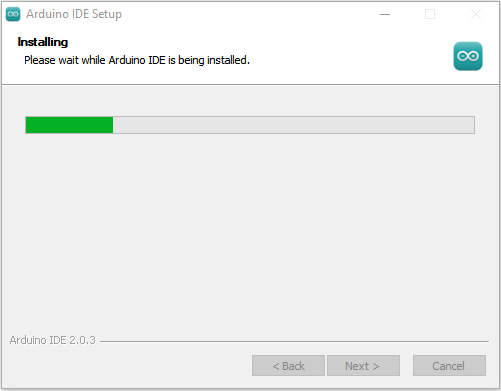
During this process, all necessary files will be extracted and installed, ensuring correct operation of Arduino(IDE).
(7)After finishing the installation, a shortcut of Arduino IDE will automatically generate on your desktop.

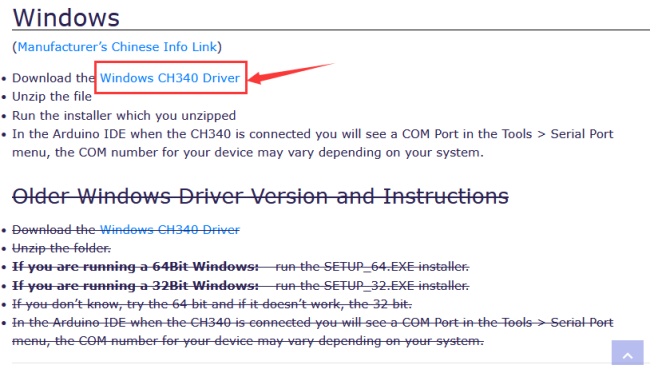
1.2. Download CH340 Driver:
Download link: https://sparks.gogo.co.nz/ch340.html
Here we also provide you our official website for downloading the driver: https://fs.keyestudio.com/CH340-WIN
1.3. Install a Driver:
(Note: If your computer has already installed a CH340 driver, you do not need to install it again. If not, please follow the steps below.)
Now that the Arduino IDE is installed, we need a driver. Connect 328 PLUS control board to your computer via USB cable.
If your computer is Windows10 system, it will install automatically. If it is other systems like Windows7 or Windows8, you need to install it manually.
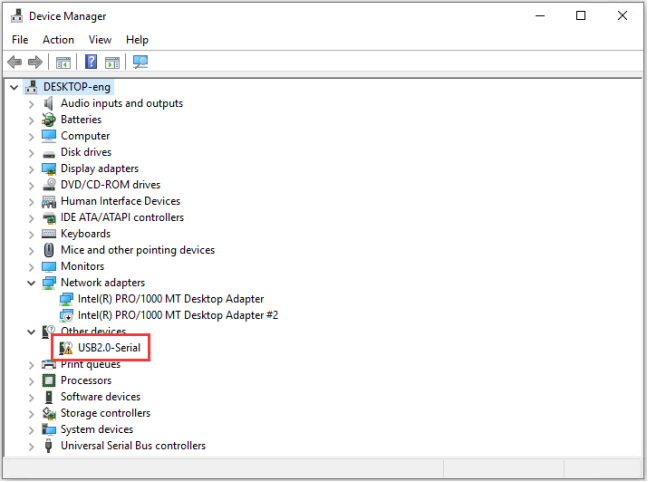
USB-Serial port chip of 328 PLUS control board adopts chip CH340C, so we need a driver for this chip: usb_ch341_3.1.2009.06. If connecting 328 PLUS control board to computer for the first time, please click “My Computer”–“Properties”–“Device Manager”, as follows:
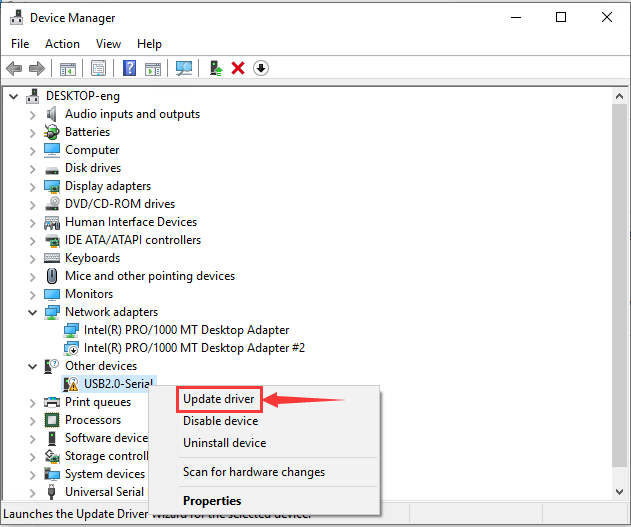
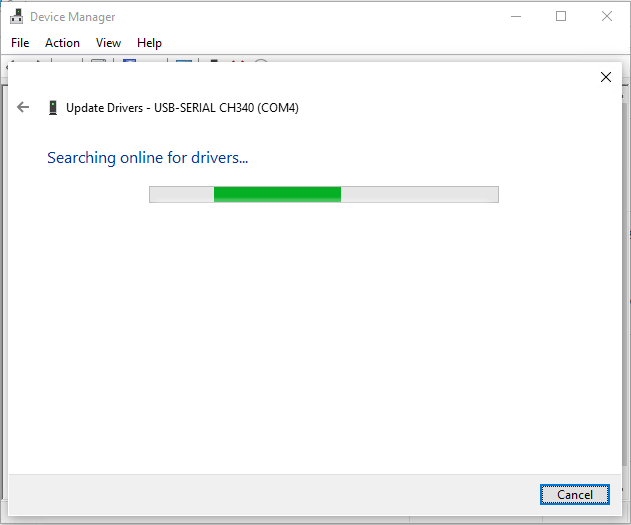
Windows10 will automatically install USB-SERIAL CH340 Driver after a while. However, if it fails to install, please operate manually: right-click “USB2.0-Serial” to select “Update Driver”.
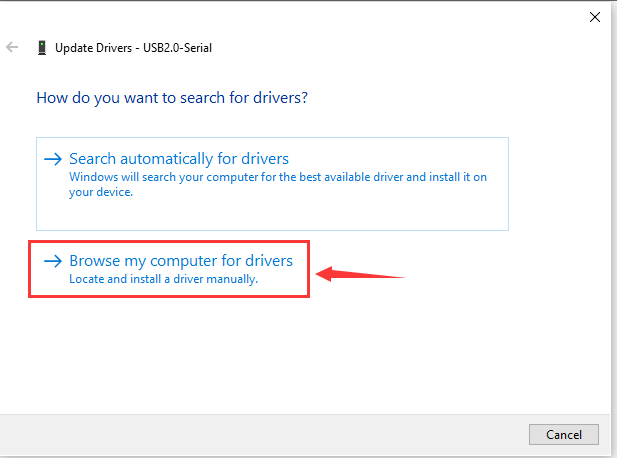
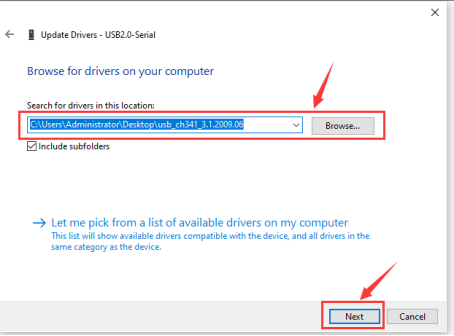
The following page will come out, please select “Browse my computer for driver software”.
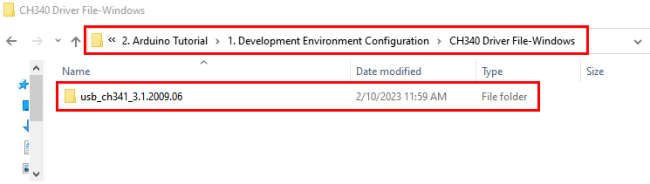
Click “Browse…” and select “usb_ch341_3.1.2009.06 folder”。(Here we move file “usb_ch341_3.1.2009.06 ” on desktop. We have provided it in corresponding folder, so you can use it directly.)
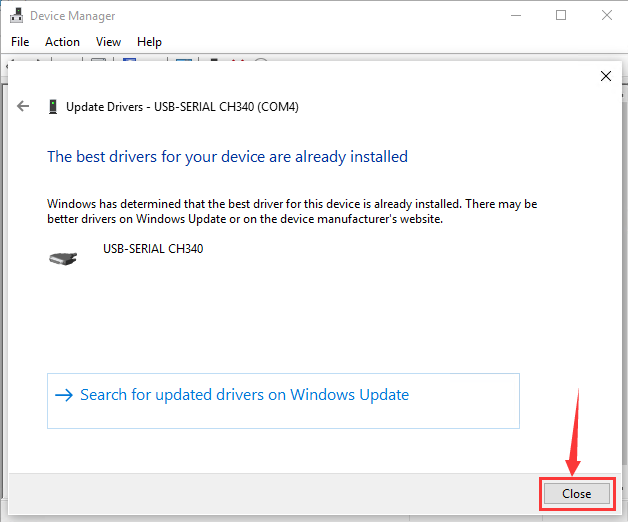
After finishing the installation, click “Close”.
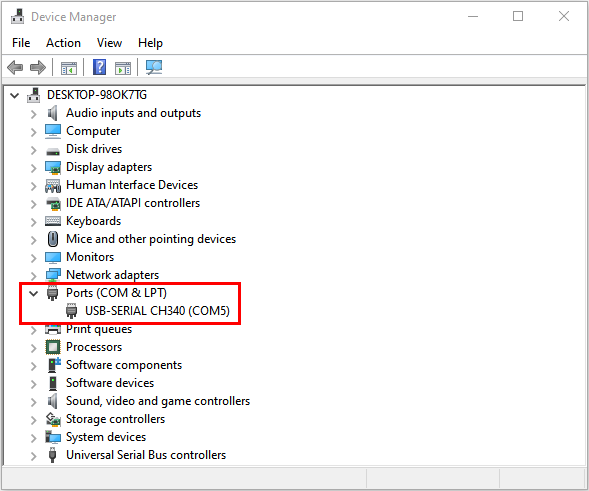
Right-click “My Computer”->“Properties”->“Device Manager”->“Ports”, you will see:
If your computer is not Windows10, please manually select driver files to install it. (Here you need use the driver “usb_ch341_3.1.2009.06” that we provided)
Installation procedures of CH340 Driver is the same as above.
1.4. Arduino IDE Setting and Toolbar Introduction:
After installing 328 PLUS control board driver, we will now introduce how to use Arduino IDE.
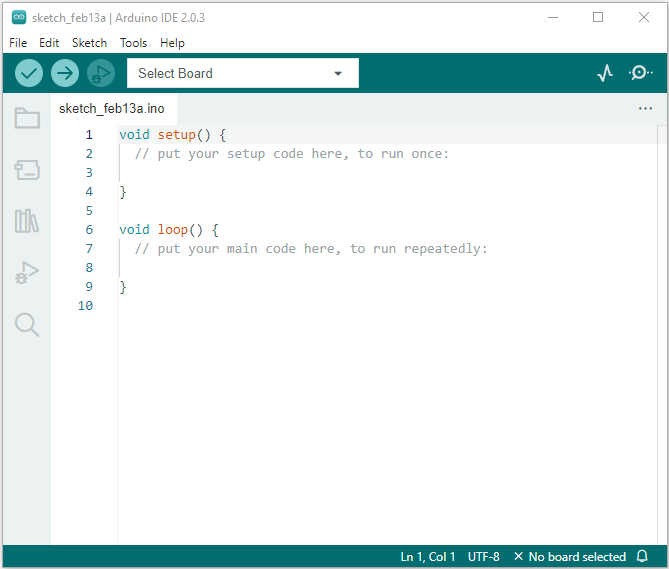
First of all, connect the control board to computer via USB cable, and click  on the desktop to enable Arduino IDE.
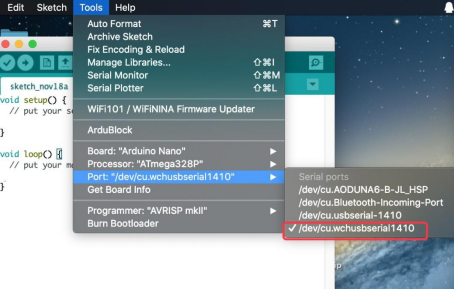
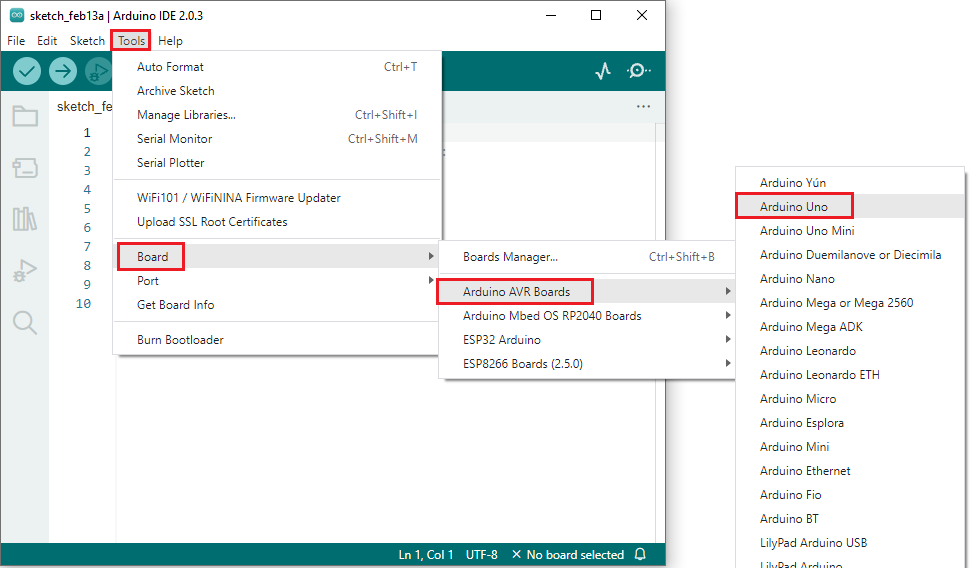
In order for avoiding any error when uploading process on mainboard, please do select the correct Arduino board name, which is compatible with the circuit board connecting with computer. Shift “Tools”→“Board”, and choose a board, as shown below:
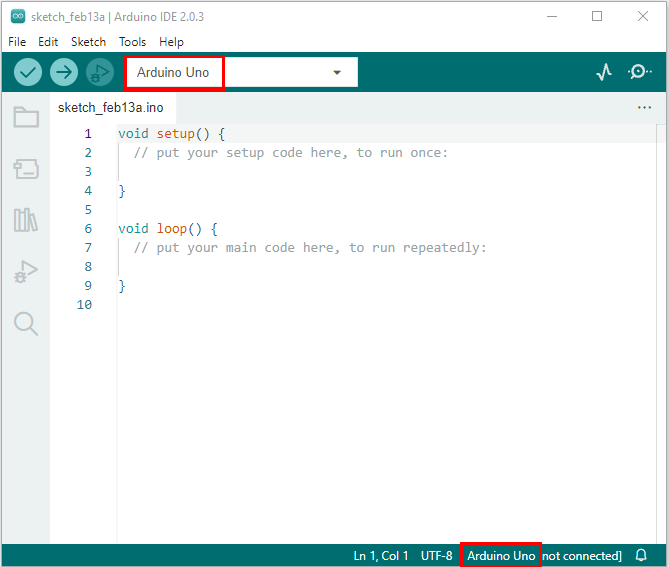
(Special Attention: This kit adopts 328 PLUS main control board, please select “Arduino Uno” when choosing board name)
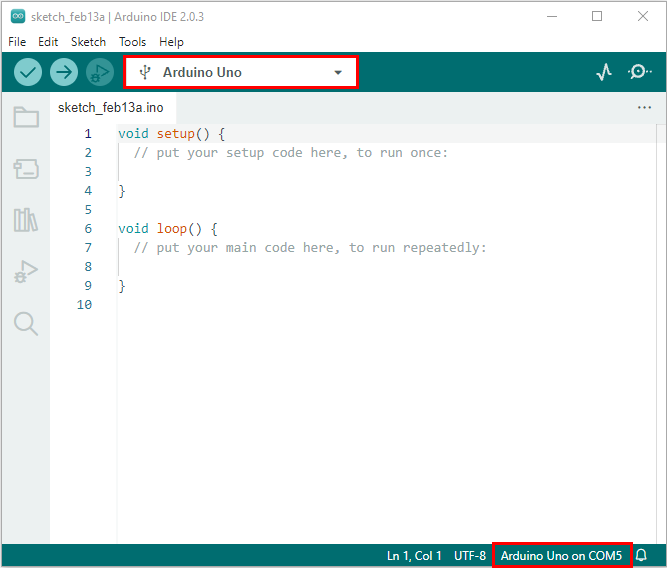
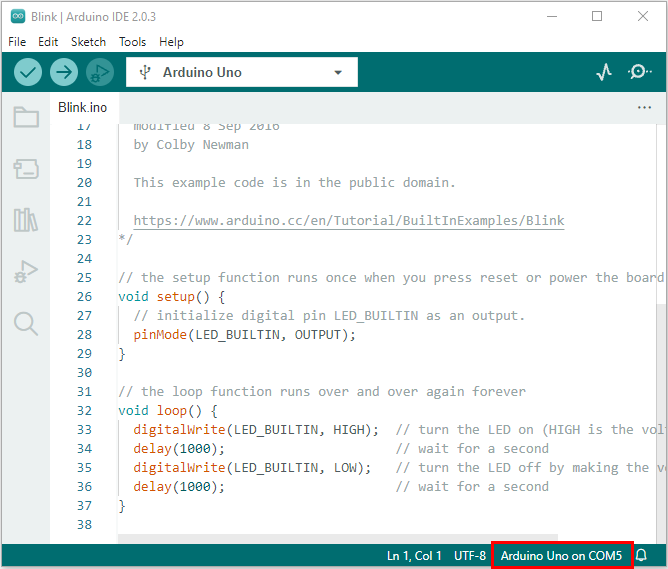
Select a correct COM port (you can see the corresponding COM port if the driver is installed successfully). Note: To avoiding errors, COM port should be compatible with the one displayed on Device Manager.


Before uploading program on 328 PLUS control board, we want to demonstrate the function of each icon on Arduino IDE toobar.
 – Used to verify whether there is any compiling mistake or not.
 – Used to upload the code to your Arduino board.
 – Used to run single-step debugging when coding.
 – Used to send the serial data received from board to the serial monitor.
 – Used to convert the data received by the serial port to a dynamic graph.
 – Used to open the latest sample code you save.
 – Used to install development board manually.
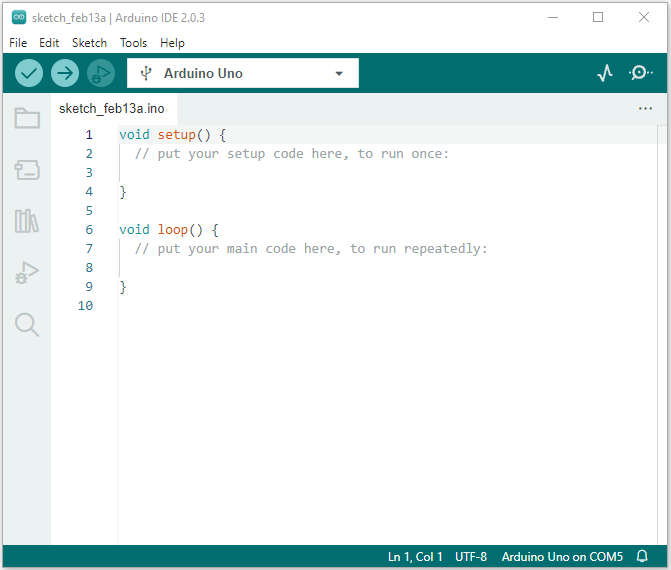
1.5. Launch your first program:
We have already known how to download ArduinoIDE and install the 328 PLUS control board driver, now let’s start our first program.
Click “File” and select “Examples”, choose “Blink” in the first file “Basics”.

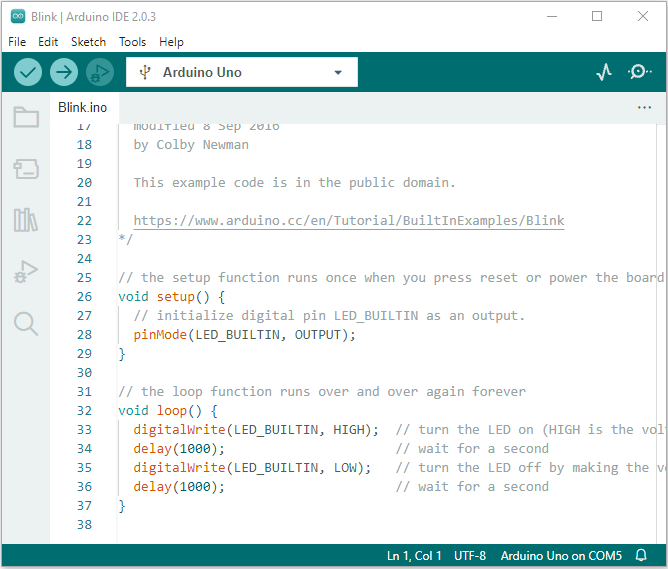
Set board name and COM port as previous paragraphs, and the corresponding name and port will be displayed at the bottom right corner of IDE.
Click  to satrt compiling and examining till “Done compiling” shows.

Click  to upload code till “Done uploading” shows.

If the code uploads successfully, onboard LED will light up for one second and off for another. Congratulations! You compele your first project!
2. Mac System:
2.1. Download and Install Arduino IDE:
The steps are the same as 1.1, as shown below:
2.2. Download and Install CH340 Driver:
Download Link: https://wiki.keyestudio.com/Download_CH340_Driver_on_MAC_System
2.3. Set Arduino IDE:
The setting method is the same as 1.4 with the exception of COM port, as the following: