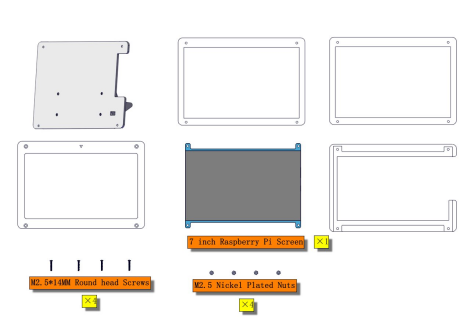
SMP0073 7 inch Screen Kit for Raspberry Pi
1. Kit
No. |
Model |
QTY |
Picture |
|---|---|---|---|
1 |
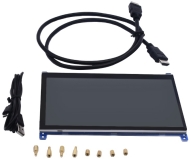
Raspberry Pi 7 inch HDMI HD Screen |
1 |
|
2 |
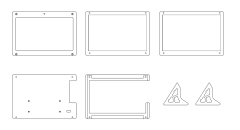
7Pcs Acrylic Sheets for Raspberry Pi Display |
1 |
|
3 |
M2.5 * 14MM Round Head Screws |
6 |
|
4 |
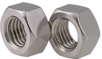
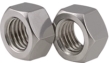
M2.5 Nickel Plated Nuts |
6 |
|
5 |
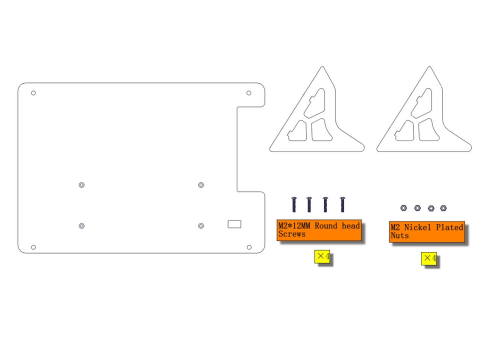
M2*12MM Round Head Screws |
6 |
|
6 |
M2 Nickel Plated Nuts |
6 |
|
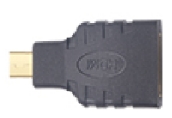
7 |
Micro HMDI Adapter XT800 MB810 HTC P990 XT720 |
1 |
|


2. Parameter
Type: TFT Liquid Crystal Screen
Size:7 inch
Resolution Ratio:1024*600
Port: HDMI(Video Data)+ USB(Touch Data+5V )
Color:16.7M
Brightness:350cd/m^2
Response Time:15ms
Visible Angle: Up 60°, Down 70°, Left 70°, Right 70°
Screen/Display: Tempered glass touch panel,wear resisting and scratch resistant
Power Supply: USB port,5V\480mA
Support Win7\Win8\Win10\Linux\Android system
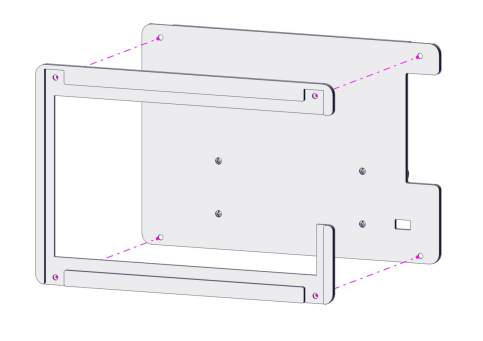
3. Installation Guide
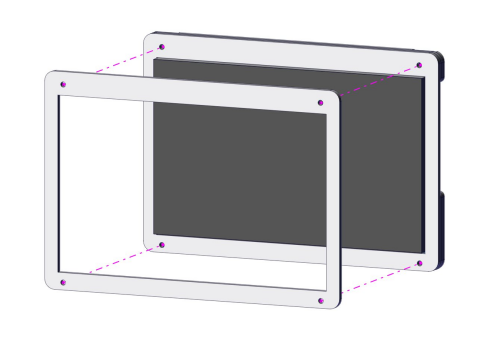
Step 1
Parts required for installation
Install
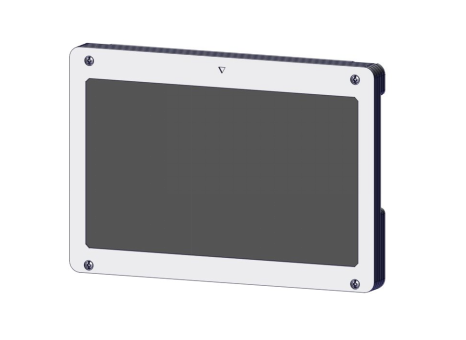
Installation Complete
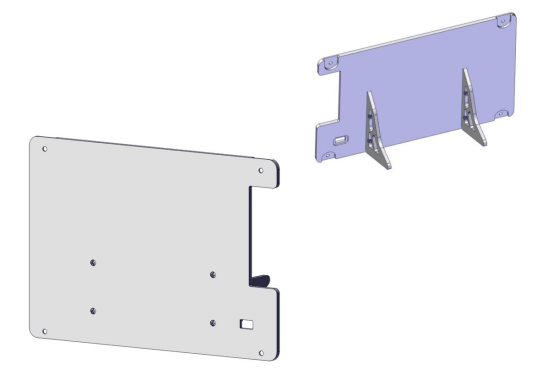
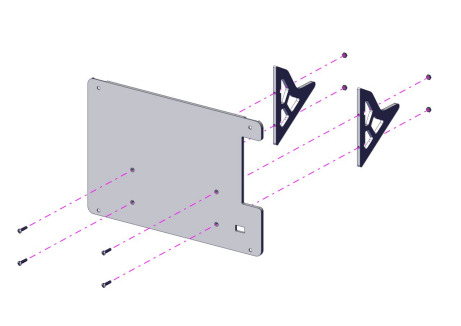
Step 2
Parts required for installation
Install
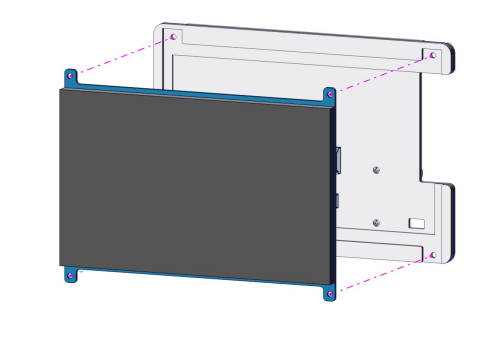
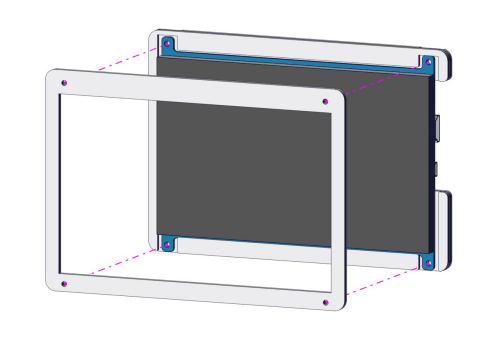
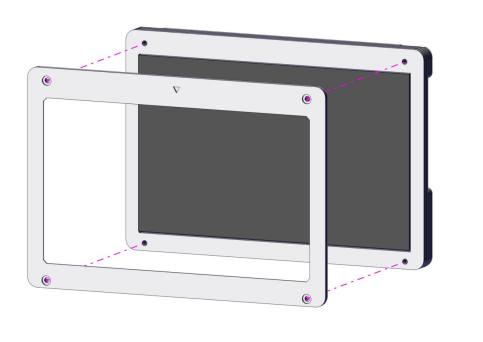
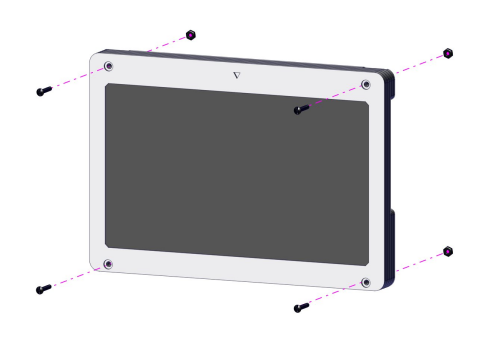
Installation Complete
4. Connect to Raspberry Pi

Note: Install Raspberry Pi Desktop system, otherwise the desktop won’t be shown.
5. Configure Parameter
Set the HDMI output resolution ratio of Raspberry Pi as follows:
(1)Open config.txt file under the root directory of TF card and add the following statements at the end of file.
max_usb_current=1
hdmi_force_hotplug=1
hdmi_group=2
hdmi_mode=87
hdmi_timings=1024 0 168 32 120 600 0 15 6 14 0 0 0 60 0 51200000 3
hdmi_drive=1
Note:
(A)Each statement on single line (B)The space can’t be at either side of“=” ©Add space among the numbers after hdmi_timings statement. (2)Save config.txt file after editing the statements (3)Insert TF card into Raspberry Pi and reboot it (4)If it is Raspberry Pi 4B, connect HDMI cable of display to HDMI0 port of 4B and block the following statements
#dtoverlay=vc4-fkms-v3d
#max_framebuffers=2