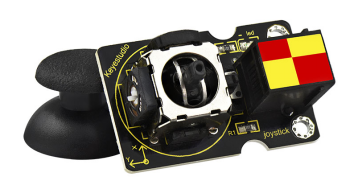
KS0245 keyestudio EASY plug Joystick Module
1. Introduction
Lots of robot projects need joystick. This module provides an affordable solution.
By simply connecting to two analog inputs, the robot is at your commands with X, Y control. It also has a switch that is connected to a digital pin.
This joystick module can be easily connect to EASY PLUG control board with only one cable.
Special Note:
The sensor/module is equipped with the RJ11 6P6C interface, compatible with our keyestudio EASY plug Control Board with RJ11 6P6C interface.
If you have the control board of other brands, it is also equipped with the RJ11 6P6C interface but has different internal line sequence, can’t be used compatibly with our sensor/module.
2. Specifications
Supply Voltage: 3.3V to 5V
Interface: Digital
3. Technical Details
Dimensions: 45mm * 28mm * 33mm
Weight: 12.5g
4. Connect It Up
Connect the EASY Plug Joystick module to control board using an RJ11 cable. Then connect the control board to your PC with a USB cable.
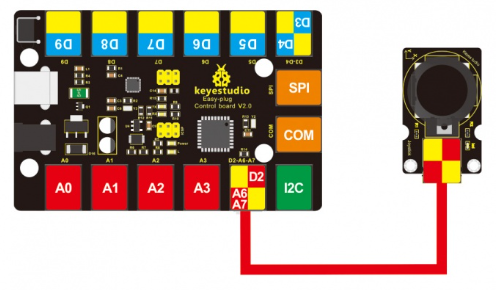
Note: X-axis is connected to A6, Y-axis is connected to A7, Z-axis is default by D2
5. Upload the Code
Download code : Code
int JoyStick_X = 6; //x
int JoyStick_Y = 7; //y
int JoyStick_Z = 2; //key

void setup()
{
  pinMode(JoyStick_Z, INPUT);
  Serial.begin(9600); // 9600 bps
}

void loop()
{
  int x,y,z;
  x=analogRead(JoyStick_X);
  y=analogRead(JoyStick_Y);
  z=digitalRead(JoyStick_Z);
  Serial.print(x ,DEC);
  Serial.print(",");
  Serial.print(y ,DEC);
  Serial.print(",");
  Serial.println(z ,DEC);
  delay(100);
}
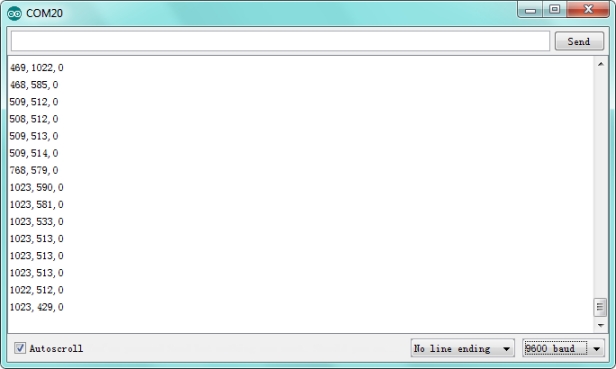
6. Result
Done uploading the code, open the serial monitor and set the baud rate to 9600. If push the Joystick button towards different direction, you should get the different value.