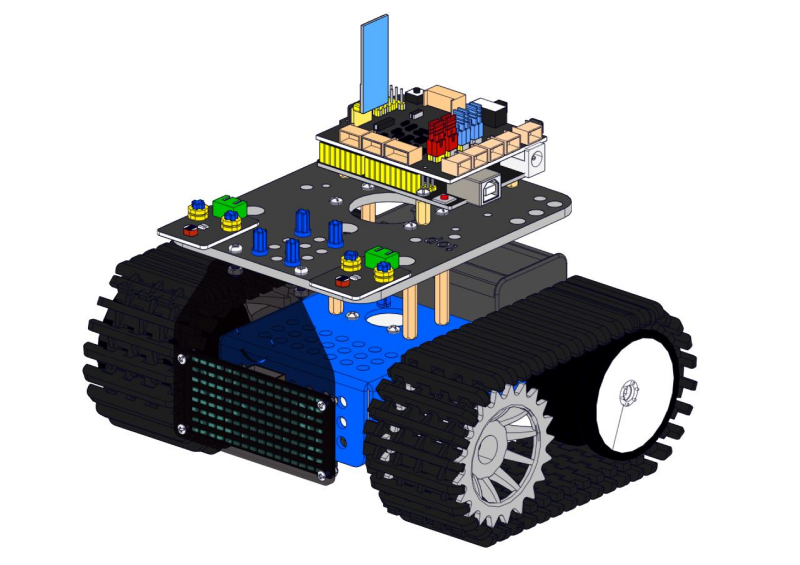
2. Product Installation
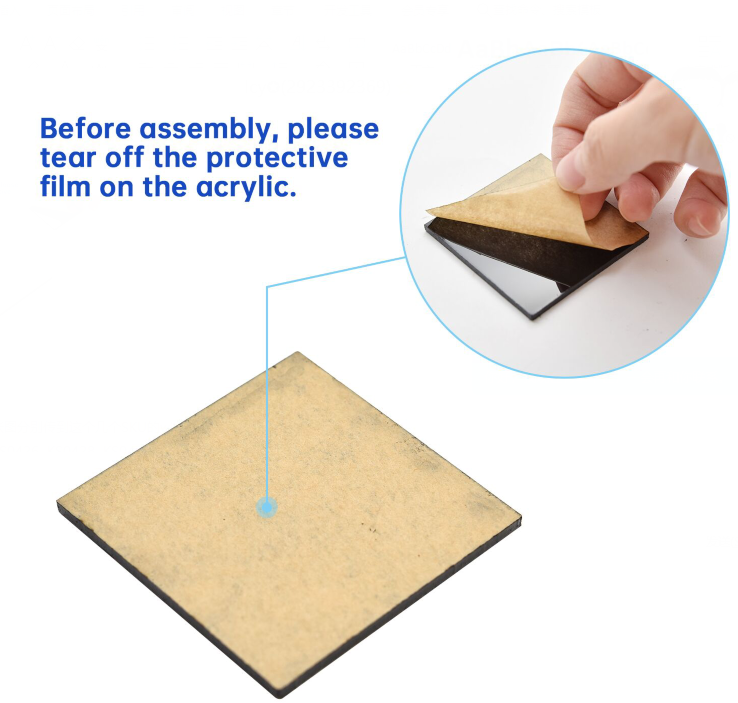
Caution: Set the initial angle of the servo Peel thin films off boards before installing this robot .
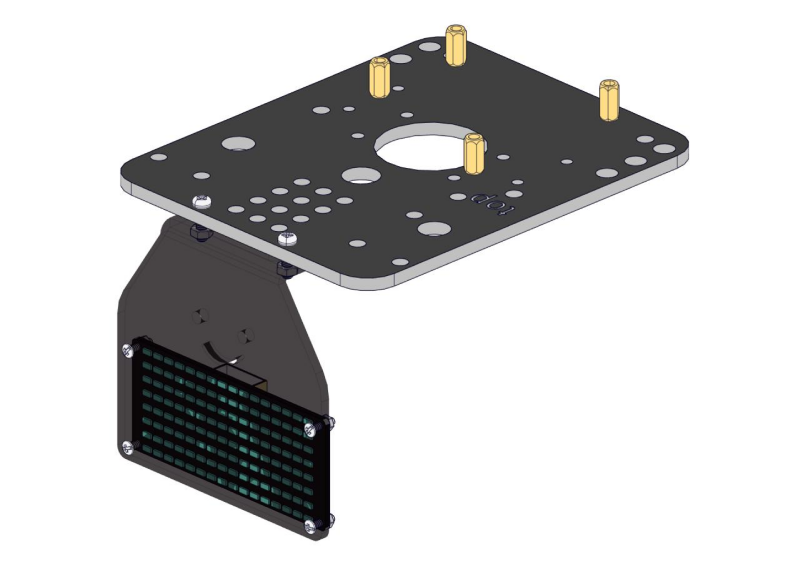
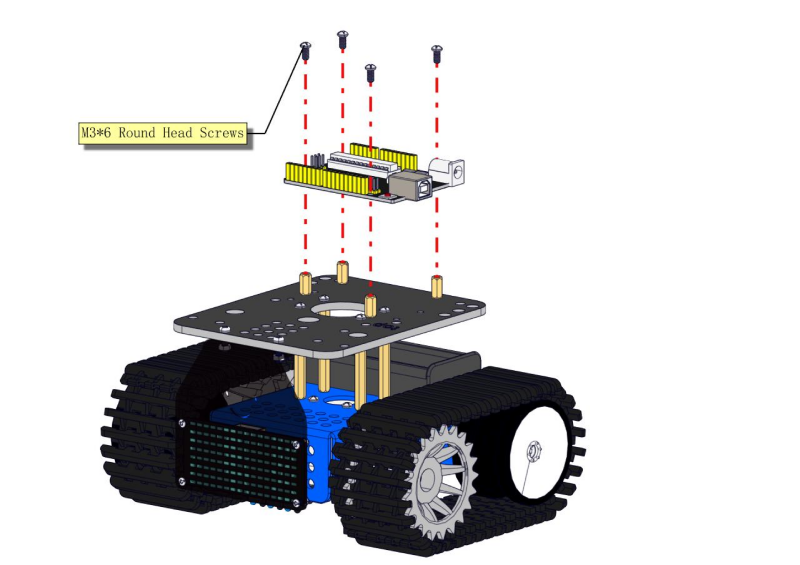
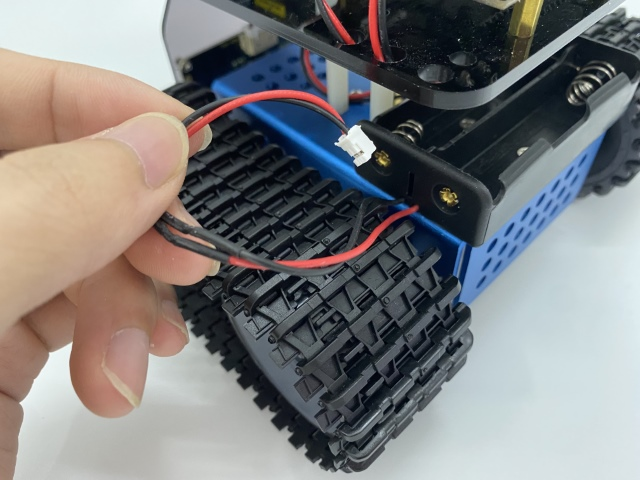
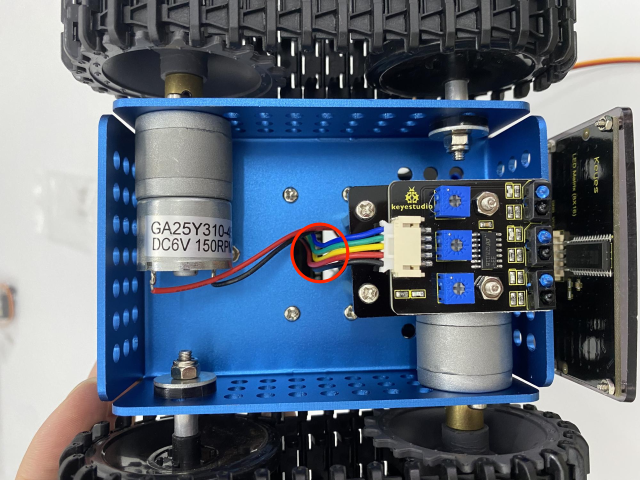
Step1
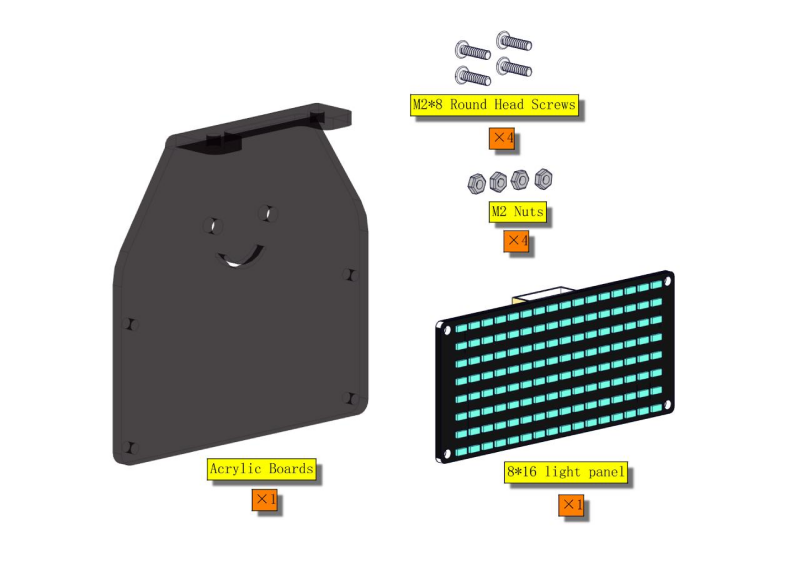
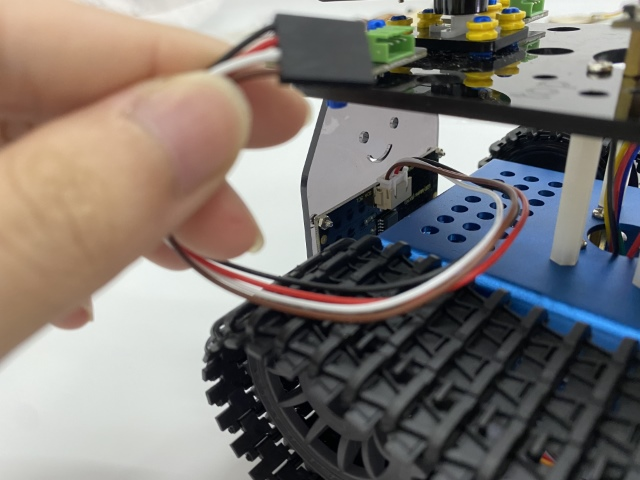
Please wire up first.
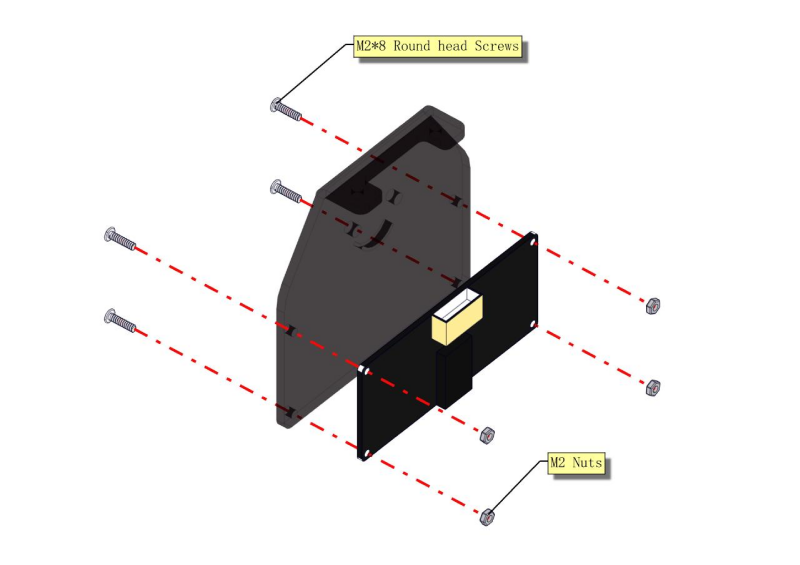
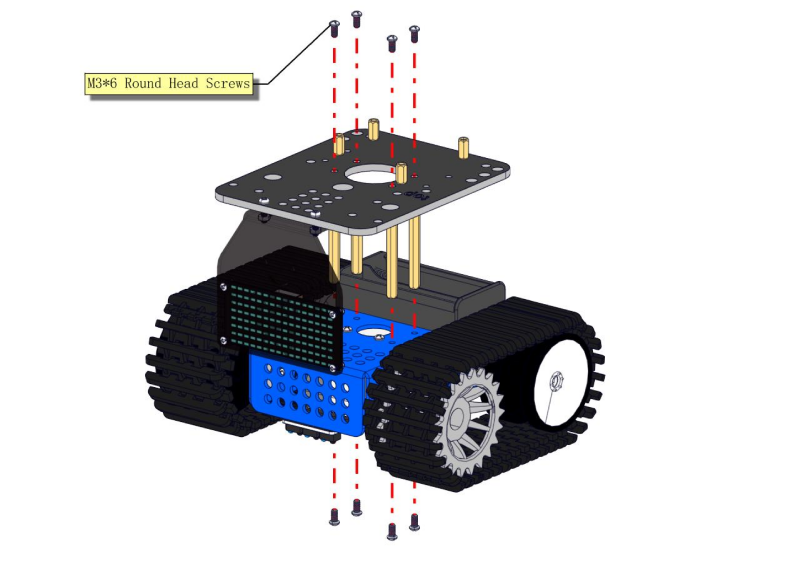
**Step2 **
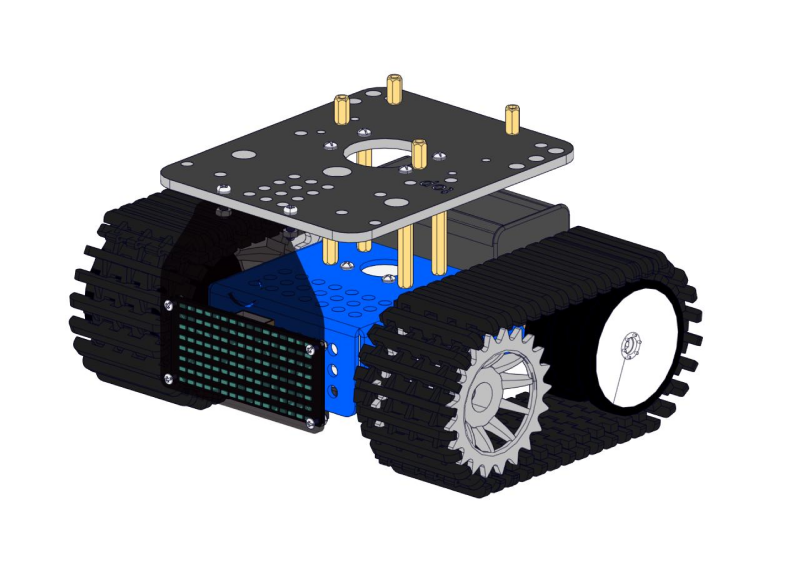
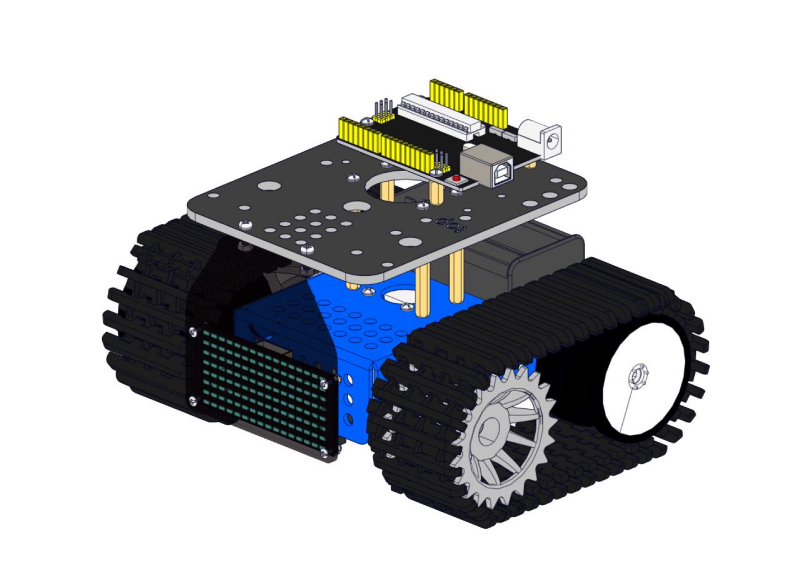
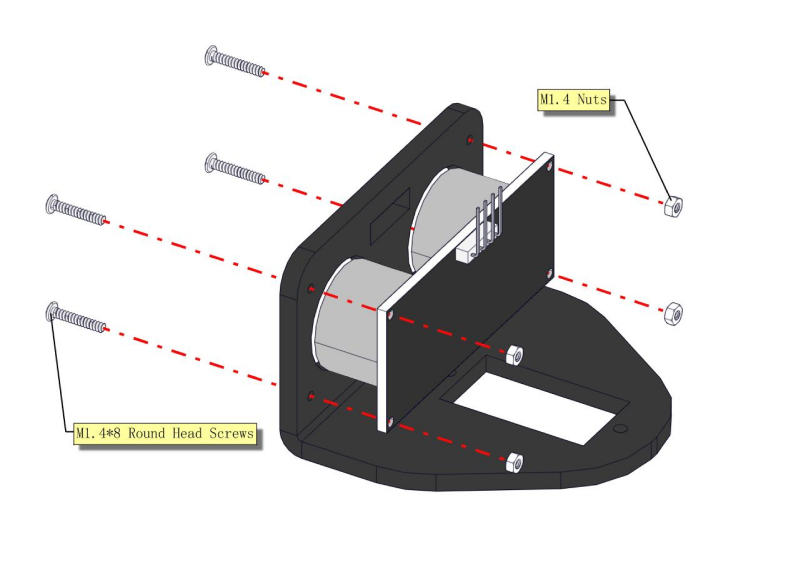
Step 3

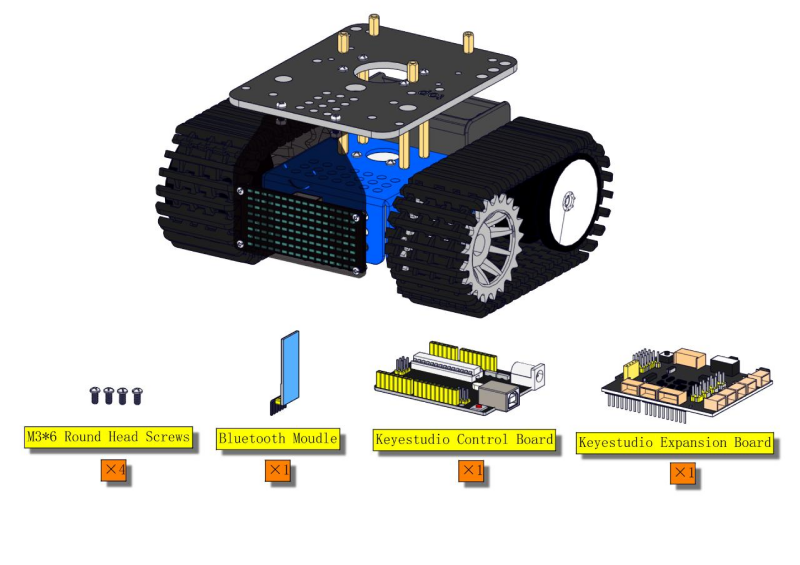
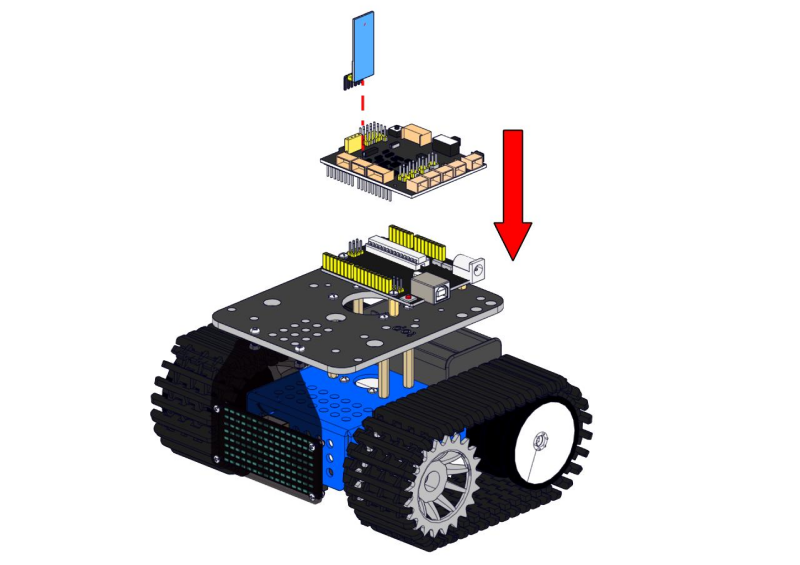
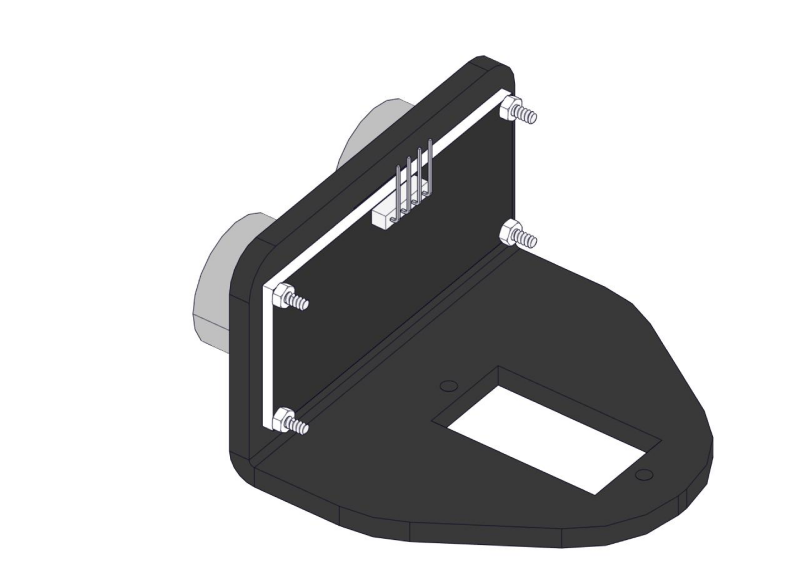
Step 4
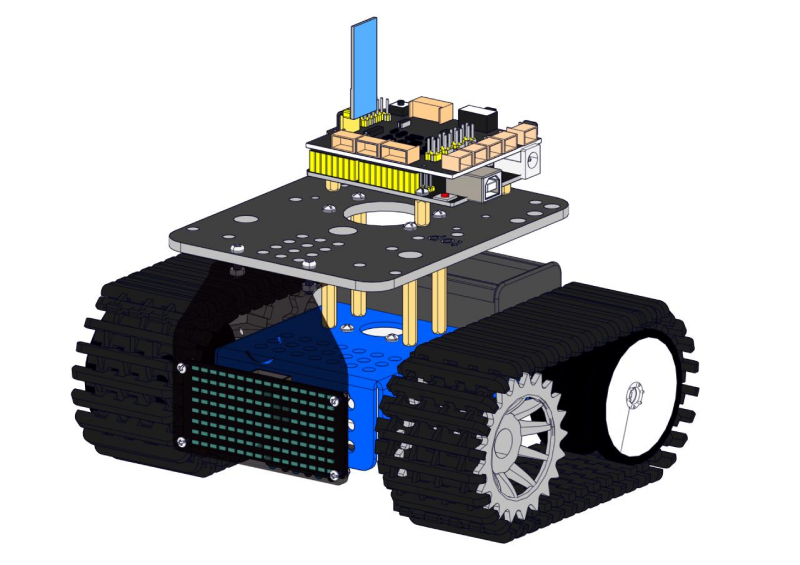
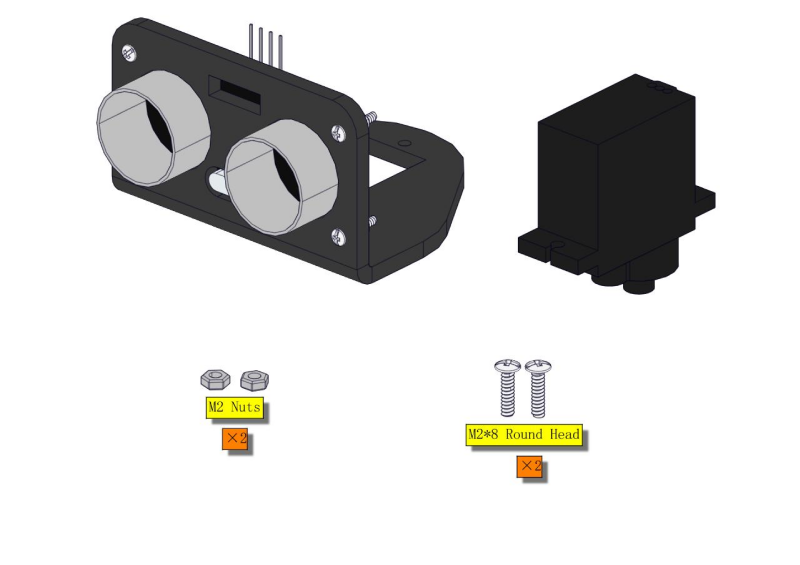
Step 5
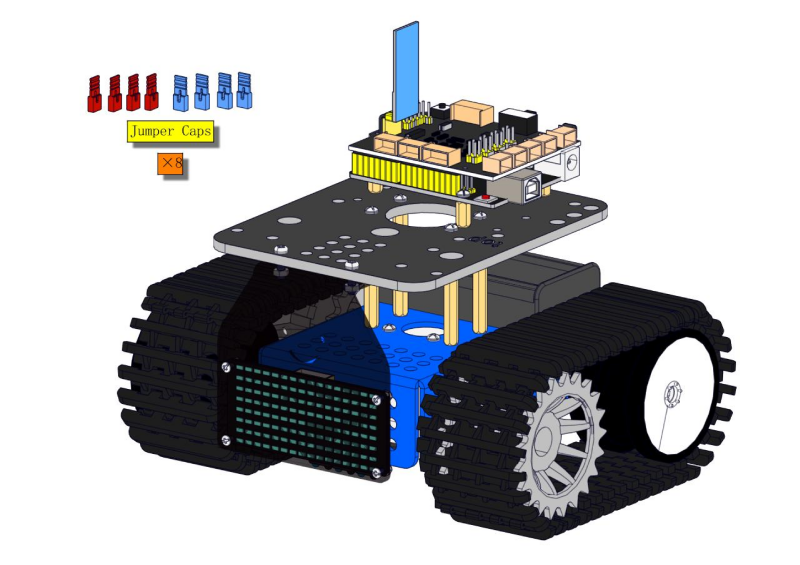
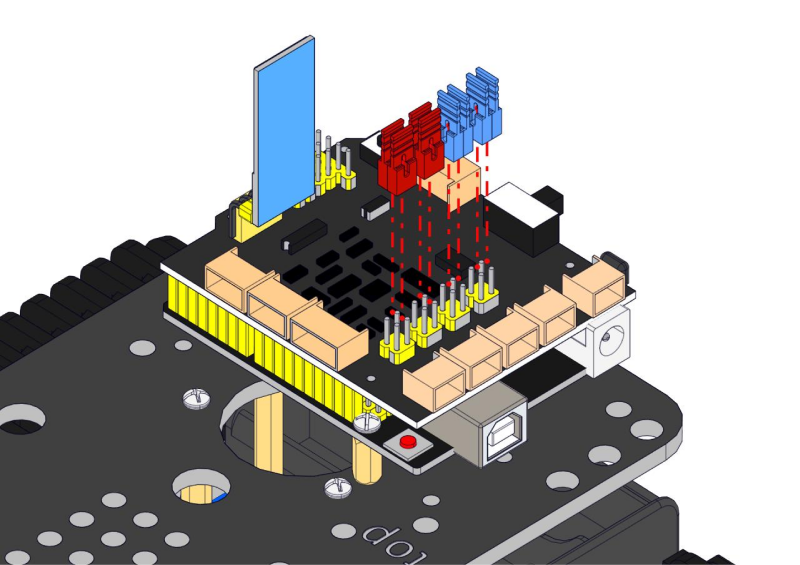
Note the direction of jumper caps.
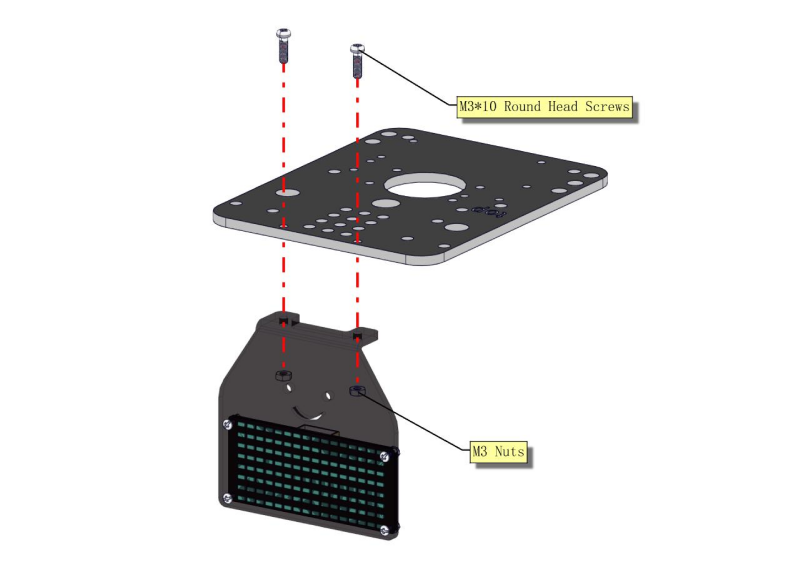
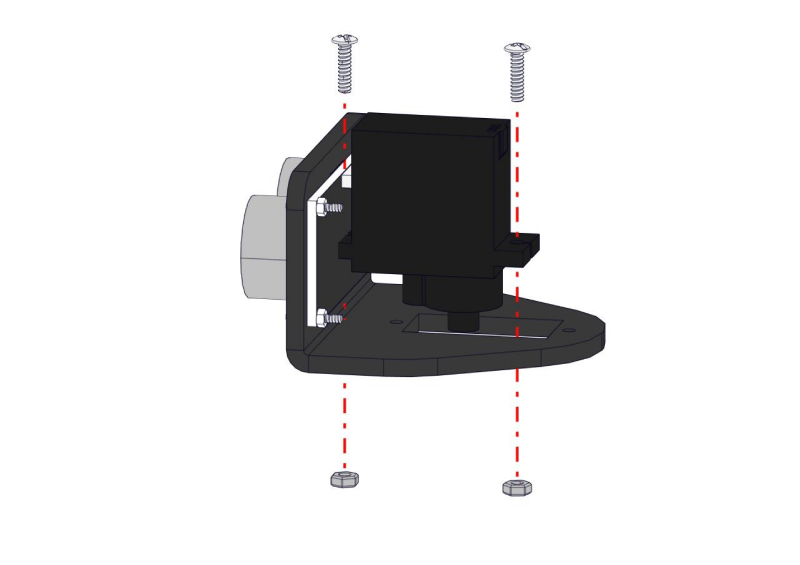
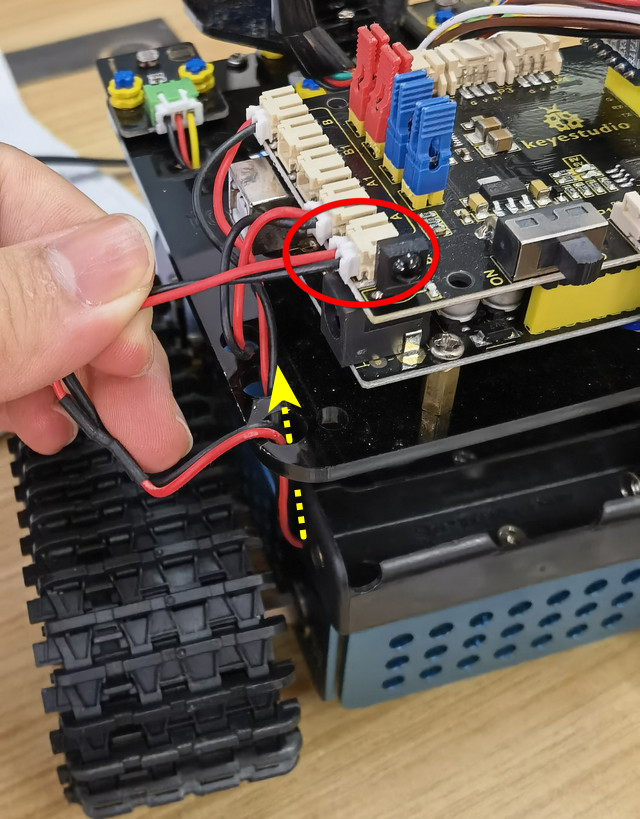
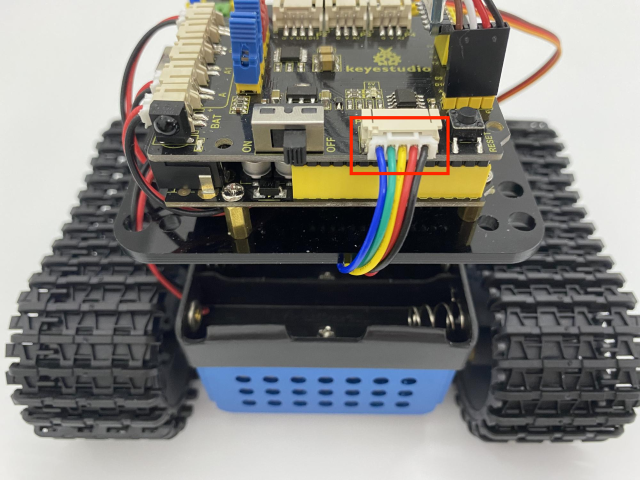
Step 6
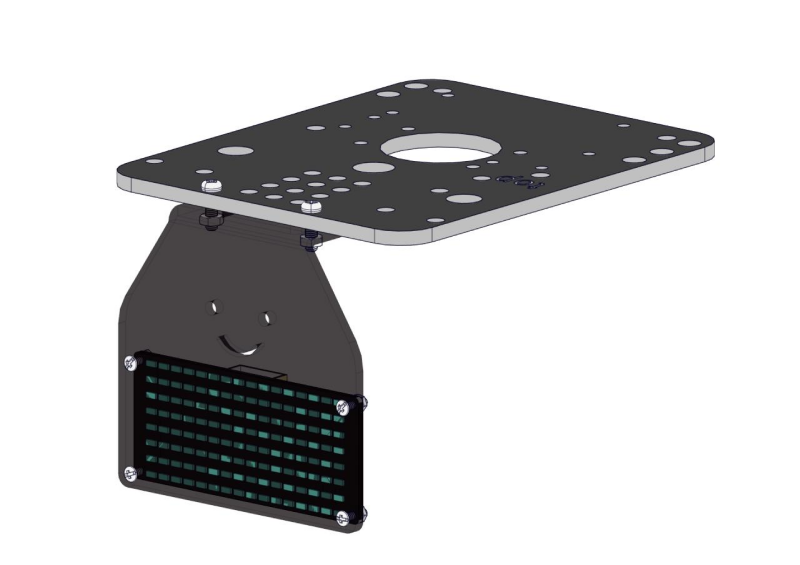
Step 7
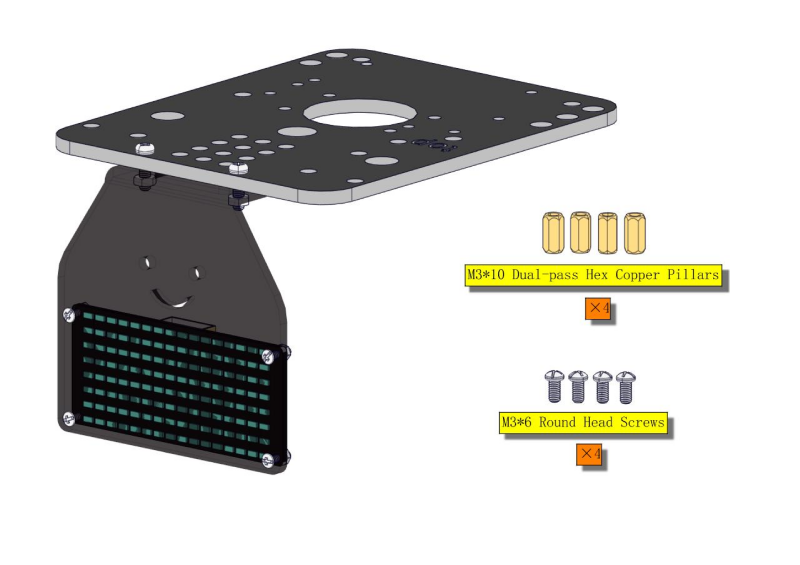
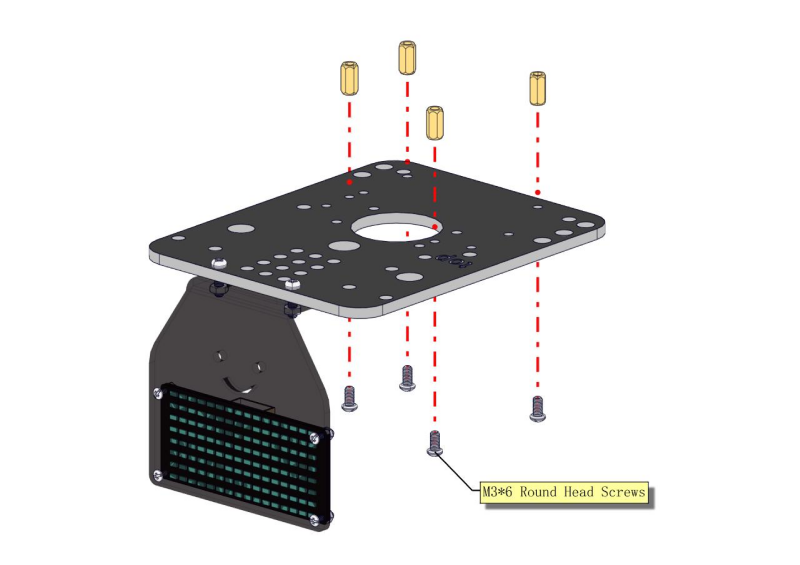
Step 8
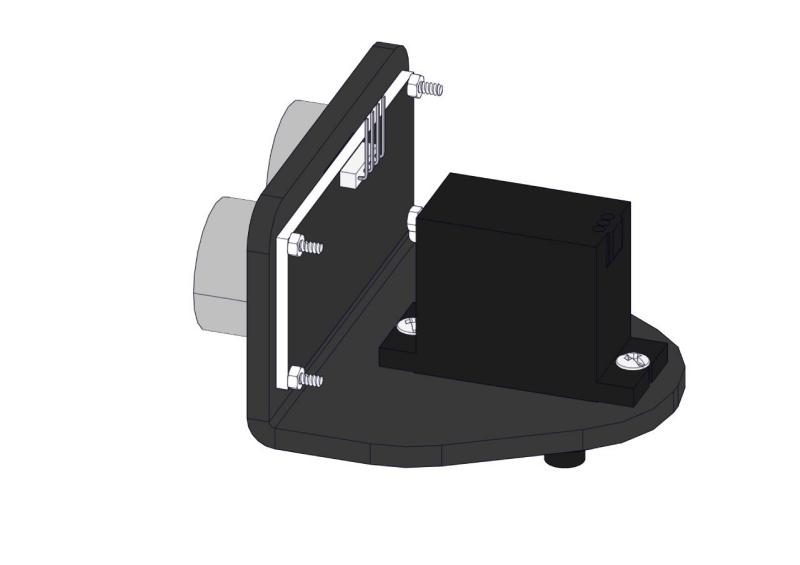
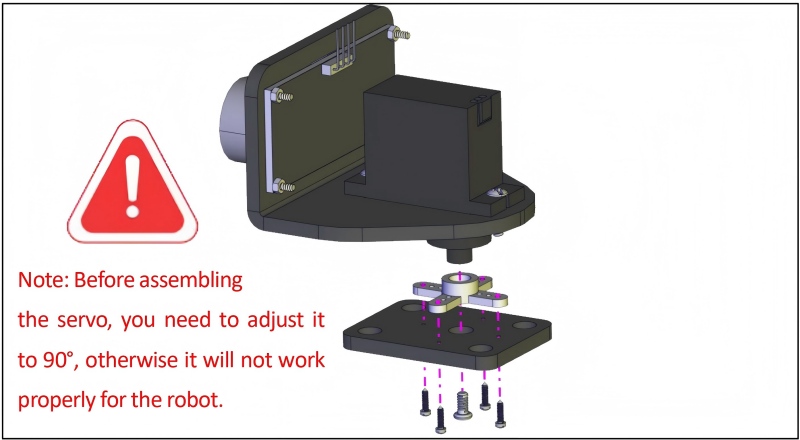
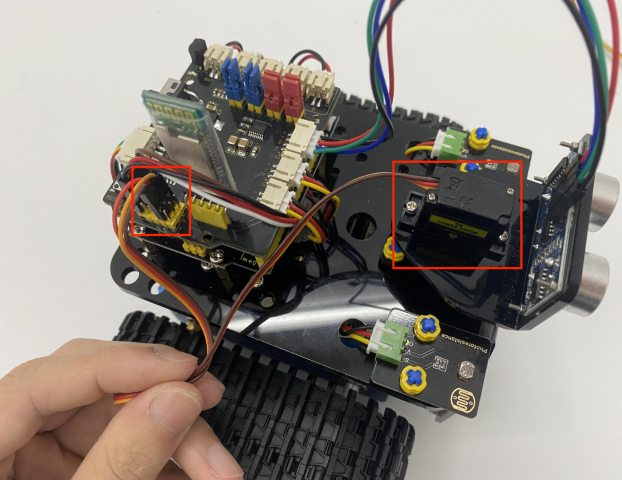
(Need to adjust the angle of the servo)

Set the angle of the servo to 90°
To adjust the code of the servo,please select it according to the course.
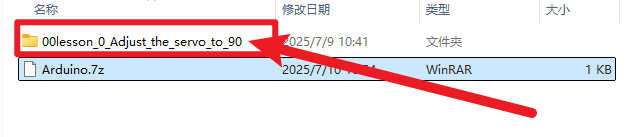
1.Arduino: Download the code file: Arduino
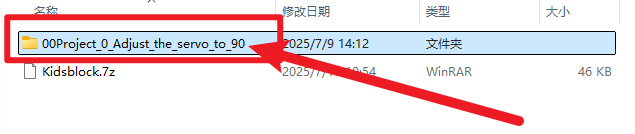
2.**Kidsblock: **Download the code file: Kidsblock
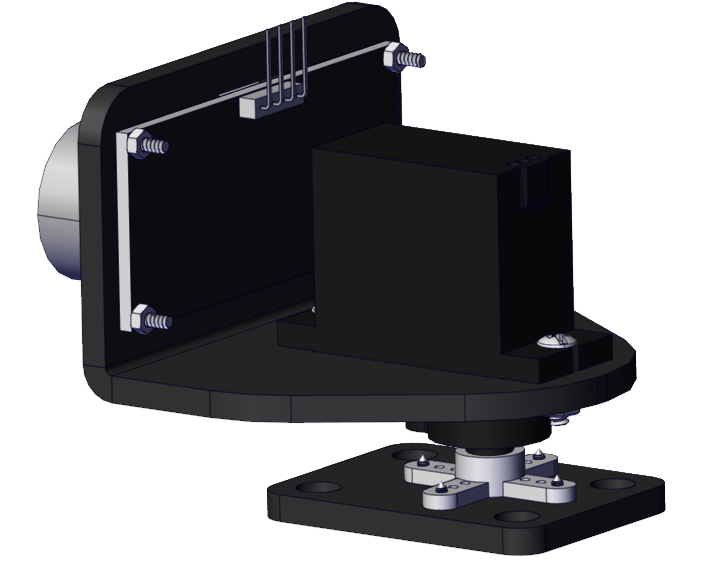
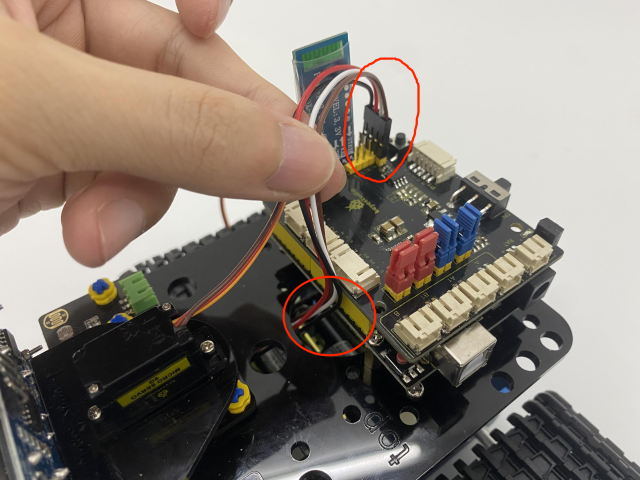
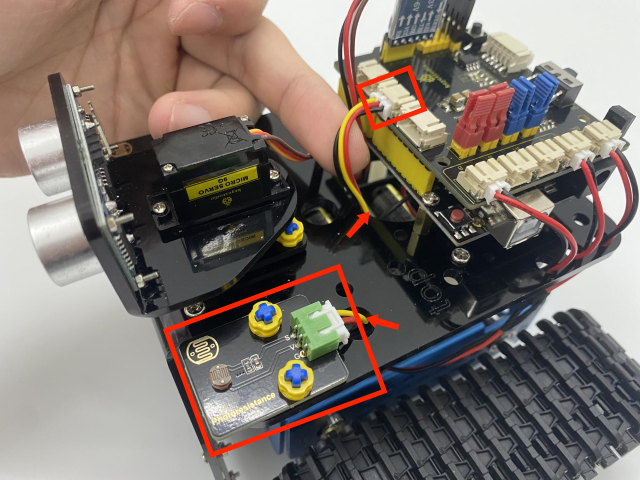
After initializing servo angle, install the Bluetooth module.
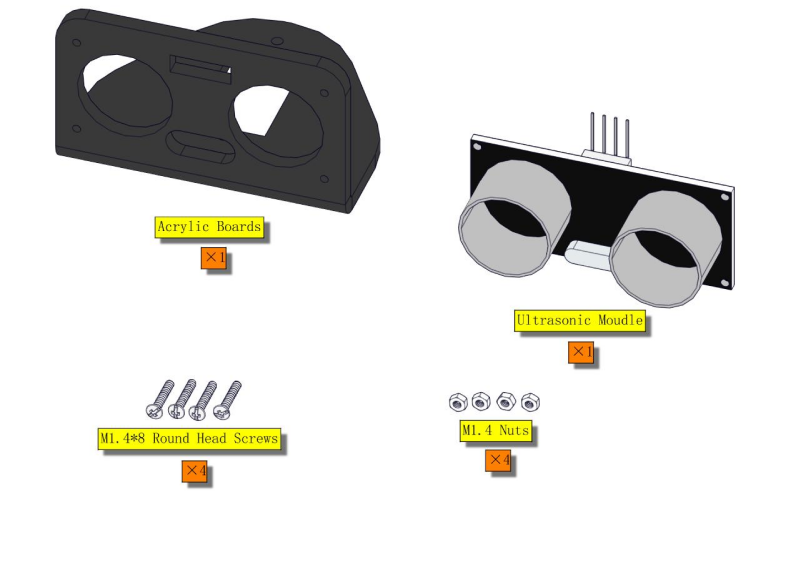
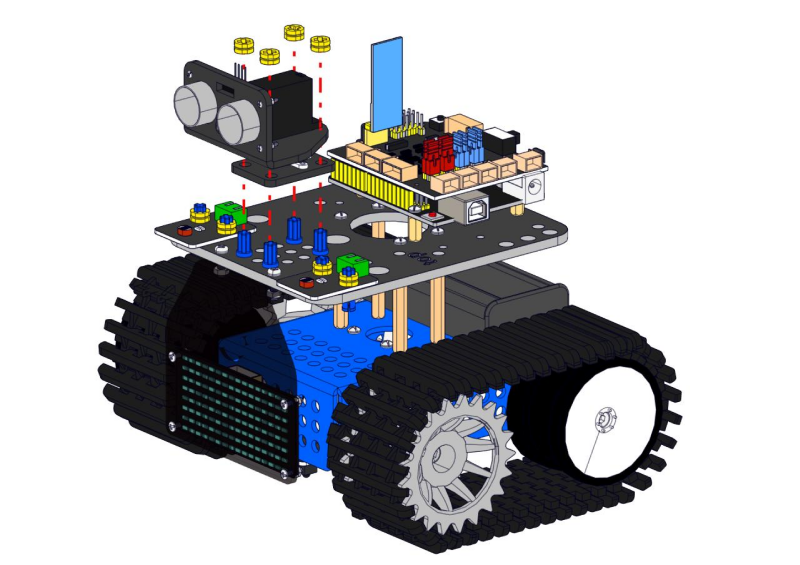
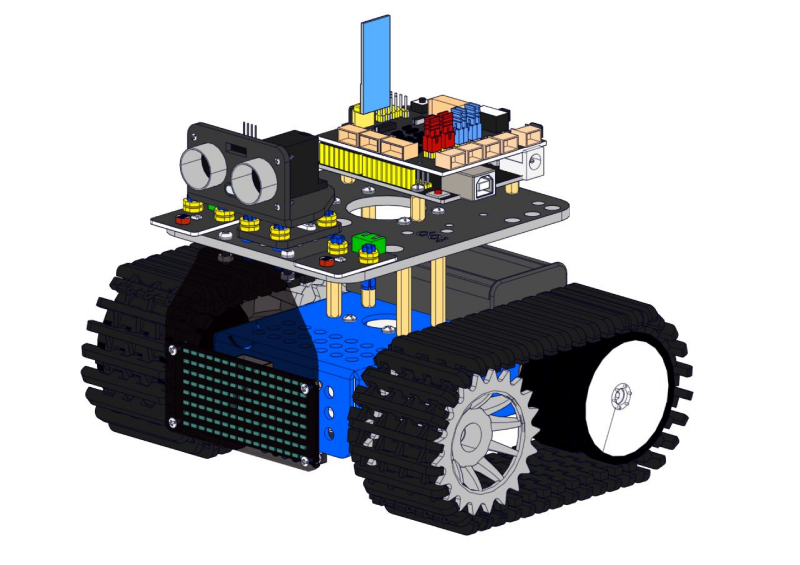
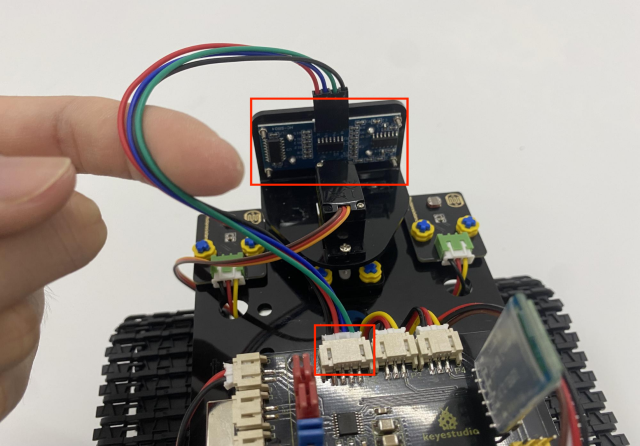
Keep the ultrasonic sensor parallel to the board.
Step 9
Step 10

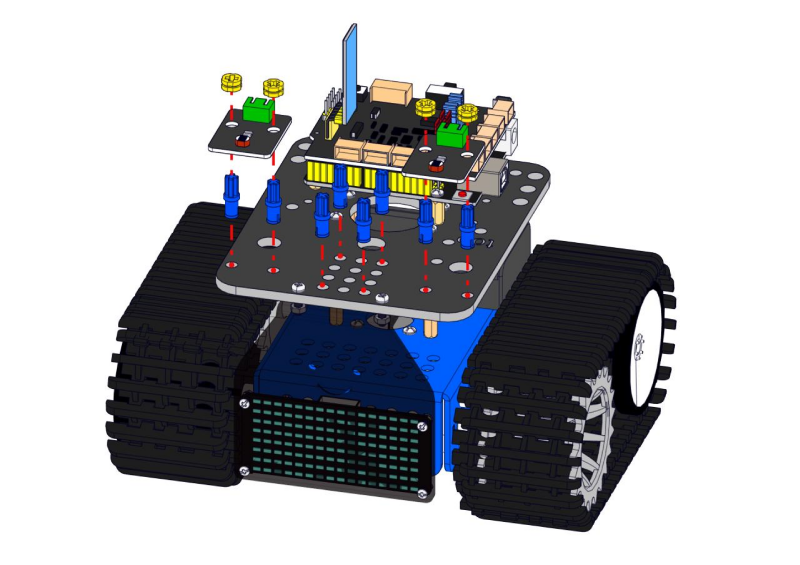
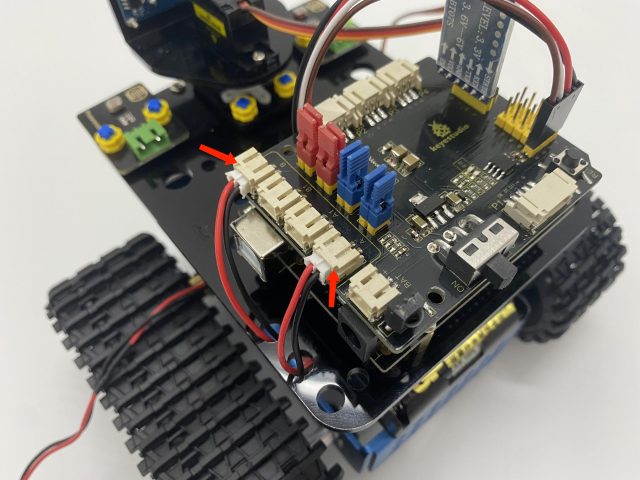
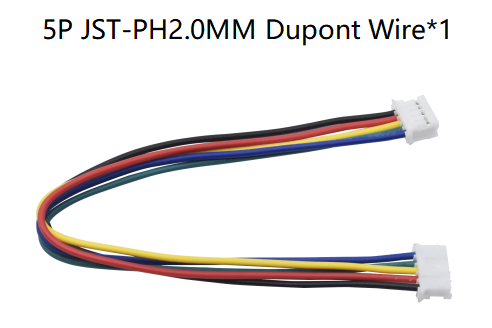
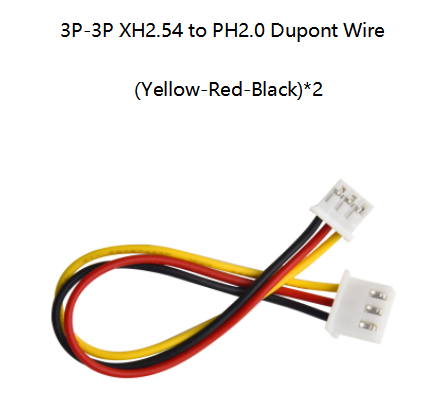
Wire up
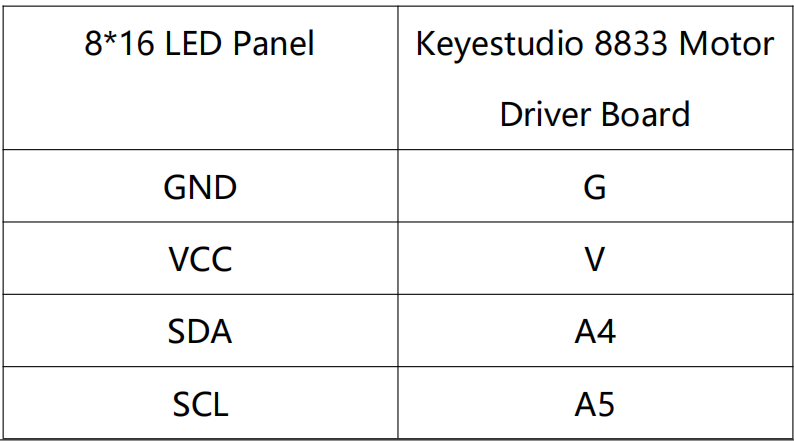
For 8*16 LED panel, Make wires connect to A4 and A5.
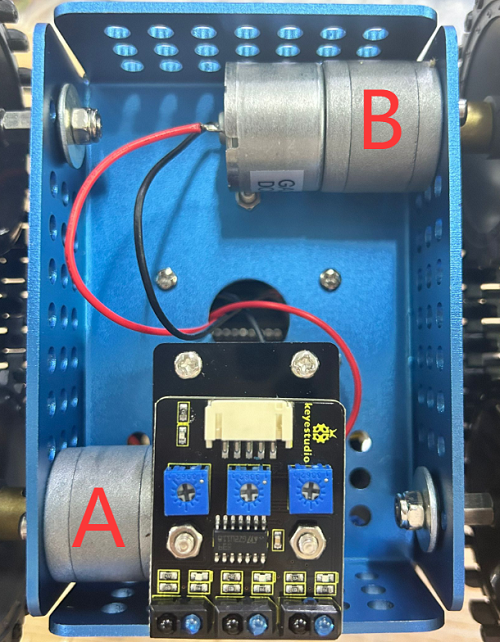
Connect the motor A to A port and make the motor B to B port.
Connect the power wire.
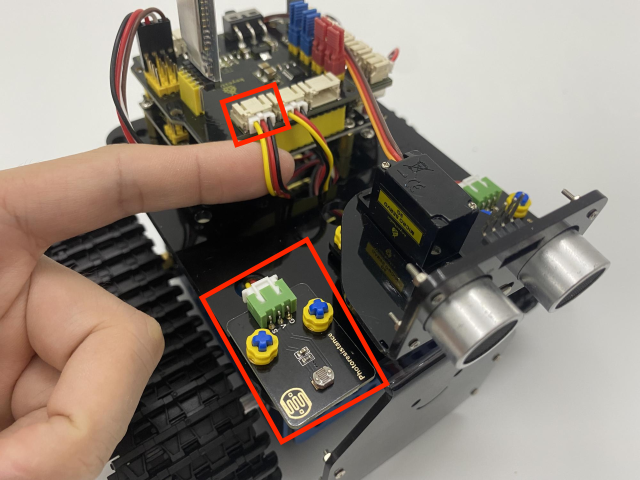
Line Tracking Sensor(see the picture)
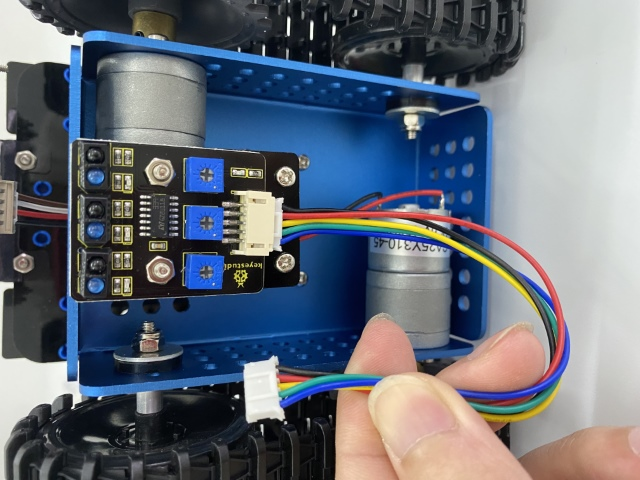
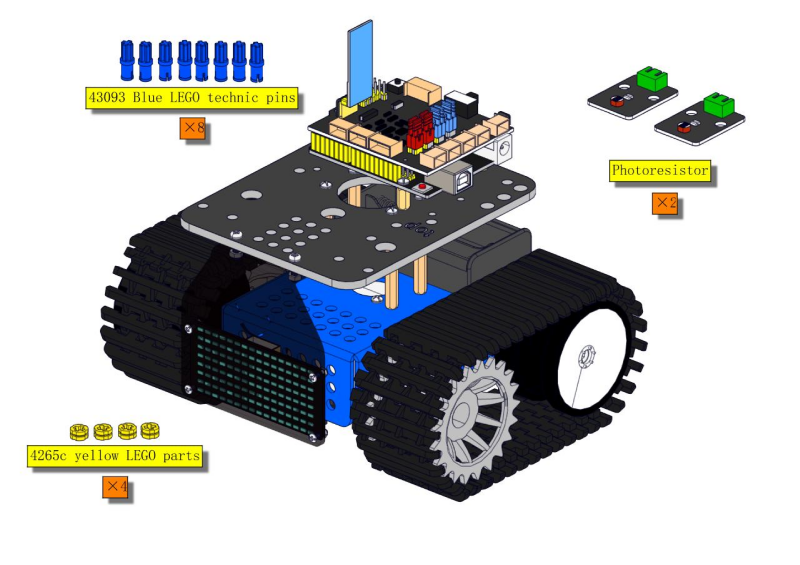
Wire up the photoresistors
Photoresistor |
Keyestudio 8833 Board |
|---|---|
G |
G |
V |
V |
s |
A1 |
Photoresistor |
Keyestudio 8833 Board |
|---|---|
G |
G |
V |
V |
S |
V2 |
Wire up ultrasonic sensor.
Ultrasonic Sensor |
Keyestudio 8833 Board |
|---|---|
Vcc |
V |
Trig |
D12 |
Echo |
D13 |
Gnd |
G |
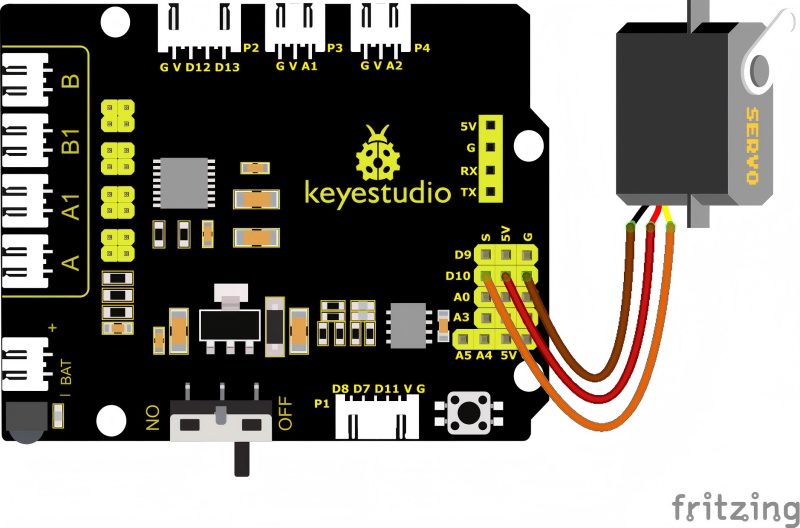
Wire up the servo(D10)
Servo |
Keyestudio 8833 Board |
|---|---|
Brown |
G |
Red |
V(5V) |
Orange |
D10 |
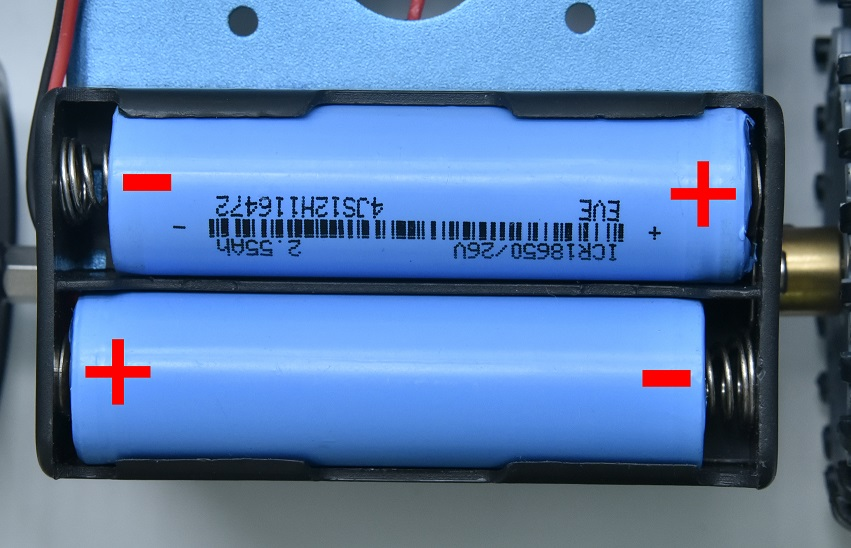
We adopt a model 18650 lithium battery with a pointed positive pole, whose power and capacity are not required.