Arduino Development Environment Configuration
Windows System:

1.1 Installing Arduino IDE
⚠️ **Special reminder: ** The Arduino IDE version used in this tutorial is 1.8.16. If it is a different version, there is no guarantee that the sample code provided in this tutorial will compile and upload successfully.
When you get control board, you need to download Arduino IDE and driver firstly.
You could download Arduino IDE from the official website: https://www.arduino.cc/, click the “SOFTWARE”on the browse bar, then click“DOWNLOADS” to enter download page, as shown below:

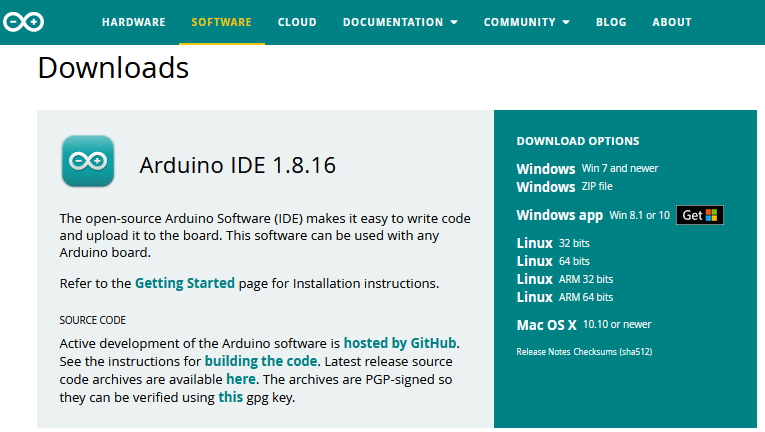
There are various versions of IDE for Arduino. Just download a version compatible with your system. Here we will show you how to download and install the windows version of Arduino IDE.
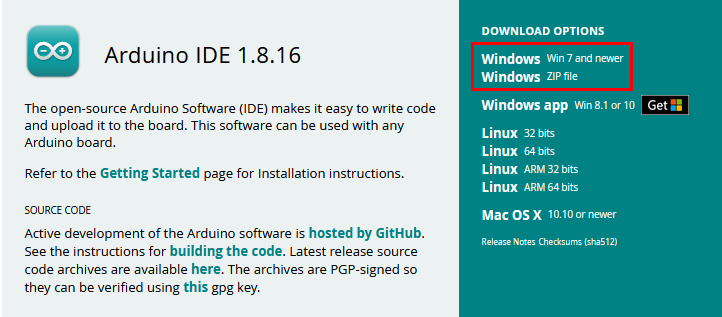
There are two versions of IDE for Windows system: Windows Win7 and newer and Windows ZIP file. The former needs to install manually, while the latter can be directly downloaded, without the need of installing it manually.
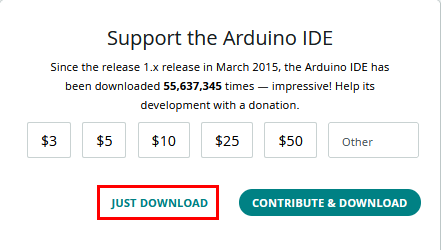
You just need to click JUST DOWNLOAD.
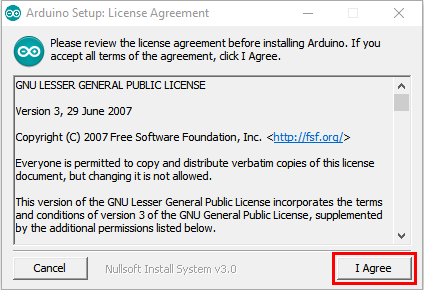
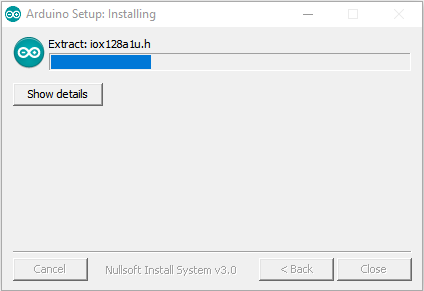
After the Arduino is downloaded, click“I Agree”to continue installing and click Next.
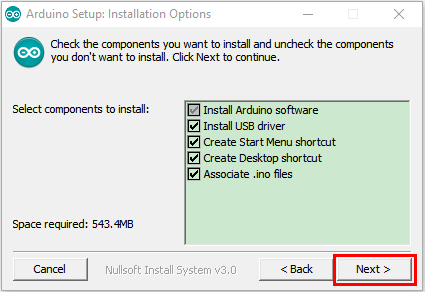
Then click Install.
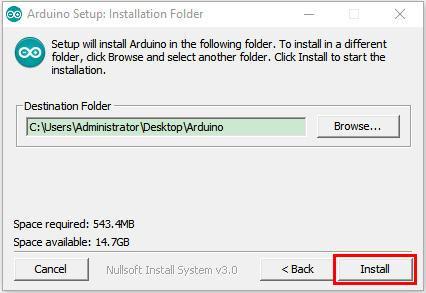
If the following page appears, click Install.

1.2 Install a driver on Windows
If you have installed the driver, just skip it.
Before using the ESP32 board, you must install a driver, otherwise it will not communicate with computer.
Unlike the USB series chip (ATMEGA8U2) of the Arduino UNO R3, the ESP32 board uses the CP2102 chip USB series chip and USB type C interface.
The driver of the CP2102 chip is included in 1.8.0 version and newer version of Arduino IDE. Usually, you connect the board to the computer and wait for Windows to begin its driver installation process. After a few moments, the process will succeed.
If the driver installation process fail, you need to install the driver manually.
Note:
1. Please make sure that your IDE is updated to 1.8.0 or newer version.
2. If the version of Arduino IDE you download is below 1.8, you should download the driver of CP2102 and install it manually.
Link to download the driver of CP2102: https://fs.keyestudio.com/CP2102-WIN
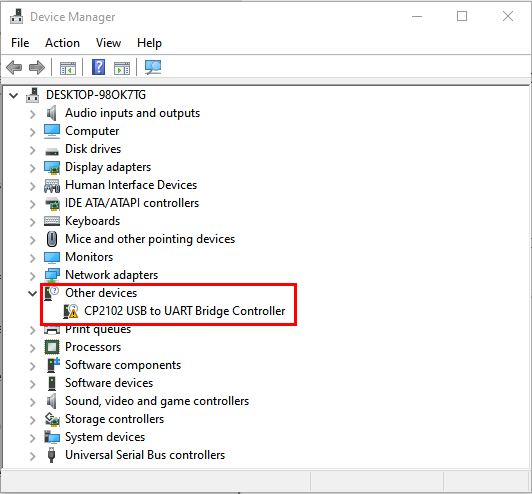
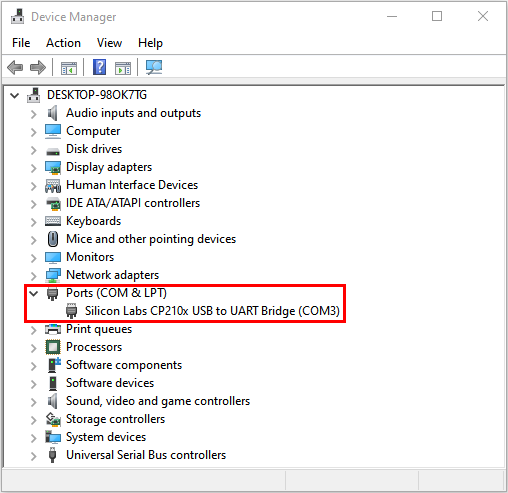
To install the drive manually, open the device manager of computer.
Right click Computer—– Click Properties—–Click Device Manager.
Look under Ports (COM & LPT) or other devices.
A yellow exclamation mark means that the CP2102 driver installation failed.
Double-click  and click “ Update drive…”
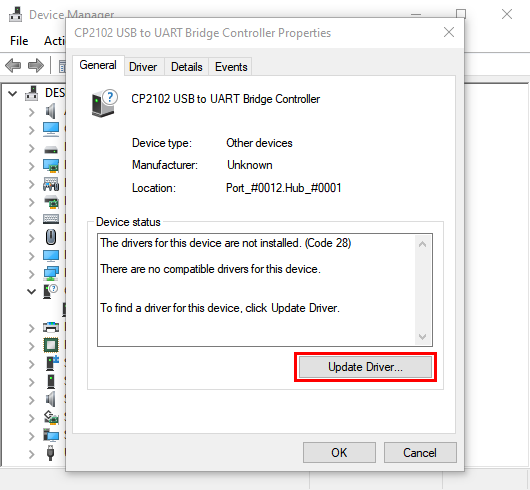
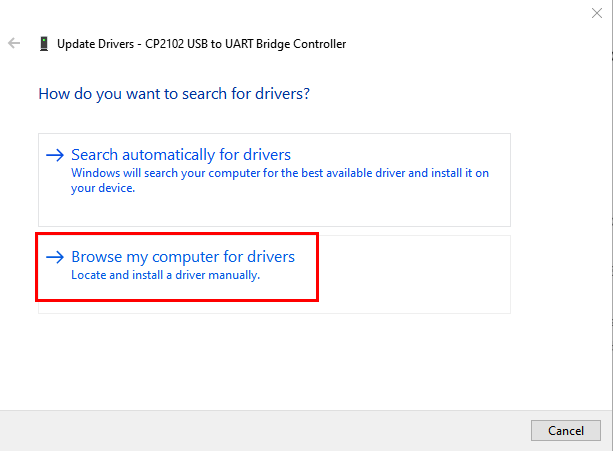
Click“Browse my computer for drivers ” to find installed or downloaded Arduino software .
There is a DRIVERS folder in Arduino software installed package( ), open driver folder and you can see the driver of CP210X series chips.
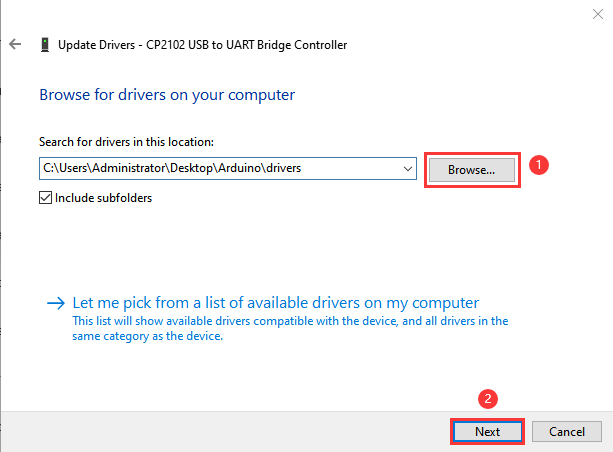
Click“Browse”to select the driver of CP210X series chips then click“Next”.
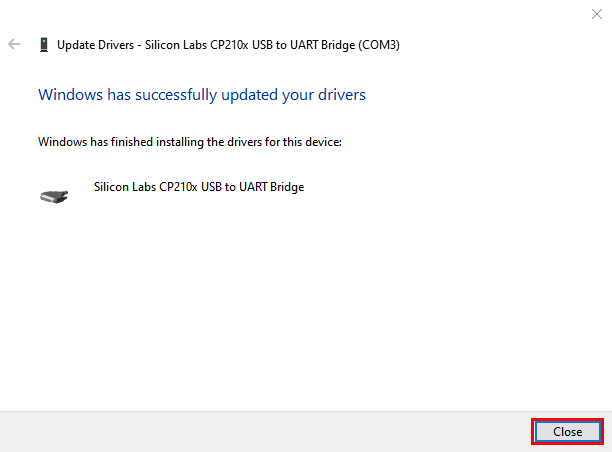
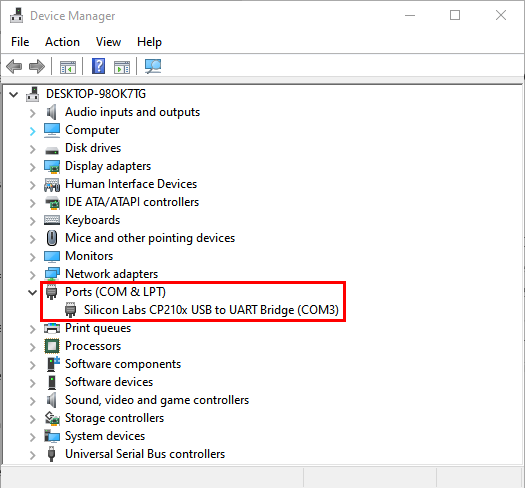
Open device manager, you will find the yellow exclamation mark disappear. The driver of CP2102 is installed successfully.
1.3 Install the ESP32 on Arduino IDE
Note:you need to download Arduino IDE 1.8.5 or advanced version to install the ESP32.
Click
 to open Arduino IDE
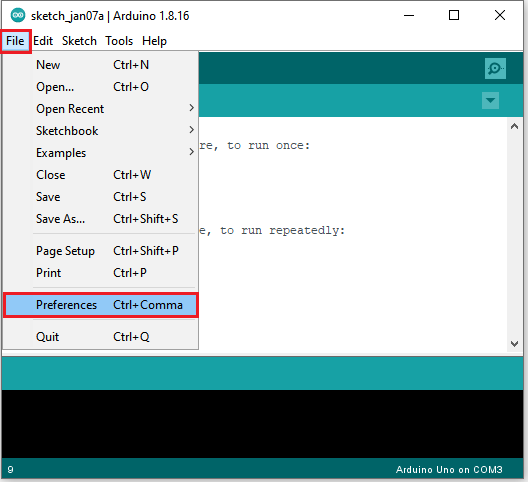
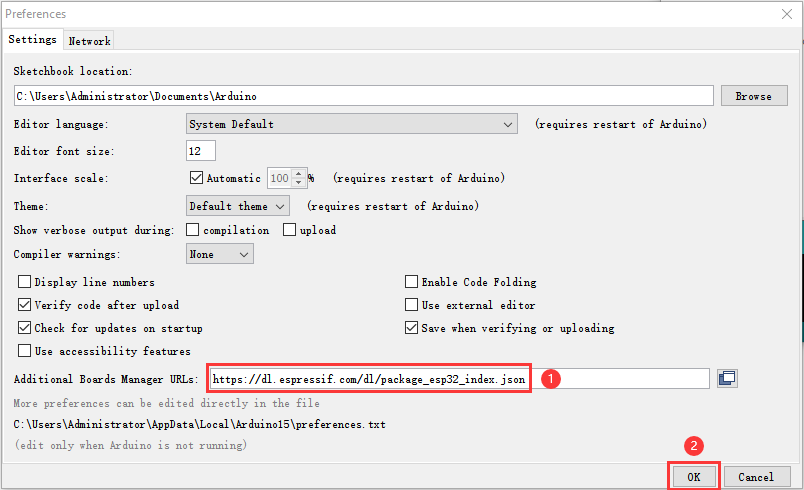
Click “ File” →**“Preferences”**,copy the website address
https://dl.espressif.com/dl/package_esp32_index.jsonin the“Additional Boards Manager URLs:”and click“OK”.
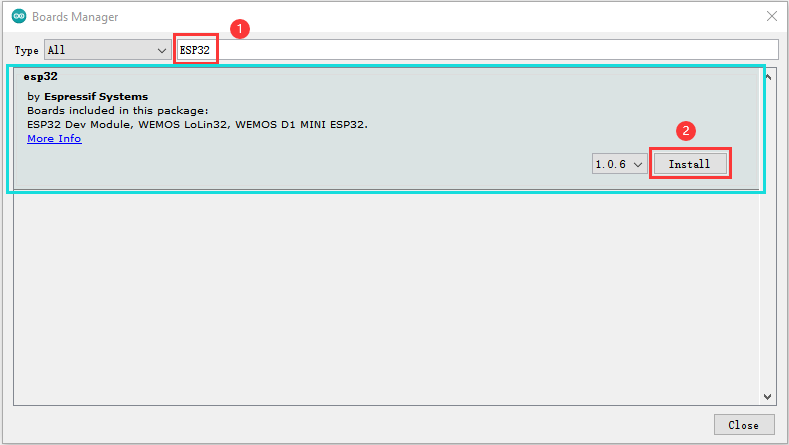
Click“Tools”→“Board:”then click “Boards Manager…”to enter“Boards Manager”. Enter ESP32”as follows, then click Install .
⚠️ Note: This tutorial uses the ESP32 development board version 1.0.6. Please keep it consistent to avoid code incompatibility issues.
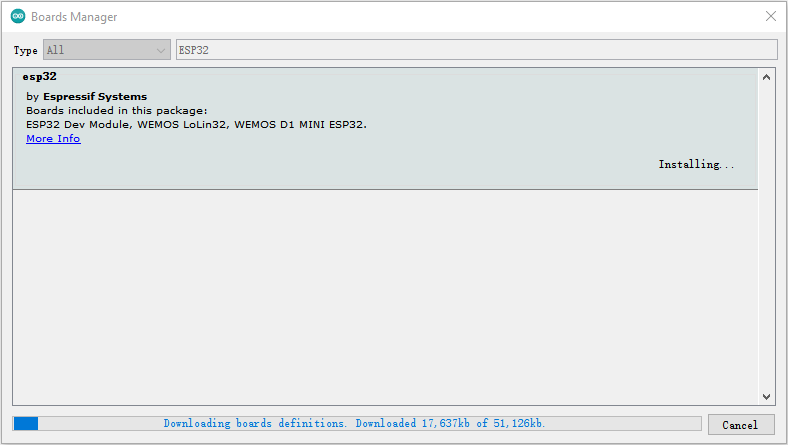
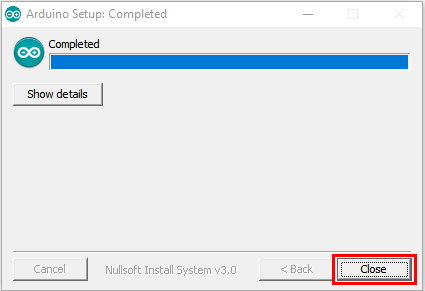
(4) After installing, click“Close”
1.4 Arduino IDE Setting
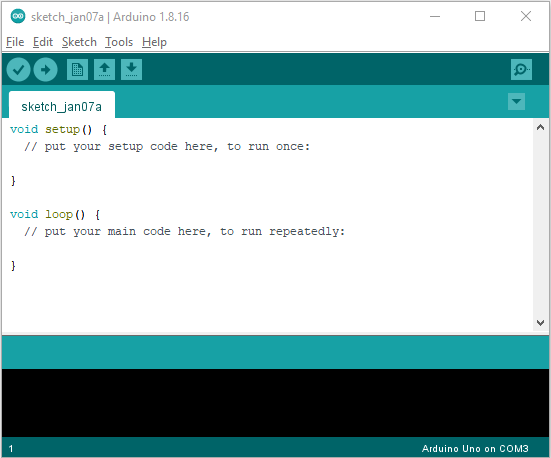
Click icon to pen Arduino IDE.
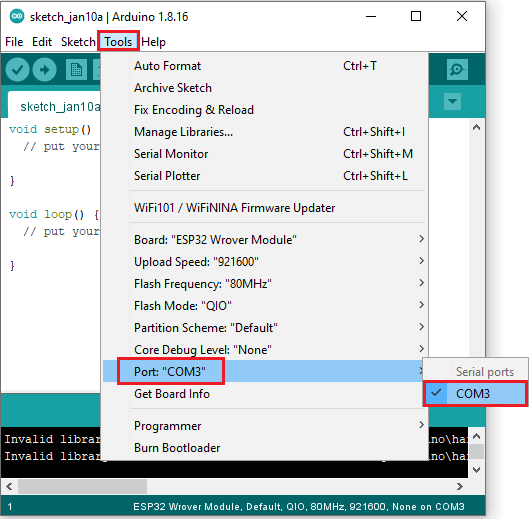
When downloading the sketch to the board, you must select the correct name of Arduino board that matches the board connected to your computer. As shown below;
(Note: we use the ESP32 board in this tutorial; therefore, we select ESP32.)
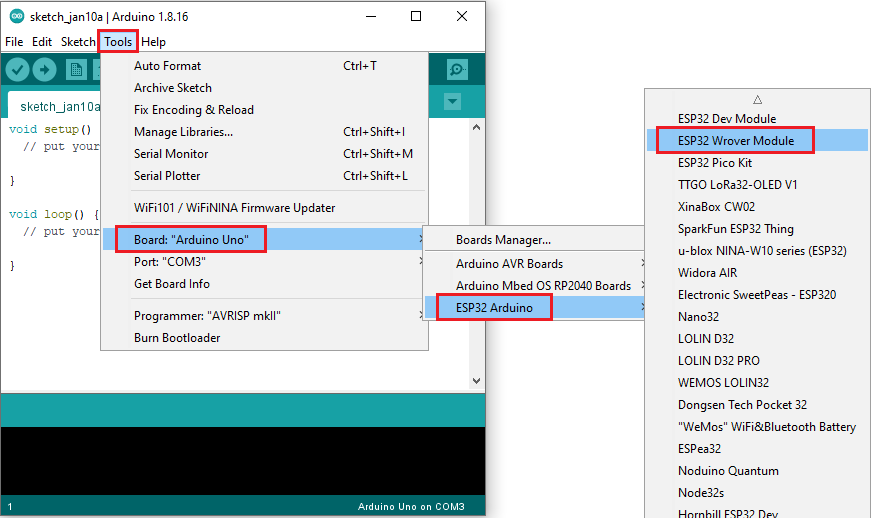
Set the board type as follows;
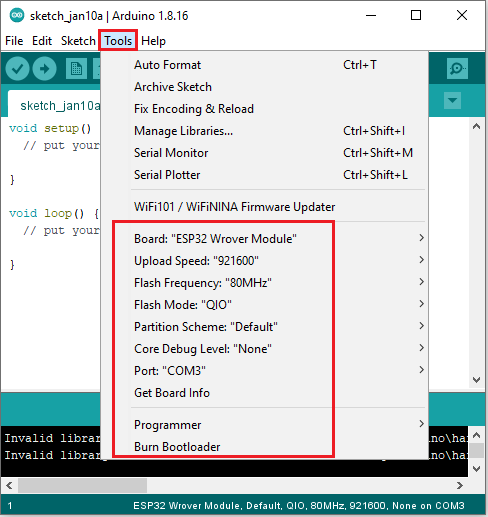
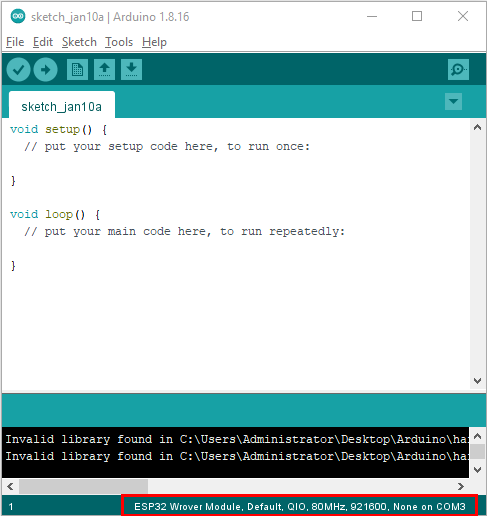
Then select the correct COM port (you can see the corresponding COM port after the driver is successfully installed).
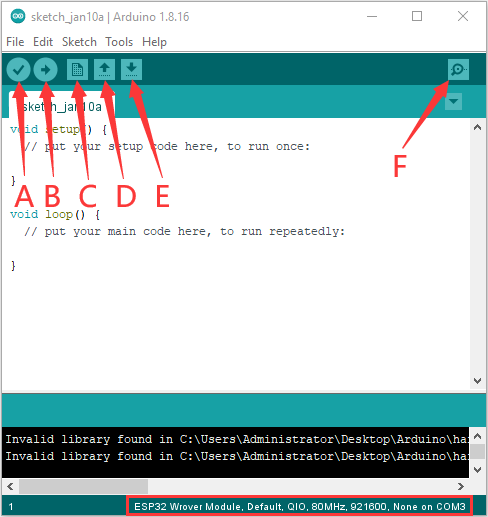
A- Used to verify whether there is any compiling mistakes or not.
B- Used to upload the sketch to your Arduino board.
C- Used to create shortcut window of a new sketch.
D- Used to directly open an example sketch.
E- Used to save the sketch.
F- Used to send the serial data received from board to the serial monitor.
Mac System

2.1 Download Arduino IDE
⚠️ Note: This tutorial uses the ESP32 development board version 1.0.6. Please keep it consistent to avoid code incompatibility issues.
2.2 How to install the CP2102 driver
If you have installed the driver, just skip it.
Connect the ESP32 board to your computer, and open Arduino IDE.
Click Tools→Board:ESP32 Dev Module and /dev/cu.usbserial-0001.
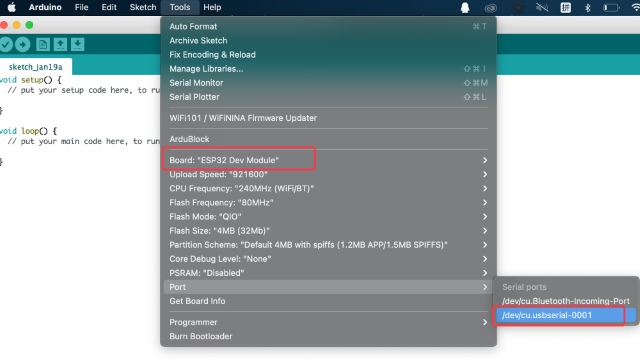
Click  to upload code.
Note: If code is uploaded unsuccessfully, you need to install the driver of CP2102, please continue to follow the instructions as below:
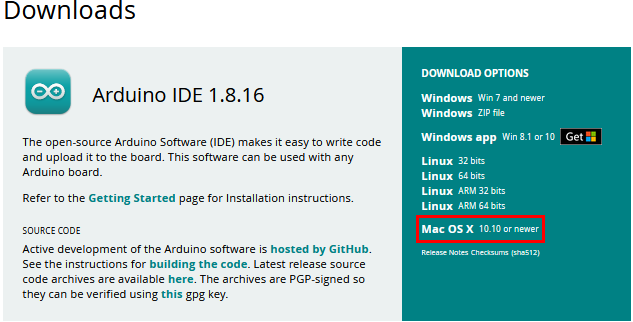
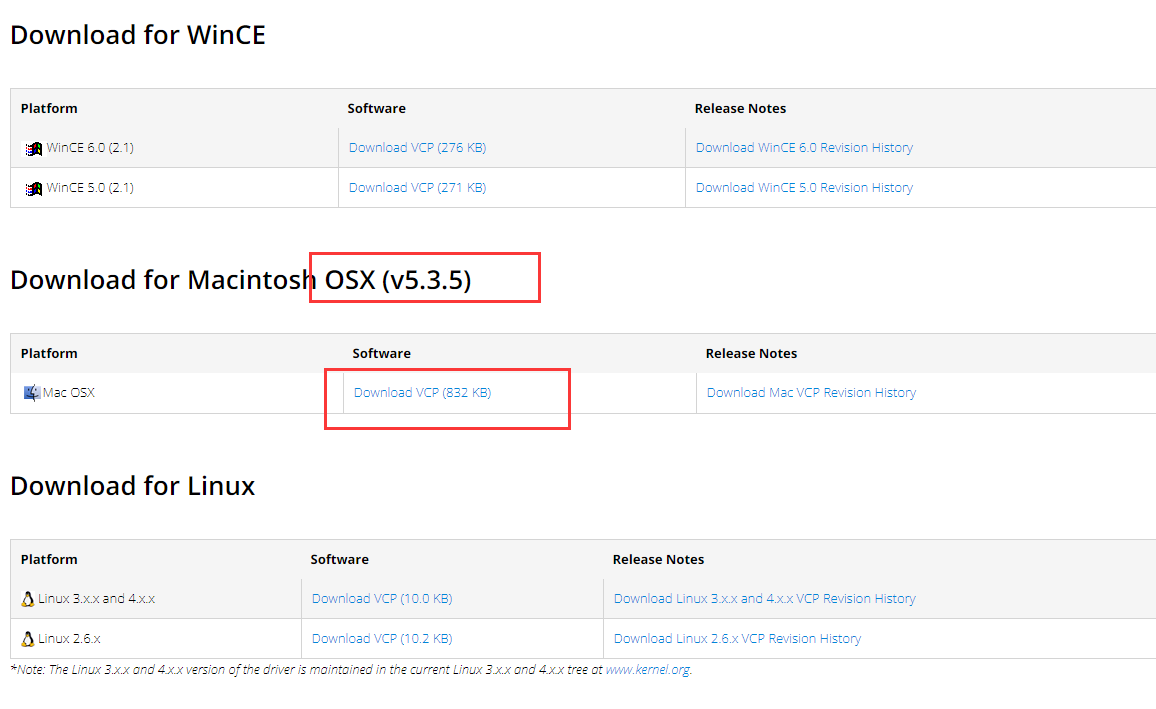
Download the driver of CP2102:
https://www.silabs.com/products/development-tools/software/usb-to-uart-bridge-vcp-drivers
Select Mac OSX edition, as shown below;
Unzip the downloaded package.
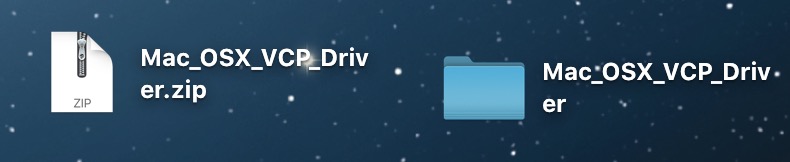
Open folder and double-click SiLabsUSBDriverDisk.dmg file.
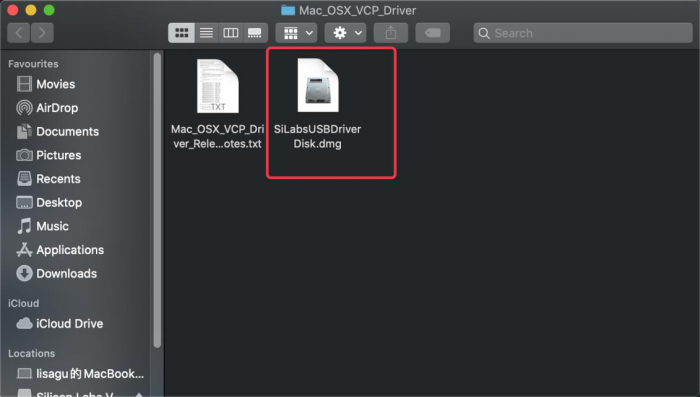
You will view the following files as follows:
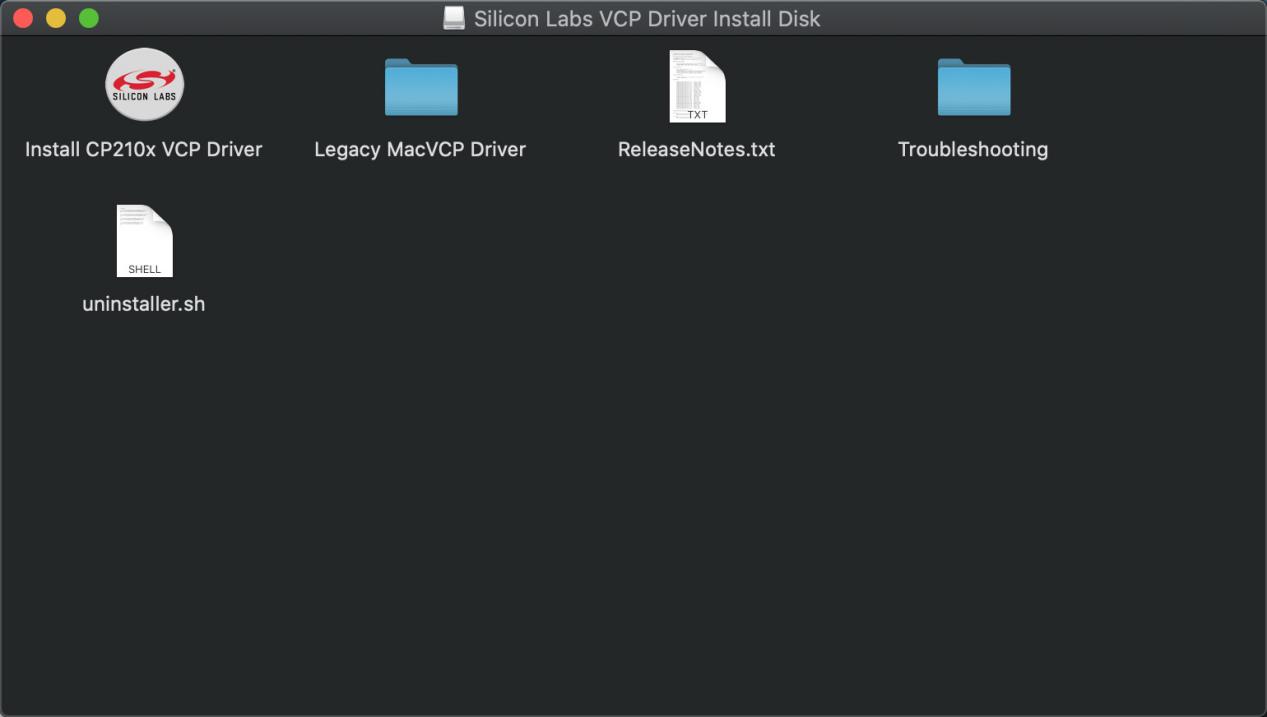
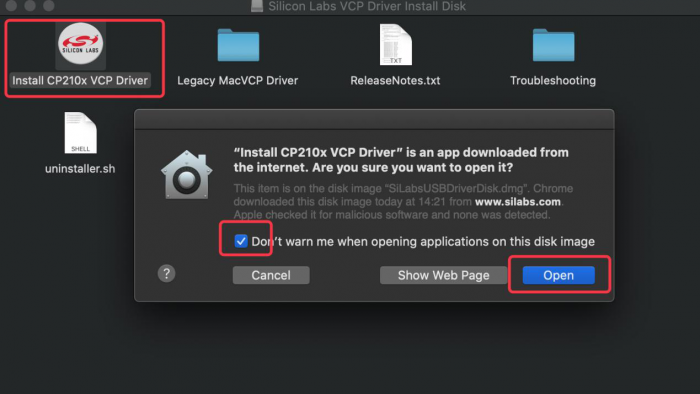
Double-click “Install CP210x VCP Driver”, tick Don’t warn me when opening application on this disk image and tap “ Open”.
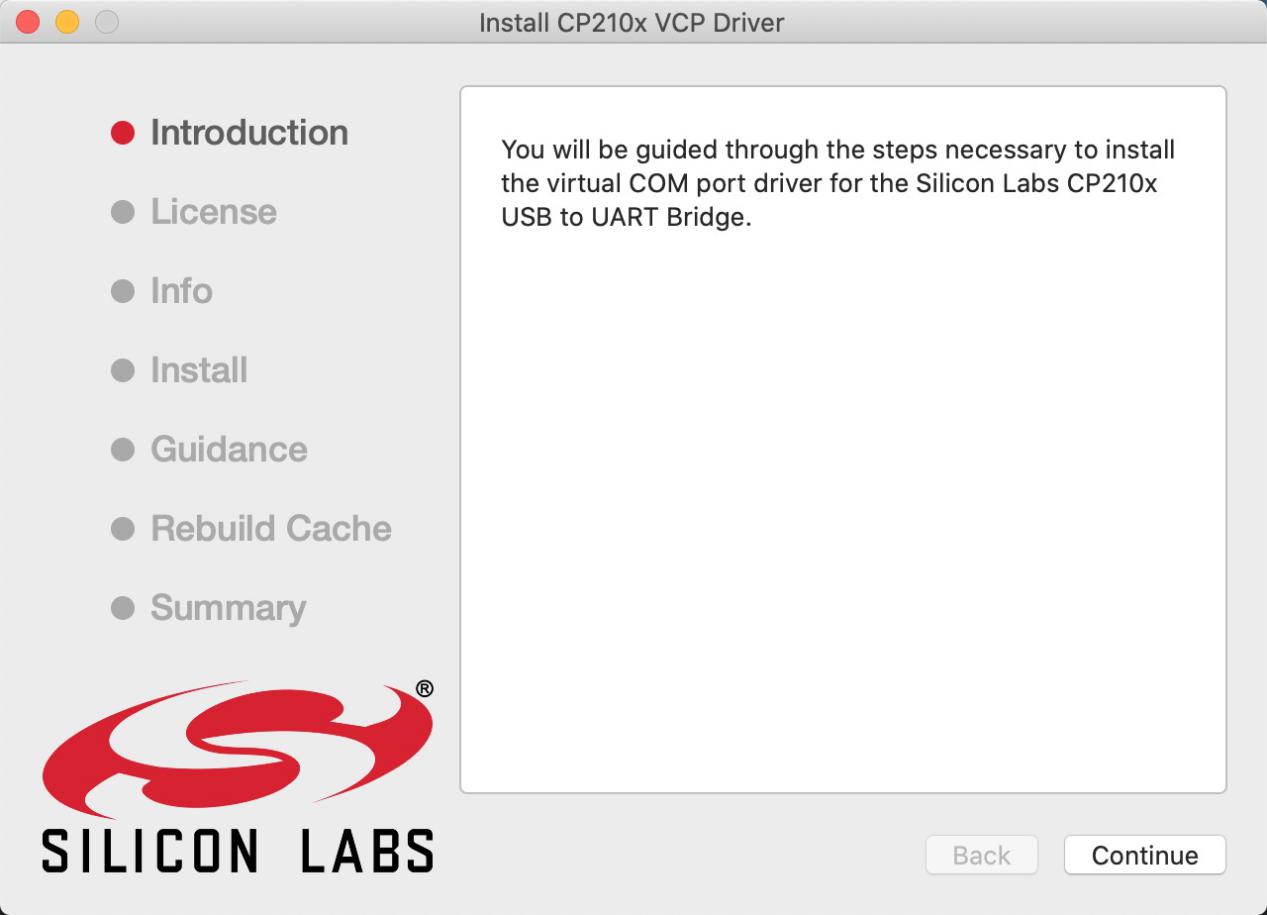
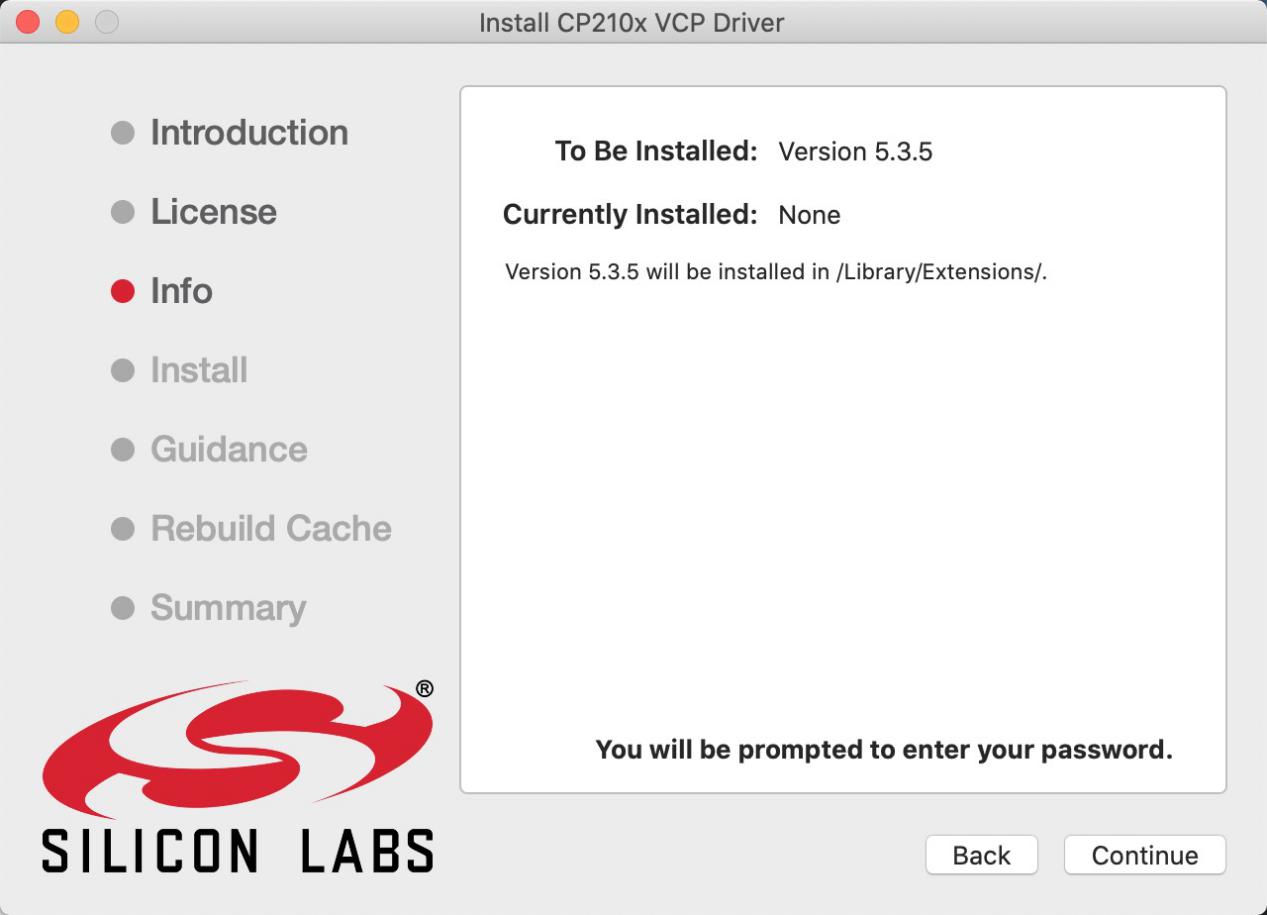
Click“Continue”
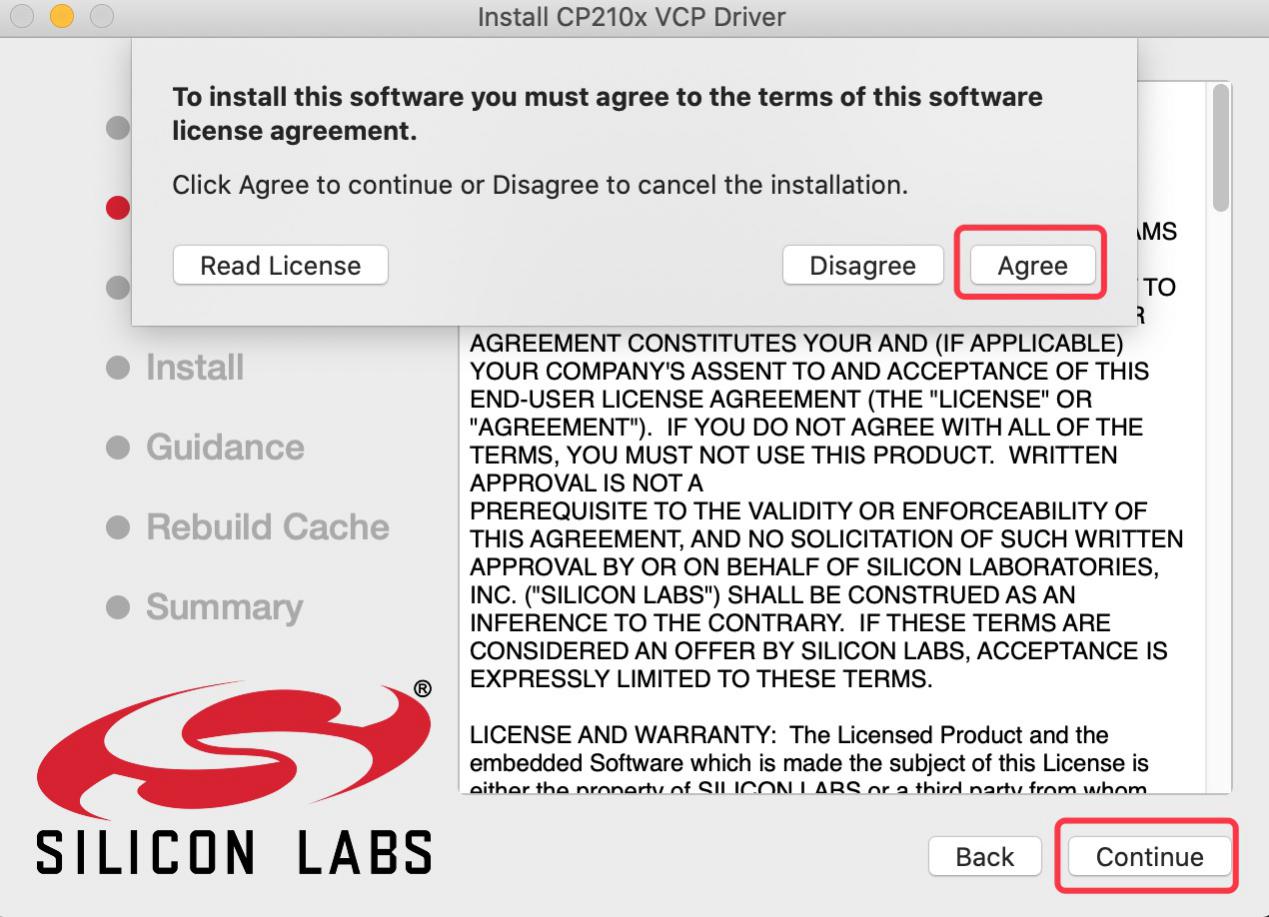
Tap Agree, and Continue
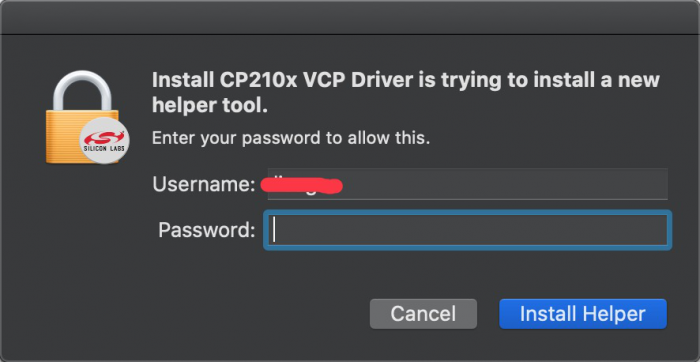
Click Continue and input your password.
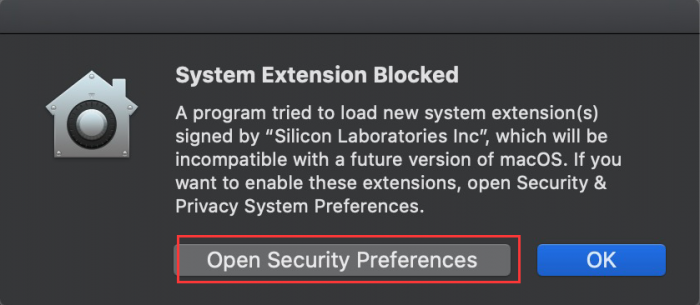
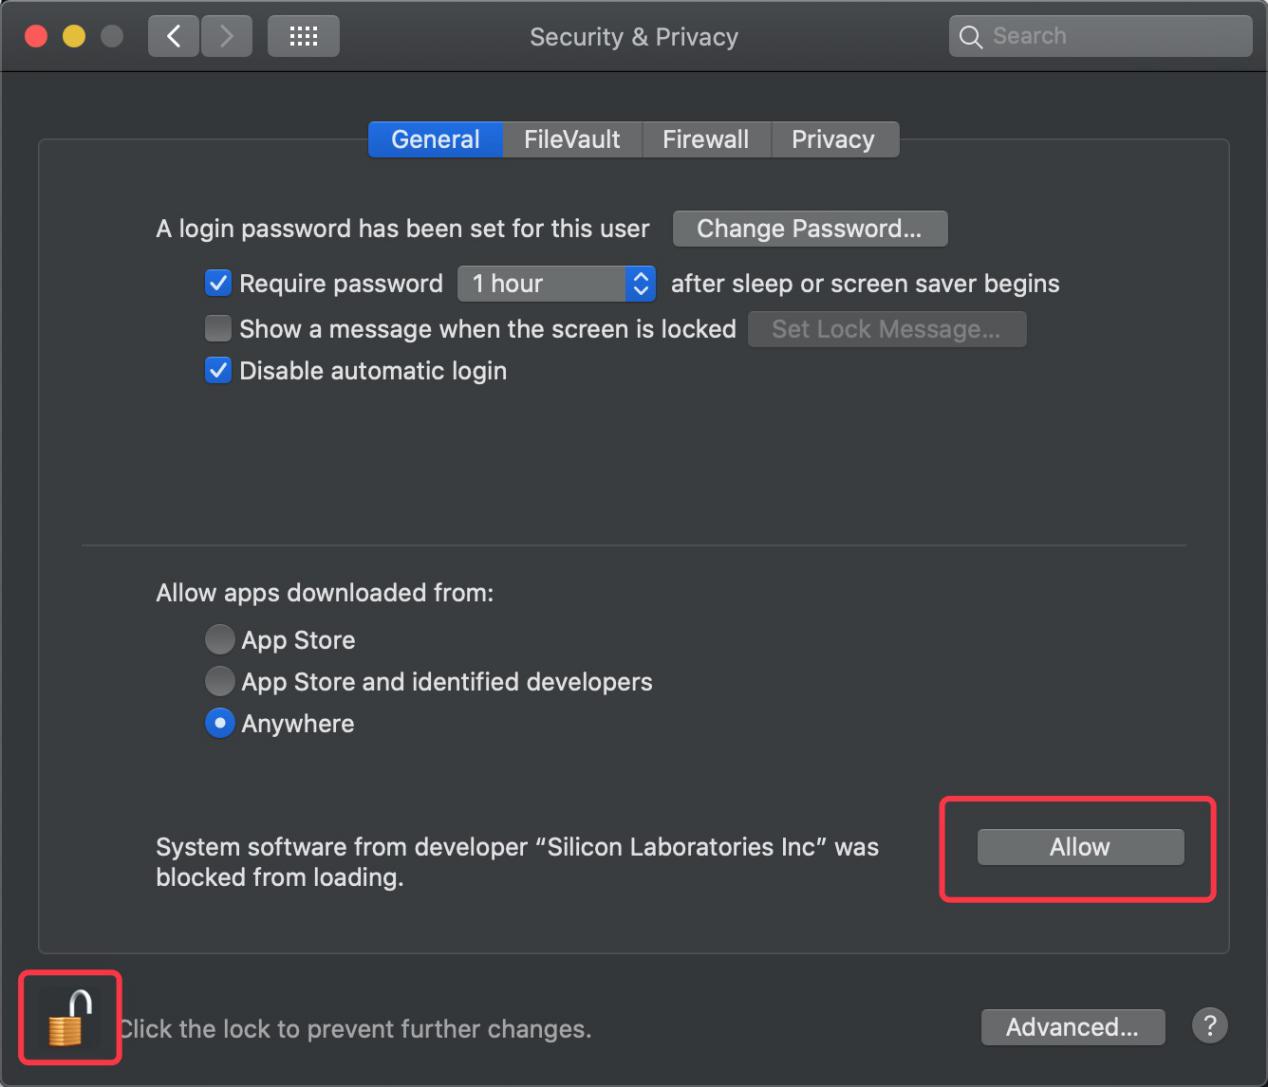
Select “Select Open Security Preferences”.
Click the lock to unlock security & privacy preference.
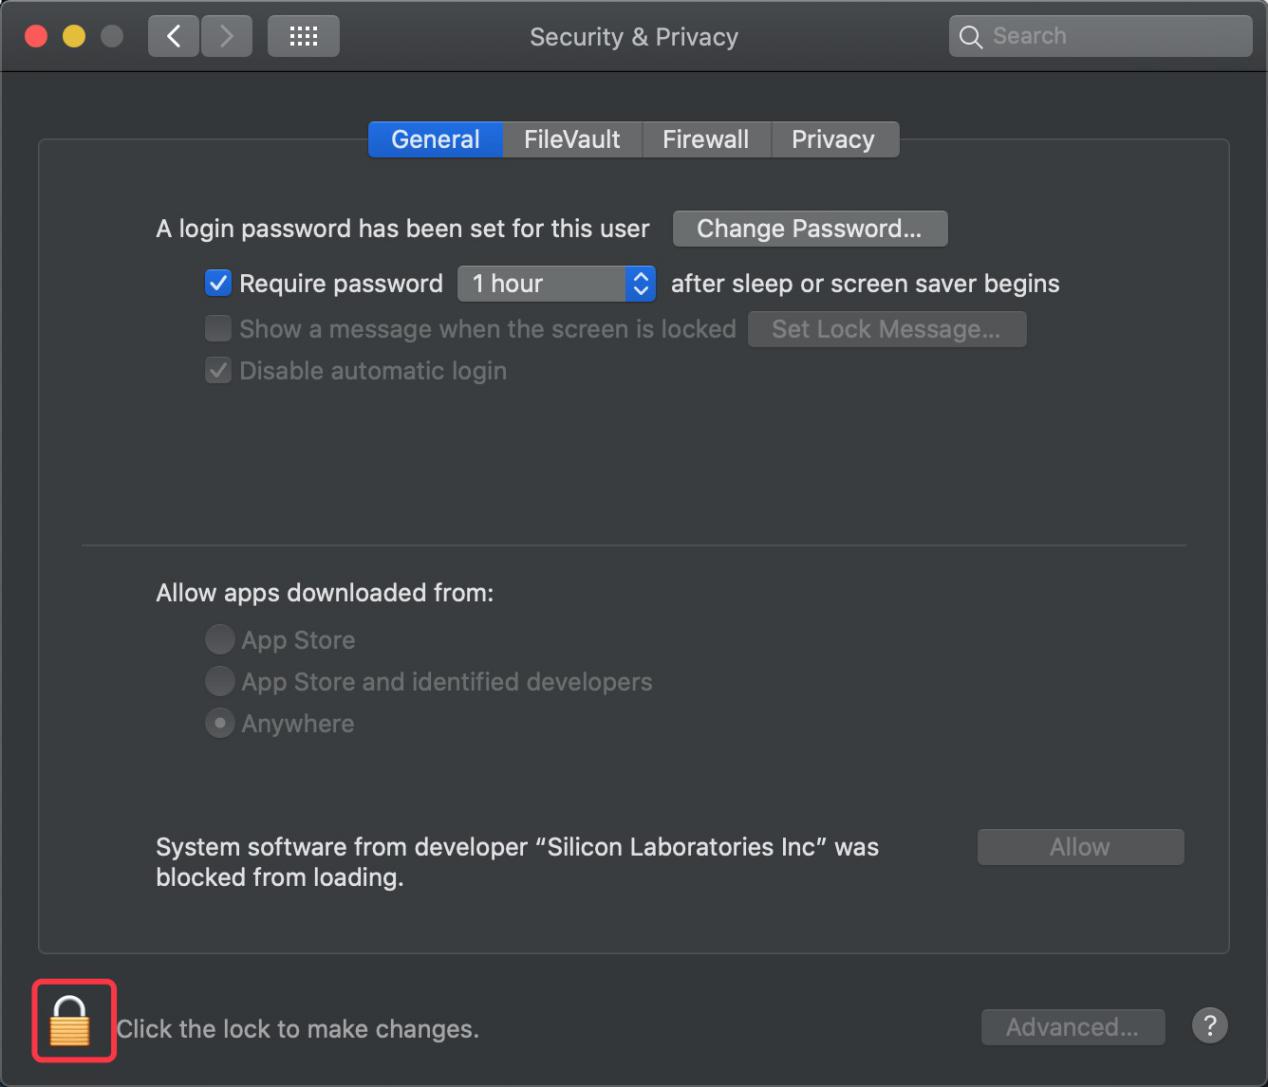
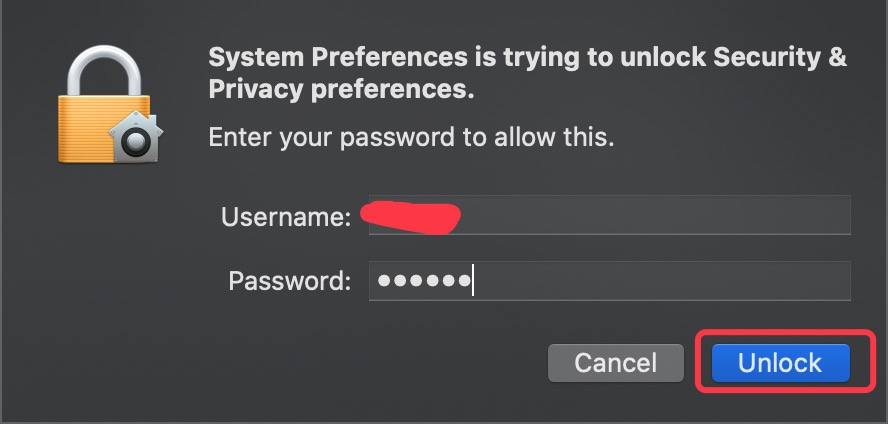
Tap Unlock and enter **your Username and password,**then click Allow.
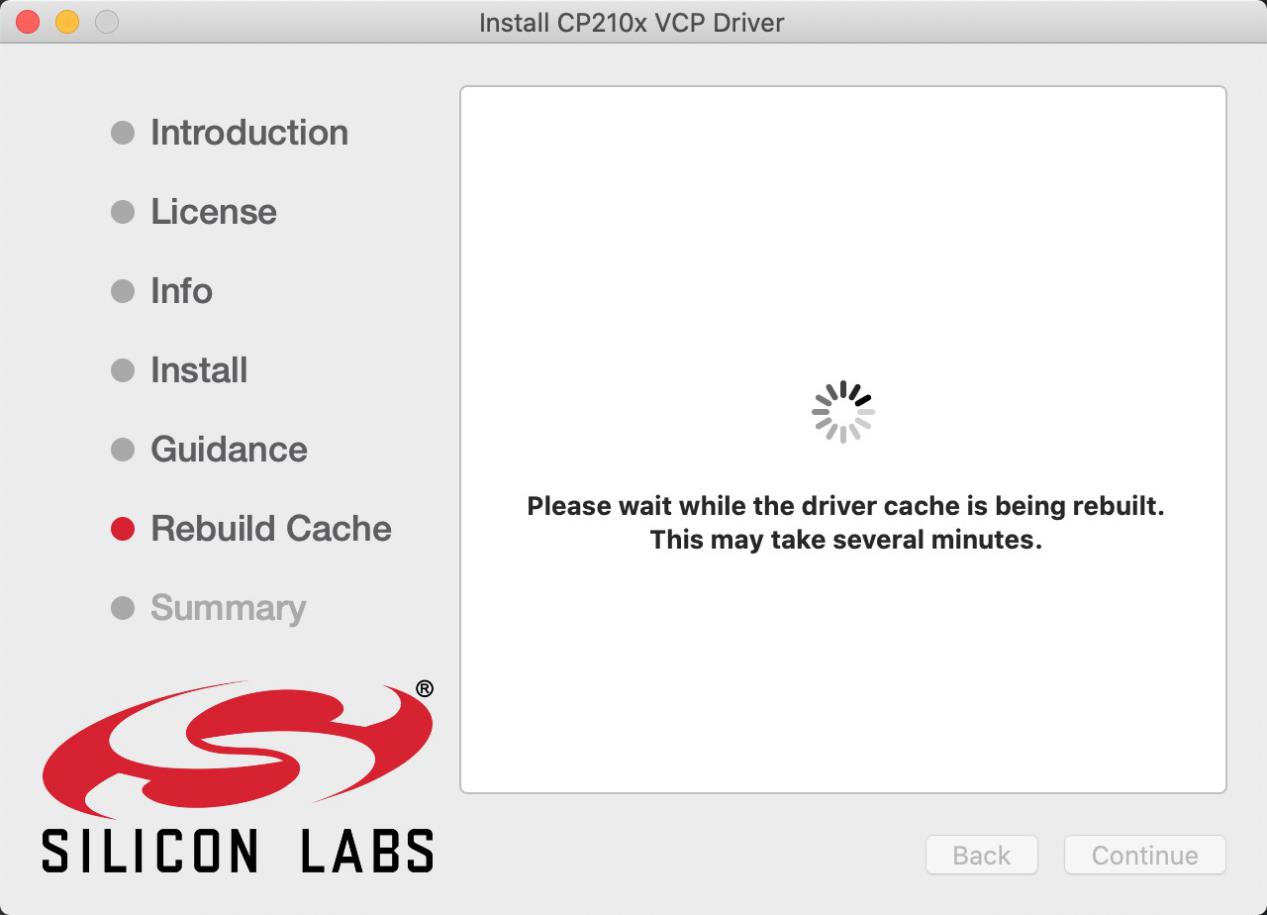
Back to installation page, and wait to install.
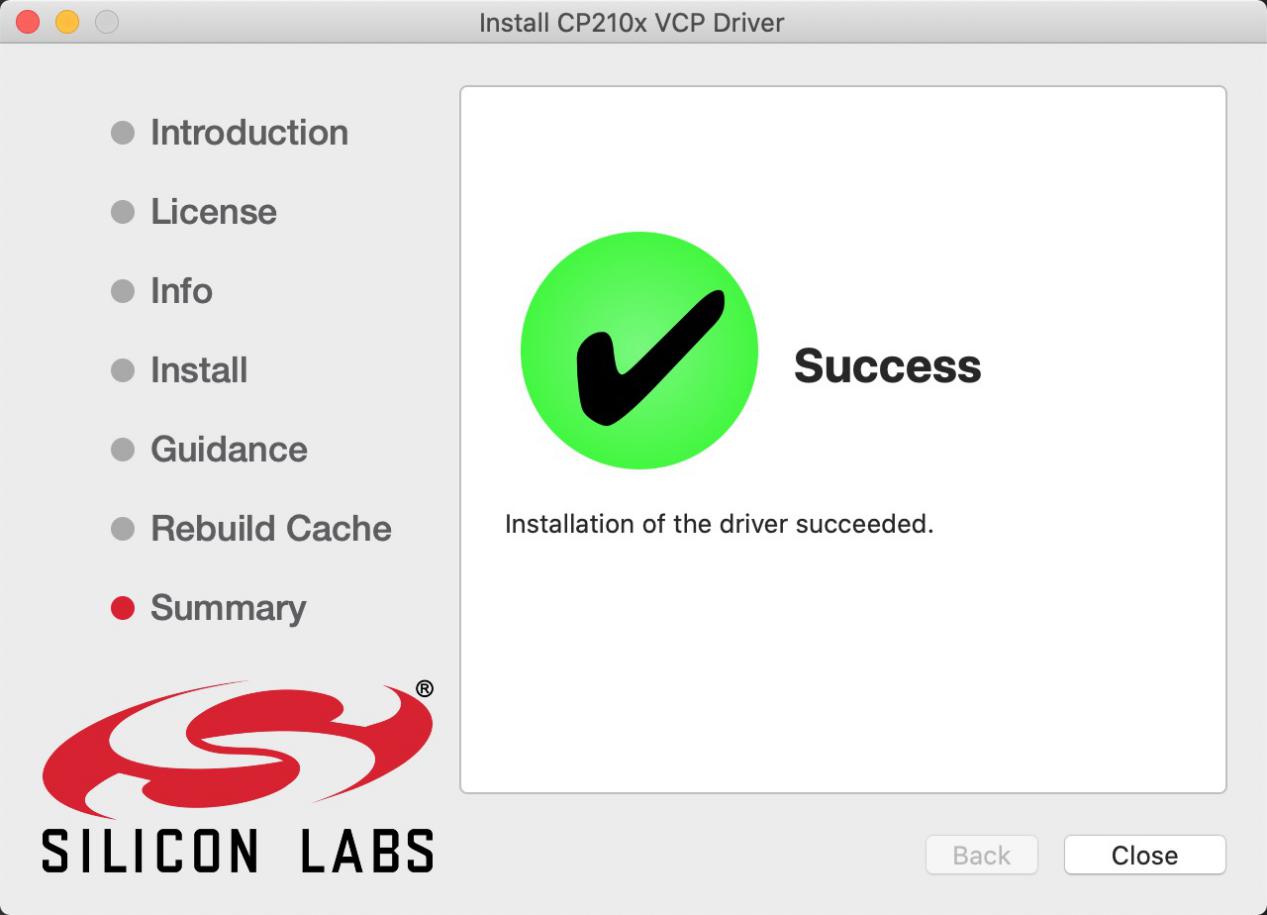
Successfully installed
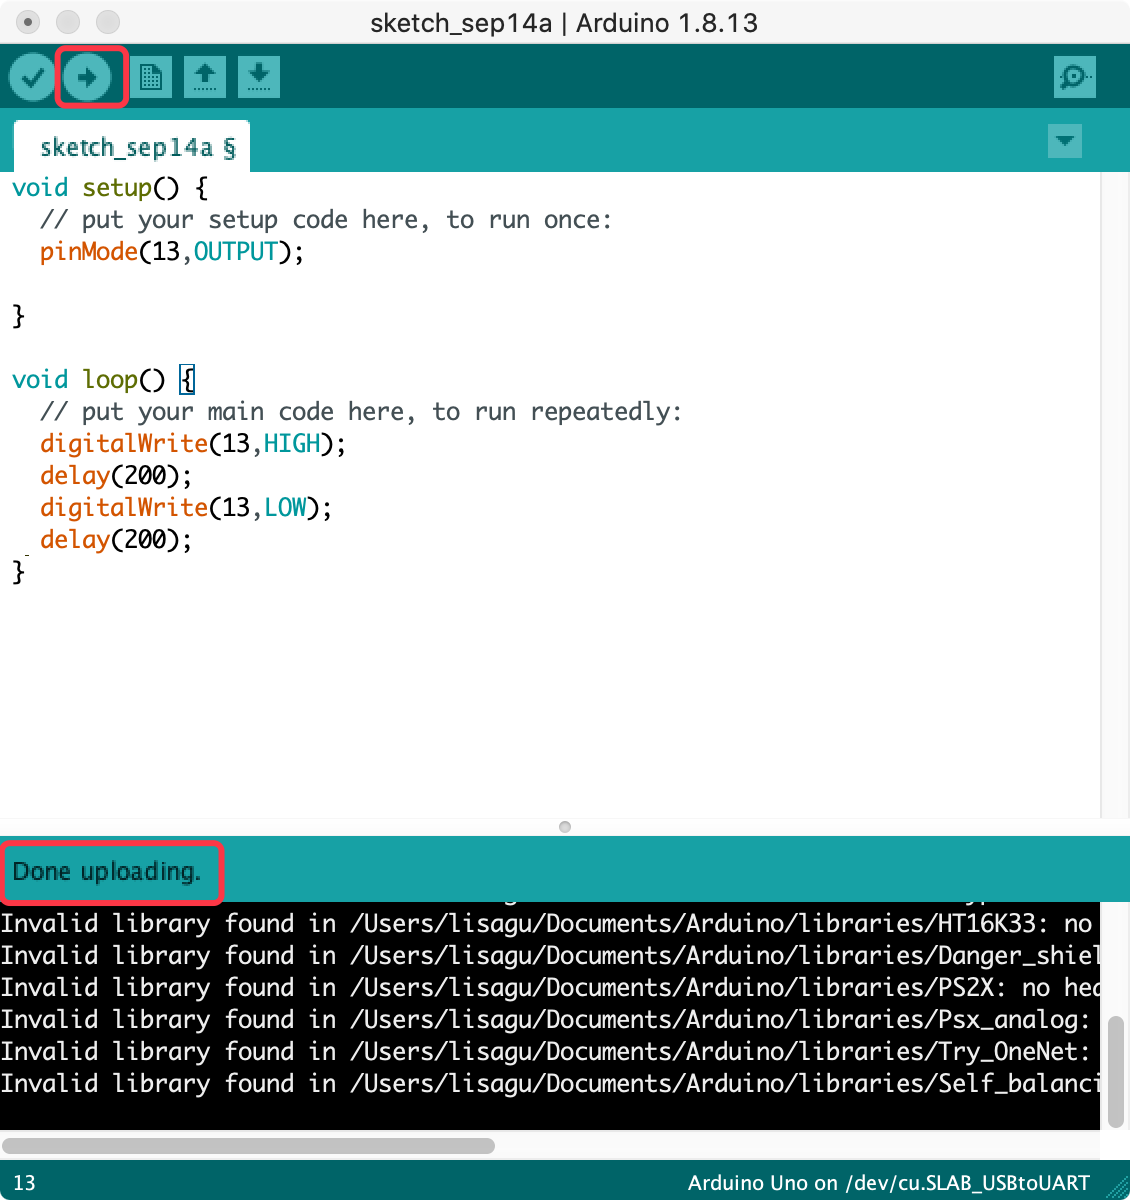
Then enter ArduinoIDE, click Tools and select Board ESP32 Dev Module and the serial port is“/dev/cu.SLAB_USBtoUAPT.
Click to upload code and show“Done uploading”.
How to Add Libraries?
⚠️ Special Note: You can refer to the methods in the linked content to add the library files. click the link:https://getting-started-with-arduino.readthedocs.io
(1) What are Libraries ?
Libraries are a collection of code that make it easy for you to connect sensors, displays, modules, etc.
For example, the built-in LiquidCrystal library helps talk to LCD displays. There are hundreds of additional libraries available on the Internet for download.
The built-in libraries and some of these additional libraries are listed in the reference. (https://www.arduino.cc/en/Reference/Libraries)
(2) How to Install a Library ?
Here we will introduce the most simple way to add libraries .
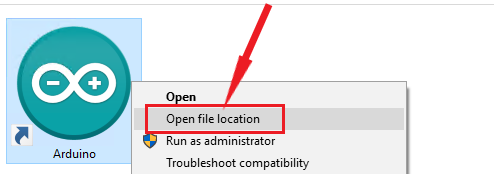
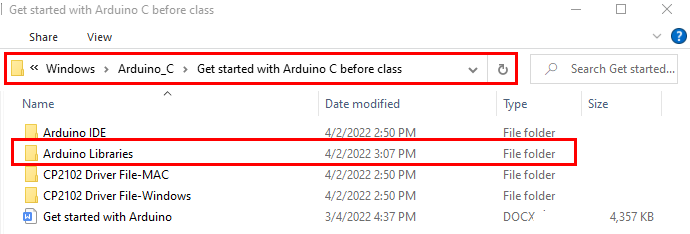
Step 1: After downloading well the Arduino IDE, you can right-click the icon of Arduino IDE to find the option “Open file location” .
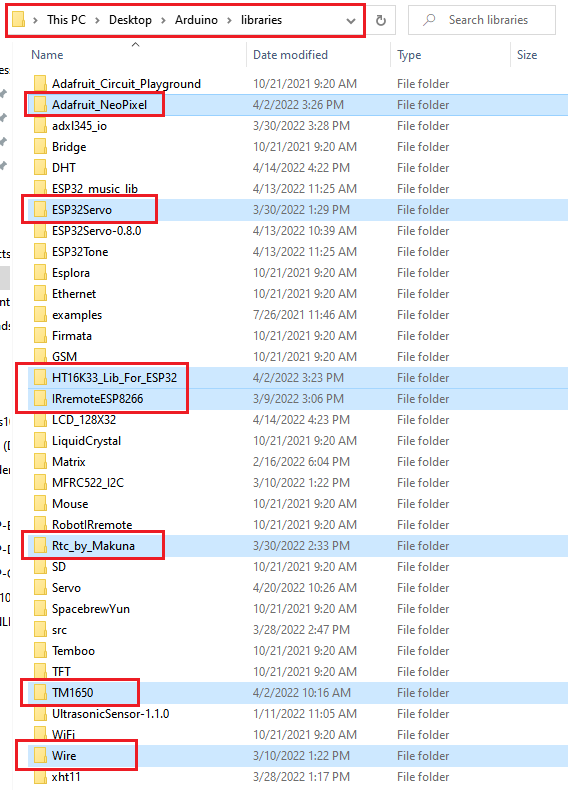
Step 2: Click Open file location >libraries
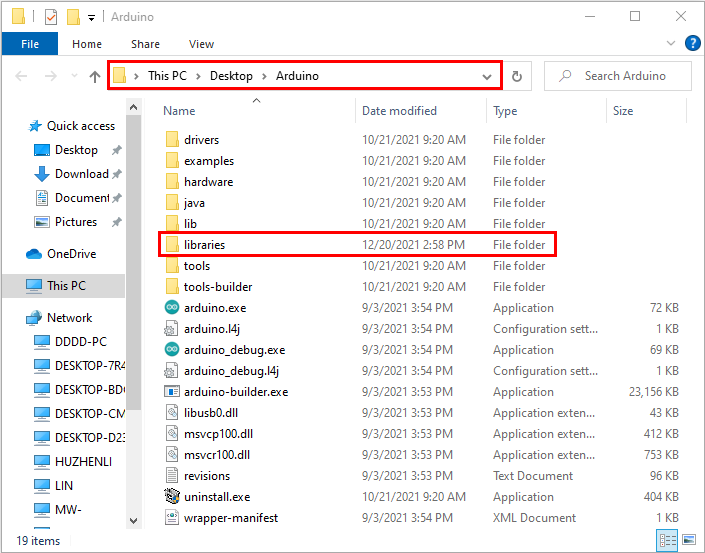
Step 3: Next, find out the“libraries”folder
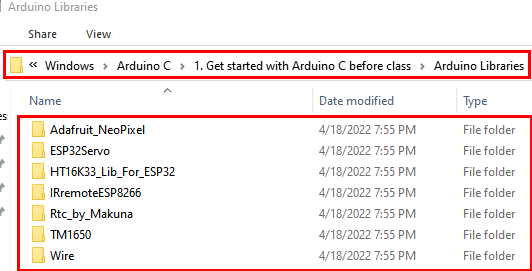
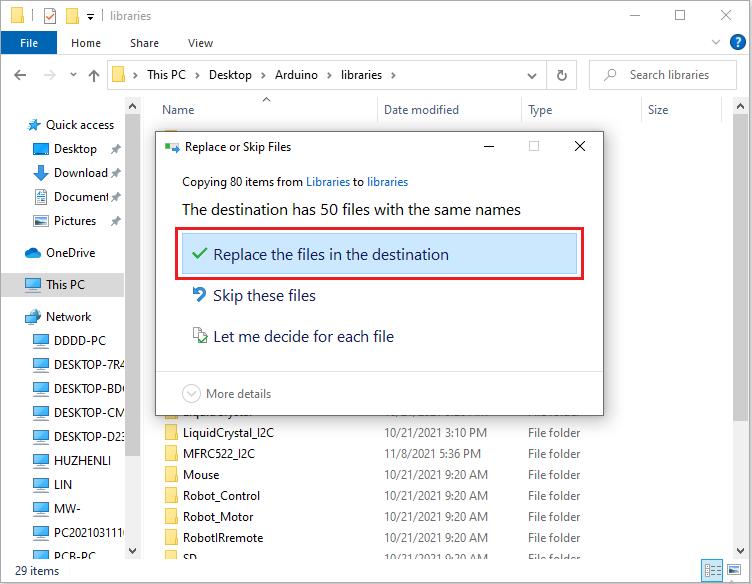
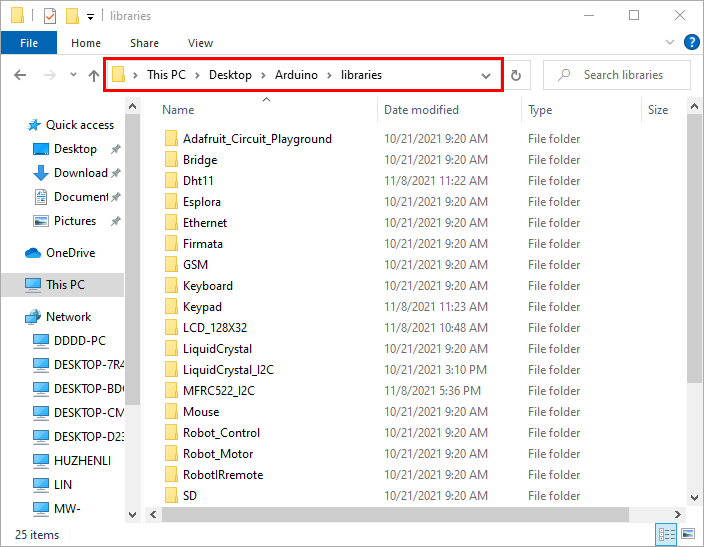
Copy 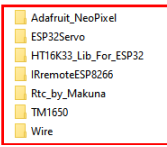 in the libraries folder of Arduino.
Then click“Replace the files in the destination”.