Project 1: Hello World
Overview
For ESP32 beginners, we will start with some simple things. In this project, you only need a ESP32 mainboard, a USB cable and a computer to complete the “Hello World!” project, which is a test of communication between the ESP32 mainboard and the computer as well as a primary project.
Components
|
|
|---|---|
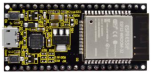
ESP32*1 |
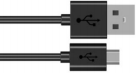
USB Cable*1 |
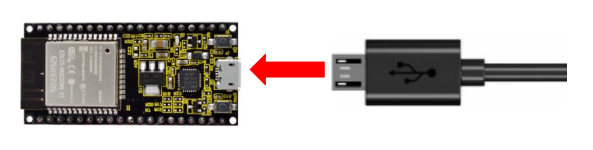
Wiring Diagram:
In this project, we will use a USB cable to connect the ESP32 to a computer.
Test Code
//*************************************************************************************
/*
 * Filename    : Hello World
 * Description : Enter the letter R,and the serial port displays"Hello World".
 * Auther      :http//www.keyestudio.com
*/
char val;// defines variable "val"
void setup()
{
Serial.begin(9600);// sets baudrate to 9600
}
void loop()
{
  if (Serial.available() > 0) {
    val=Serial.read();// reads symbols assigns to "val"
    if(val=='R')// checks input for the letter "R"
    {  // if so,
     Serial.println("Hello World!");// shows “Hello World !”.
    }
  }
}
//*************************************************************************************
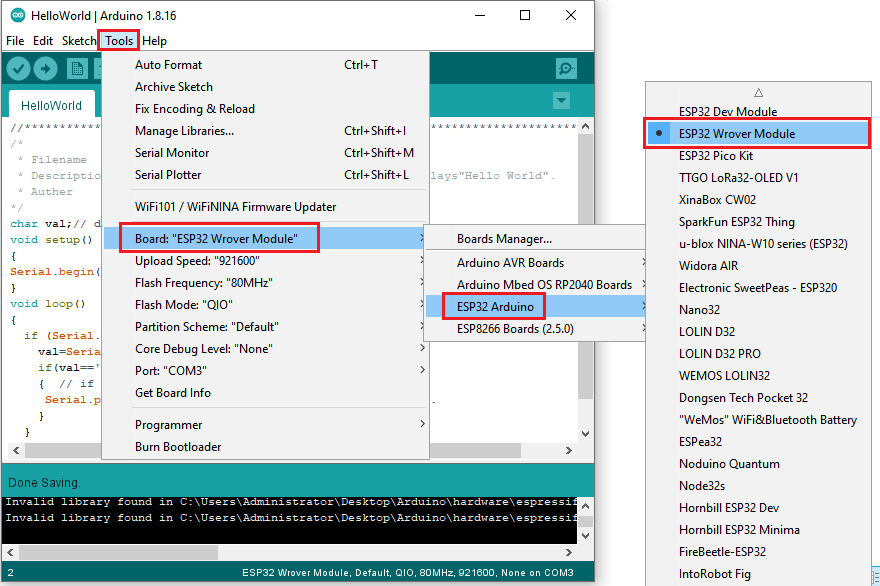
Before uploading the test code to the ESP32,click“Tools”→“Board”,select“ESP32 Wrover Module”.
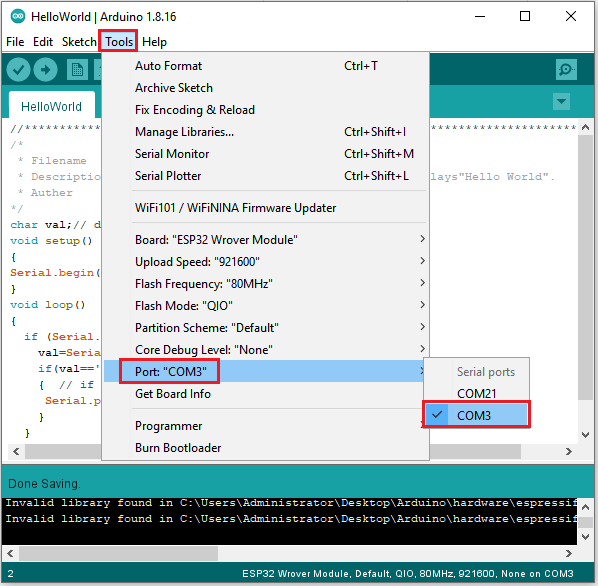
Select the correct serial port.
Note:For macOS users, if the upload fails, set the baud rate to 115200 before clicking  .
.

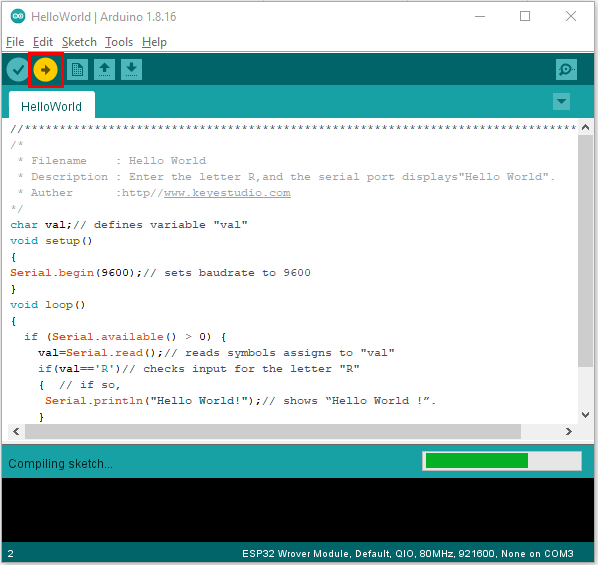
Click to upload the test code to the ESP32.
Note: If the uploading code fails, you can press and hold the Boot button on the ESP32 after clicking and release it after the percentage of uploading progress appears.
 , as shown below:

The code is uploaded successfully.

Test Result
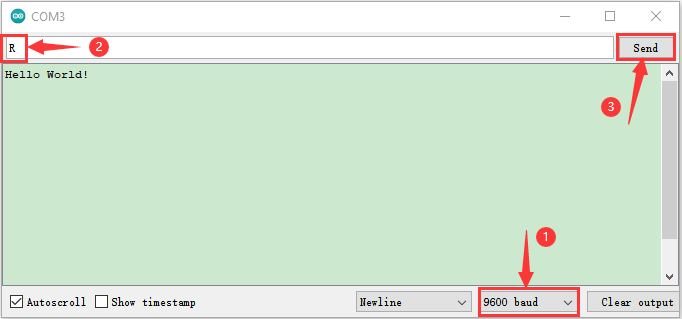
After uploading successfully,we will use a USB cable to power on,click to enter the serial monitor and set the baud rate to 9600,enter the letter“R”,click“Send”,then the serial monitor prints“Hello World!”.