Progetto 1: Controllare il LED
impareremo prima come controllare il LED.

Principio di funzionamento
LED è anche il diodo emettitore di luce, che può essere realizzato in un modulo elettronico. Brillerà se controlliamo i pin per emettere livello alto, altrimenti sarà spento.
Parametri
Tensione di funzionamento |
DC 3~5V |
|---|---|
Corrente di lavoro |
<20mA |
Potenza |
0.1W |
Pin di controllo
LED giallo |
12 |
|---|---|
\ |
Progetto 1.1 Lampeggio del LED
Descrizione
Possiamo far sì che il pin del LED produca livello alto e livello basso per far lampeggiare il LED.
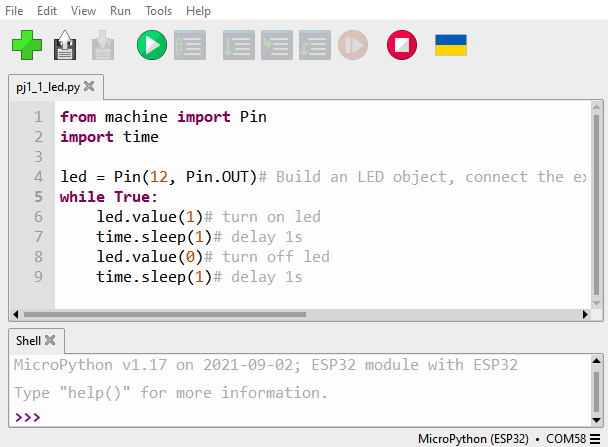
Codice di test
from machine import Pin
import time

led = Pin(12, Pin.OUT)# Build an LED object, connect the external LED light to pin 0, and set pin 0 to output mode
while True:
    led.value(1)# turn on led
    time.sleep(1)# delay 1s
    led.value(0)# turn off led
    time.sleep(1)# delay 1s
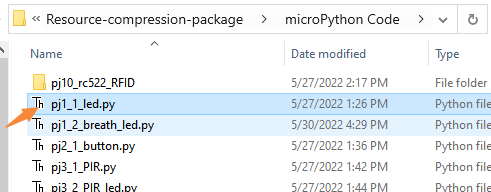
Aprire il codice di esempio
Risultato del test
Fare clic sul pulsante
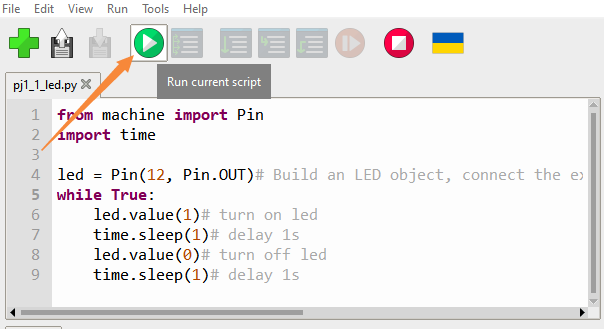
Possiamo vedere che il LED giallo sta lampeggiando.
Progetto 1.2 LED a effetto “respirazione”
Descrizione
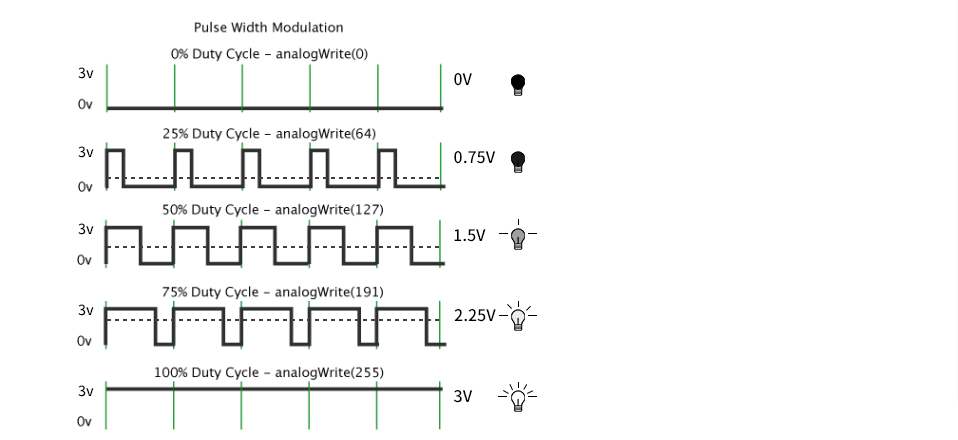
Un “LED respirante” è un fenomeno in cui la luminosità di un LED cambia gradualmente da scuro a luminoso e poi di nuovo a scuro, continuando a farlo e dando l’illusione che il LED stia “respirando”. Tuttavia, come controllare la luminosità del LED?
Conviene sfruttare il PWM. Si regola la quantità di tempo in cui il segnale rimane alto e basso in un’unità di tempo: più tempo occupa il livello alto, maggiore è il valore PWM e più luminoso sarà il LED.
Codice di test
import time
from machine import Pin,PWM

#The way that the ESP32 PWM pins output is different from traditionally controllers.
#It can change frequency and duty cycle by configuring PWM’s parameters at the initialization stage.
#Define GPIO 0’s output frequency as 10000Hz and its duty cycle as 0, and assign them to PWM.
pwm =PWM(Pin(12,Pin.OUT),10000)

try:
    while True:
#The range of duty cycle is 0-1023, so we use the first for loop to control PWM to change the duty
#cycle value,making PWM output 0% -100%; Use the second for loop to make PWM output 100%-0%.
        for i in range(0,1023):
            pwm.duty(i)
            time.sleep_ms(1)

        for i in range(0,1023):
            pwm.duty(1023-i)
            time.sleep_ms(1)
except:
#Each time PWM is used, the hardware Timer will be turned ON to cooperate it. Therefore, after each use of PWM,
#deinit() needs to be called to turned OFF the timer. Otherwise, the PWM may fail to work next time.
    pwm.deinit()
Risultato del test
Fare clic sul pulsante.
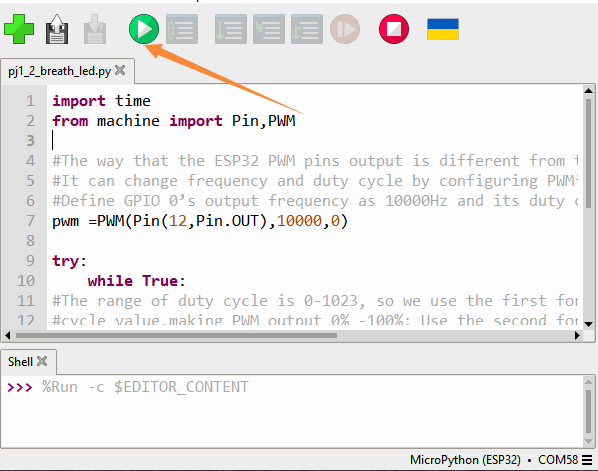
Il LED si attenua e si illumina gradualmente, ciclicamente, come se respirasse.