2. Product installation
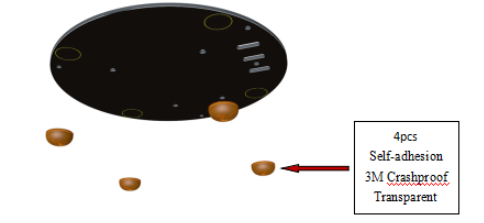
Stick 4pcs transparent colloidal particle to the bottom board.
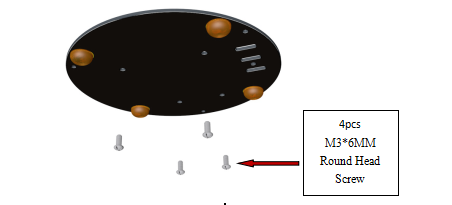
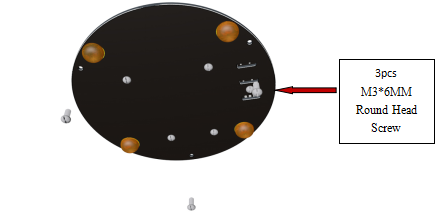
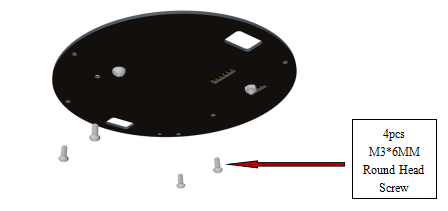
Twist 4 pcs M3*6MM round head screws on the bottom board.
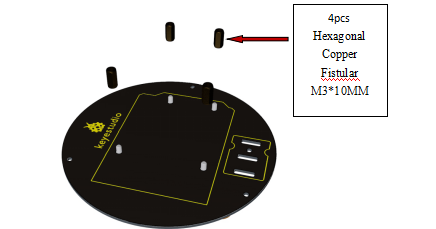
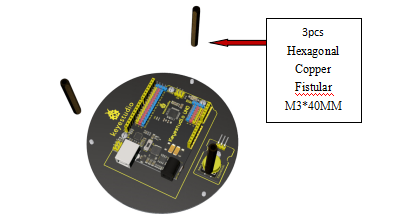
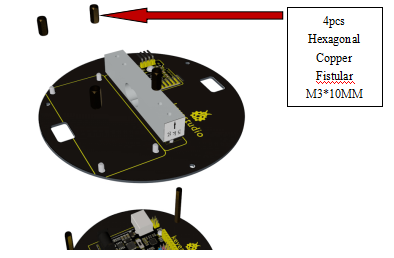
Install 4 pcs hexagonal copper Fistulars to the screws.
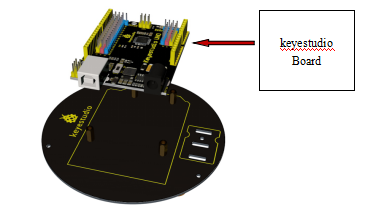
Pay attention to plug keyestudio Board into the corresponding holes of 4 fistulars.
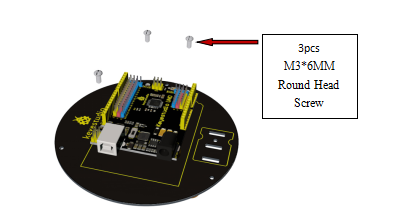
Twist 3pcs head screw to the fistulars to fix the keyestudio board.
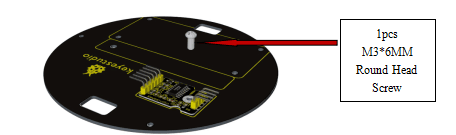
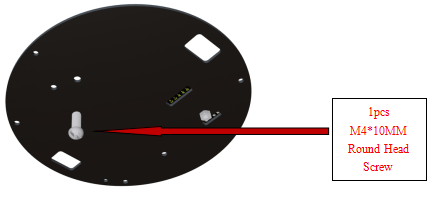
Attach the bottom board using 1 screw.

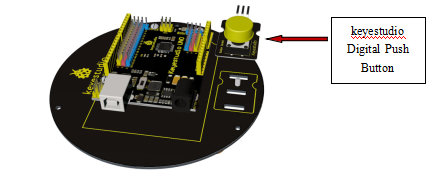
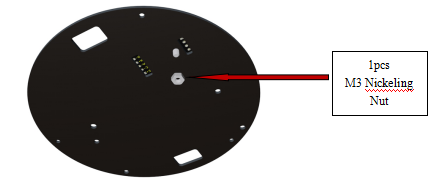
Install a button using 1 screw.
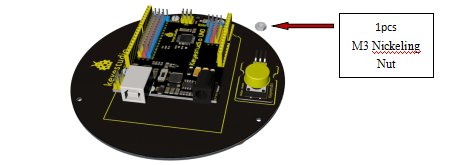
Then put a nut on the screw to fix the button.
Attach the bottom board with another 3 screws.
Then install 3 fistulars to the screws.
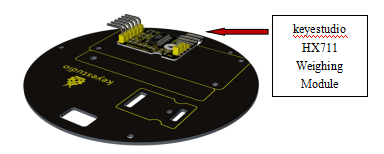
Attach the weighing module to the upper board.
Plug 1 screw into the module
Then fix the module with a nut.
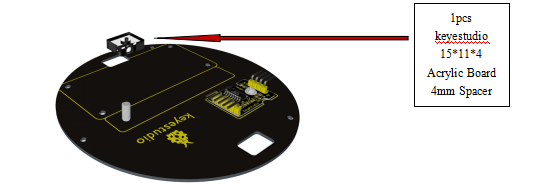
Put another screw on the upper board.
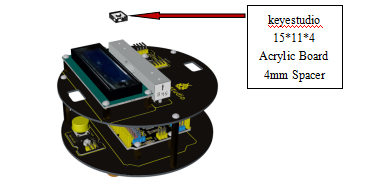
Put the Acrylic board on the screw.
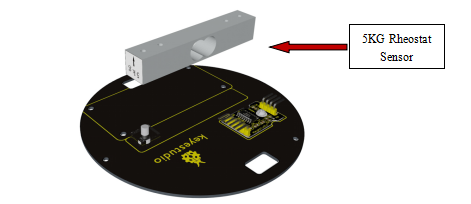
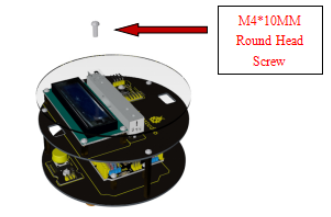
16.Attach the 5KG rheostat sensor to the upper board using a M4*10MM round head screw and mind the direction of the sensor(arrow pointing up).
Install 4 screws on the upper board.
Then put 4 fistulares on the 4 screws.
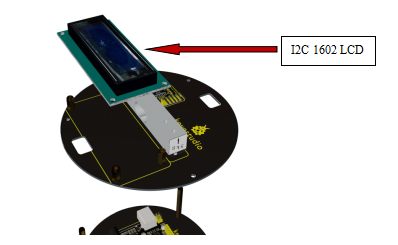
Plug the LCD into 4 fistulars.
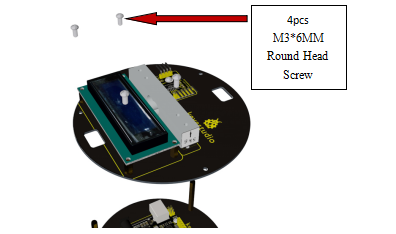
Fix the LCD using 4 screws.
Then plug the upper board into the bottom board.
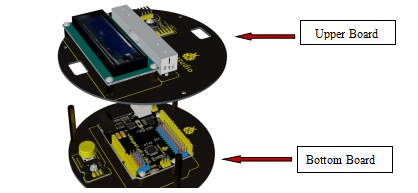
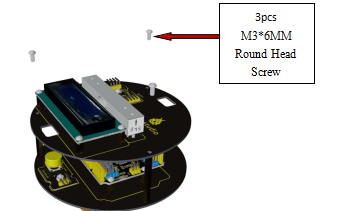
Fix the boards with 3 screws.
Put the Acrylic board above 5KG rheostat sensor.
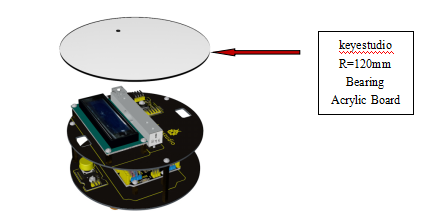
Attach the bearing acrylic to acrylic board above.
Finally fix the bearing acrylic with 5KG rheostat sensor using a screw.
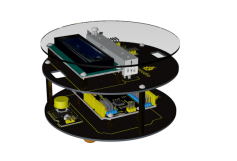
Installation is complete shown as following figure.