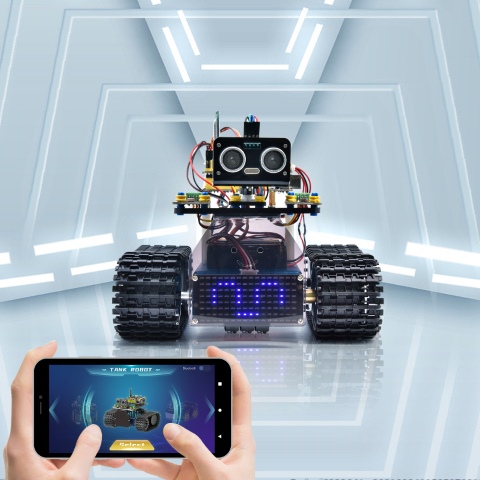
Project 17: Bluetooth Control Tank
(1)Description:
We have learned the basic knowledge of Bluetooth in the previous project . In this lesson, we will use Bluetooth to control the smart car. Since it involves Bluetooth, a sending end and a receiving end are needed. In the project, we use the mobile phone as the sender (master), and the smart car connected with the HM-10 Bluetooth module (slave) as the receiver.
We have learned earlier that sending a bit can control LEDs. And the principle of controlling this robot car is the same.
In order to better control the intelligent tank robot, we specially made an APP. In this lesson, we will read all the key value on this APP through code, and then introduce the exclusive APP of our tank robot.
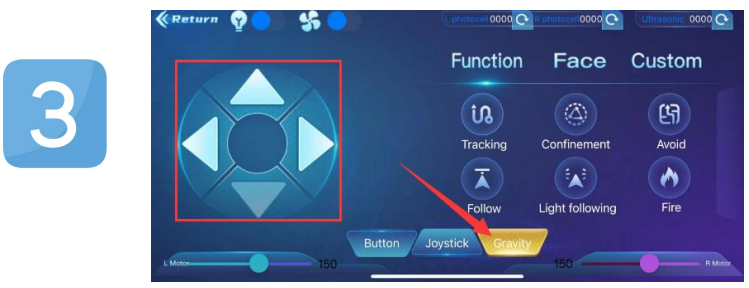
(2)Key Function on the APP:
The following table illustrates the functions of corresponding keys:
Keys |
Functions |
|
|---|---|---|
|
Pair and connect HM-10 Bluetooth module;click again to disconnect |
|
|
select the robot to operate |
|
|
to control the movements of the robot by buttons |
|
|
To control the movements of the robot by joystick |
|
|
To control the movements of the robot by gravity |
|
|
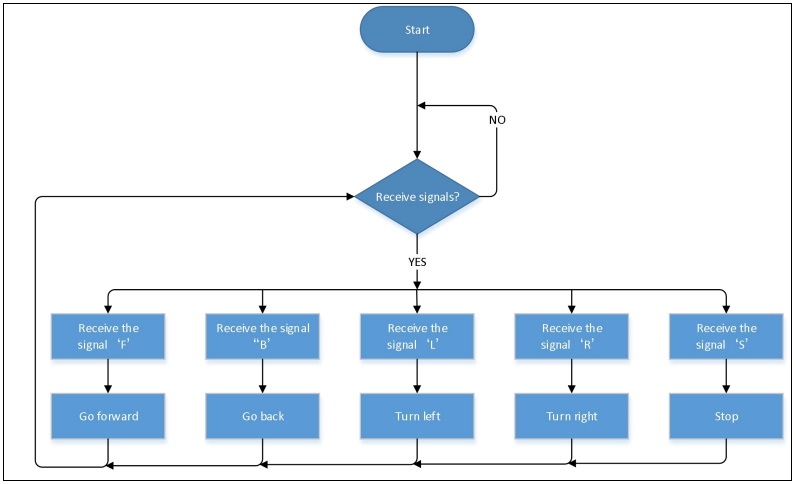
Send “F”when pressed and “S”when released |
The car moves forward when it is pressed and stops when released |
|
Send “L”when pressed and “S”when released |
The car turns left when it is pressed tight and stops when released |
|
Send “R”when pressed and “S”when released |
The car turns right when it is pressed tight and stops when released |
|
Send “B”when pressed and “S”when released |
The car turns back when it is pressed tight and stops when released |
|
Send “u”+digit+“#”when dragged |
Drag to change the speed of the left motor |
|
Send “v”+digit+“#”when dragged |
Drag to change the speed of the right motor |
|
Select to enter Function page |
|
|
Send “G”when pressed and “S”when pressed again |
Enter obstacle avoidance mode when pressed and exit when pressed again |
|
Send “h”when pressed and “S”when pressed again |
Enter following mode when pressed and exit when pressed again |
|
Send “e”when pressed and “S”when pressed again |
Enter line-tracking mode when pressed and exit when pressed again |
|
Send “f”when pressed and “S”when pressed again |
Enter move-in-confined-space mode when pressed and exit when pressed again |
|
Send “i”when pressed and “S”when pressed again |
Enter light following mode when pressed and exit when pressed again |
|
Send “j”when pressed and “S”when pressed again |
Enter fire extinguishing mode when pressed and exit when pressed again |
|
Select to enter facial expression display mode |
|
|
Send “k”when pressed and “z”when pressed again |
Show smiling pattern when clicked and clear expression when clicked again |
|
Send “l”when pressed and “z”when pressed again |
Show disgusting pattern when clicked and clear expression when clicked again |
|
Send “m”when pressed and “z”when pressed again |
Show happy face when clicked and clear expression when clicked again |
|
Send “n”when pressed and “z”when pressed again |
Show sad pattern when clicked and clear expression when clicked again |
|
Send “o”when pressed and “z”when pressed again |
Show disparaging pattern when clicked and clear expression when clicked again |
|
Send “p”when pressed and “z”when pressed again |
Show heart-shaped pattern when clicked and clear expression when clicked again |
|
Choose to enter the custom function interface; there are six keys 1,2,3,4,5,6; with these keys, you can expand some functions by yourself |
|
|
Click to send “w” |
Click to display the analog value detected by the photoresistor on the left |
|
Click to send“y” |
Click to display the analog value detected by the photoresistor on the right |
|
Click to send“x” |
Click to show the distance detected by ultrasonic sensor (unit: cm) |
|
Click to send“c” |
Press to turn on the fan and press again to turn off it |


(3)Flow Chart:
(4)Connection Diagram:
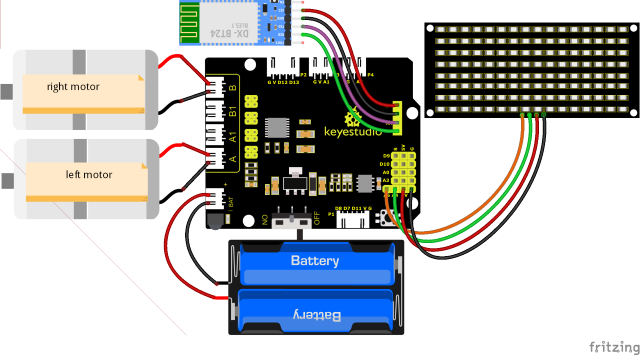
Note:
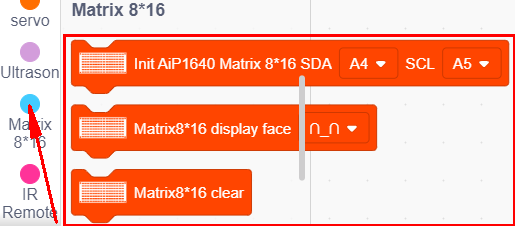
GND, VCC, SDA and SCL of the 8x16 LED panel are connected to G(GND), V(5V), A4 and A5 of the expansion board. STATE and BRK don’t need to be interfaced. The BT module is inserted into the expansion board.
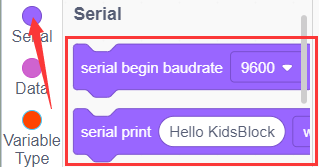
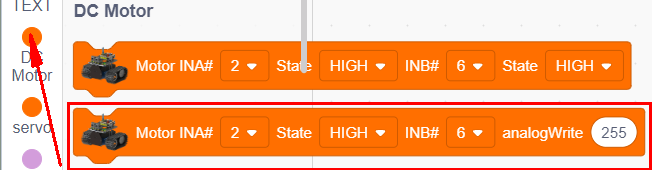
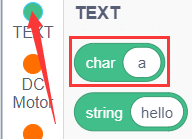
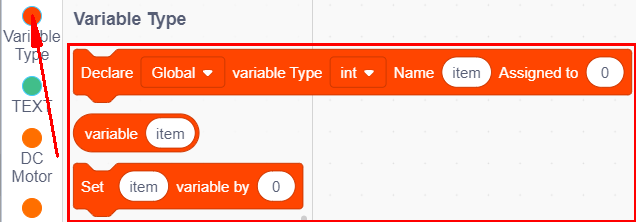
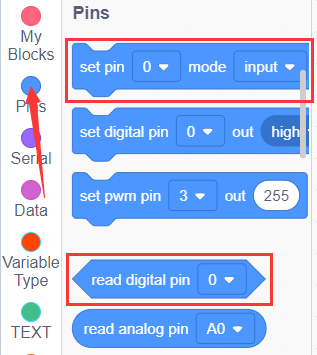
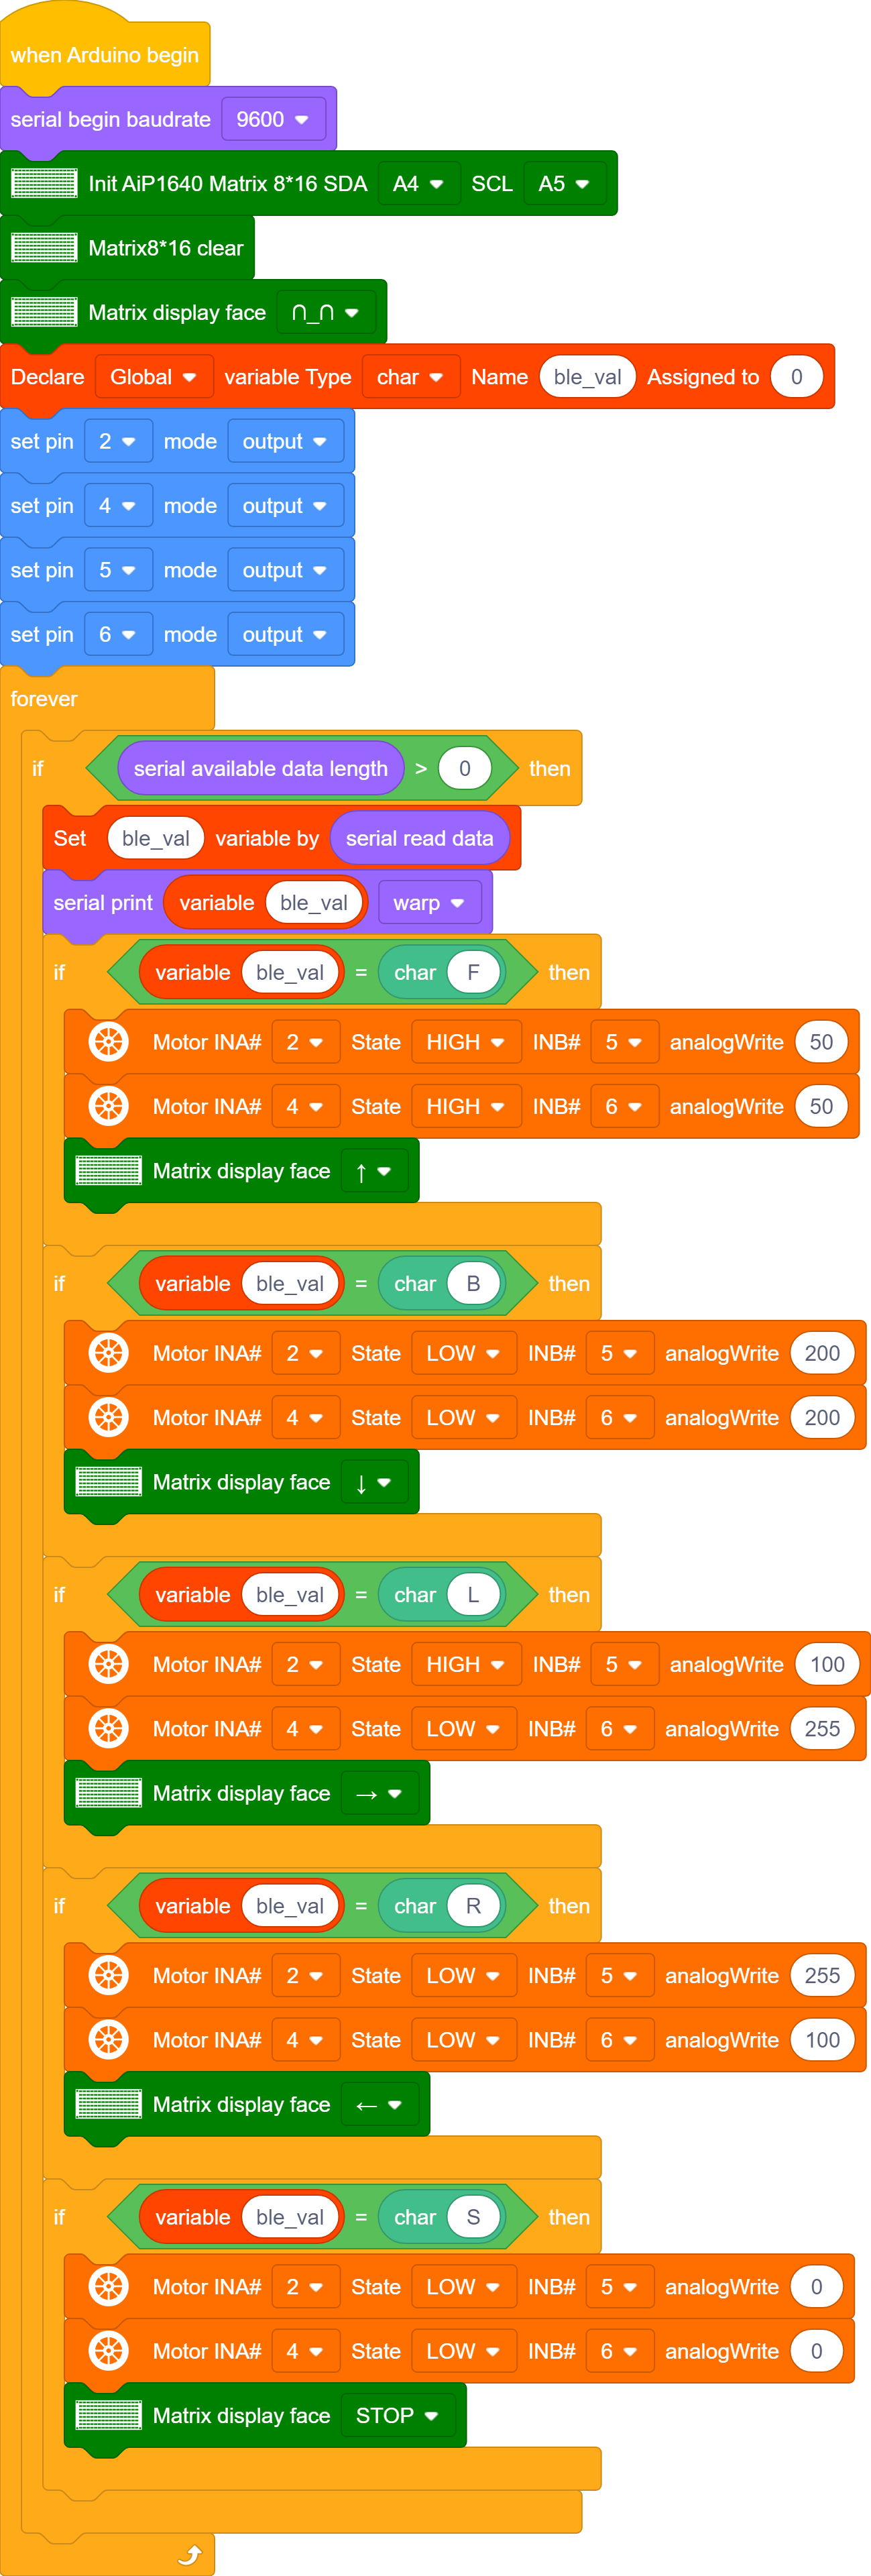
(5)Test Code:
You can drag blocks to edit your code
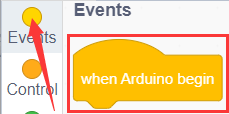
(1)
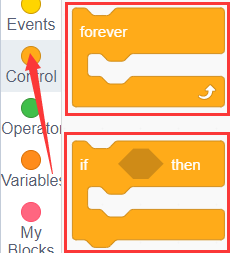
(2)
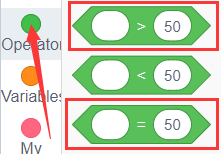
(3) 
(4)
(5)
(6) 
(7)
(8)
(9)
Complete Test Code
(Note: Do not connect the Bluetooth module before uploading the code, because uploading the code also uses serial communication, and there may be conflicts with the Bluetooth serial communication, which can cause the upload to fail.)
(6)Test Result:
After uploading the code, connect the robot to the Bluetooth module and pair the Bluetooth APP. Turn on the powerswitch of the motor drive shield. Place the robot on the floor, you can use these buttons of the Bluetooth app to control the robot.
The up, down, left and right arrows control the robot to move forward, backward, left and right respectively.

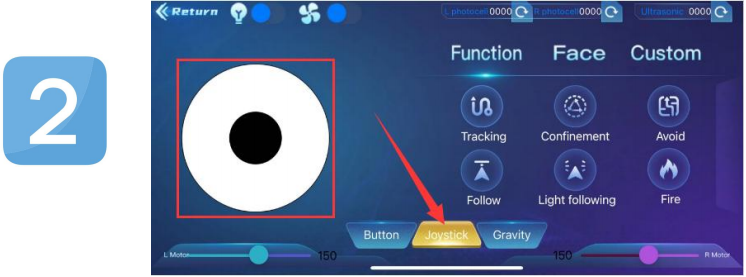
Click the joystick button and pull the direction of the black point in the white circle to control the movement direction of the robot.
3.Click the Gravity button and tilt the phone in the forward, backward, left, and right directions, and the robot will move in the direction in which the phone istilted.