4.2.1 MU on Windows
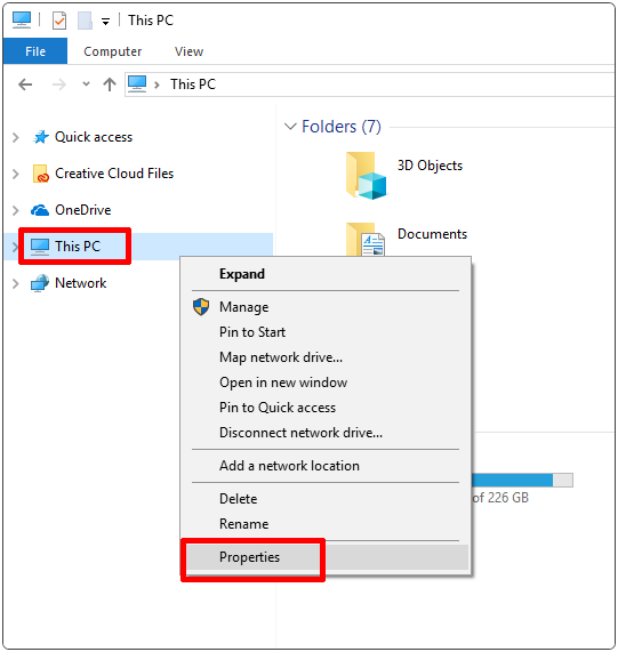
Click “This PC” to check “Properties” to know whether your system is 32 bit or 64 bit.
The system type can be seen: 64-bit
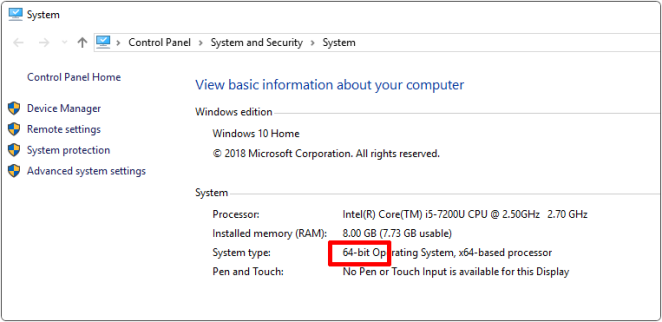
⚠️ Note: MU no longer supports 32-bit Windows. The currently recommended version is MU 1.2.0. So please update to this version on your computer.
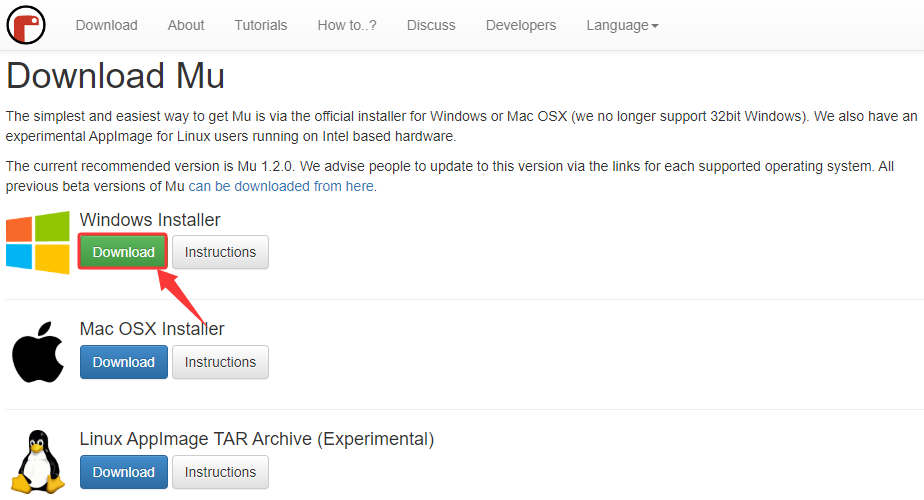
4.2.1.1 Download MU
Click to download the MU on Windows.
4.2.1.2 Install MU
Step 1-Run the installation program:
Find the installer you just downloaded (it may be in your download folder) and click to open it.

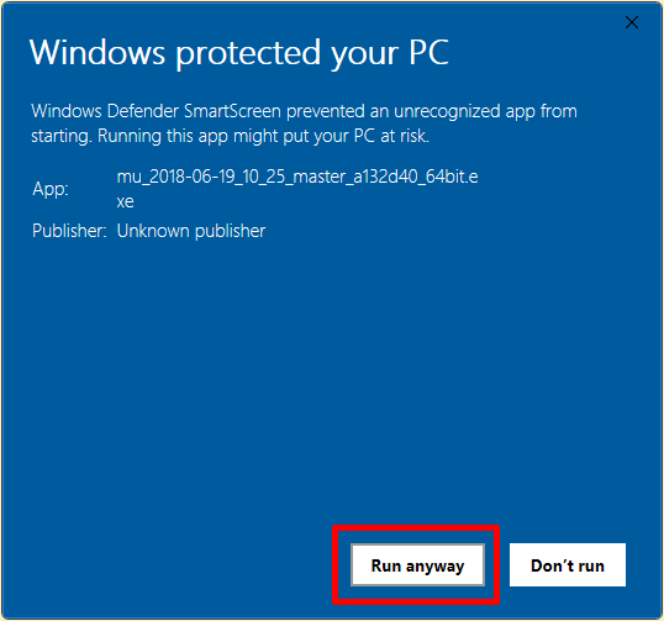
A warning message will be popped up on Windows Defender. Click “More info”.
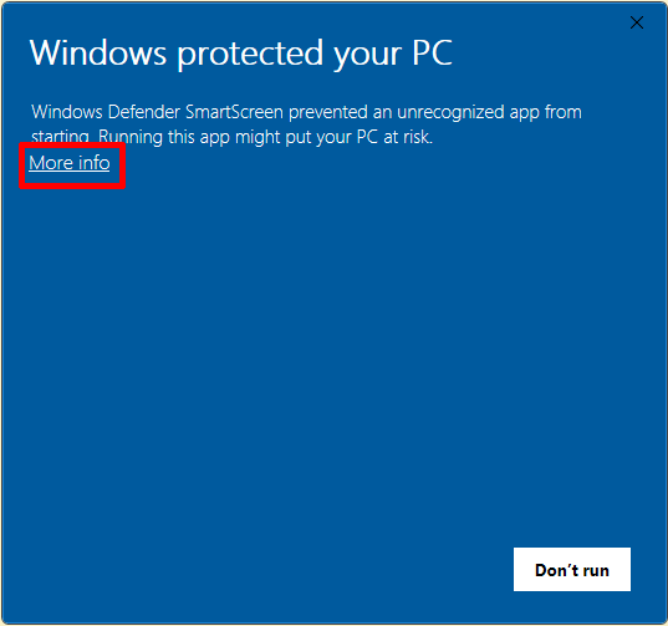
The message will change to provide more information about the installer, and display a “Run anyway” button. Click the button.
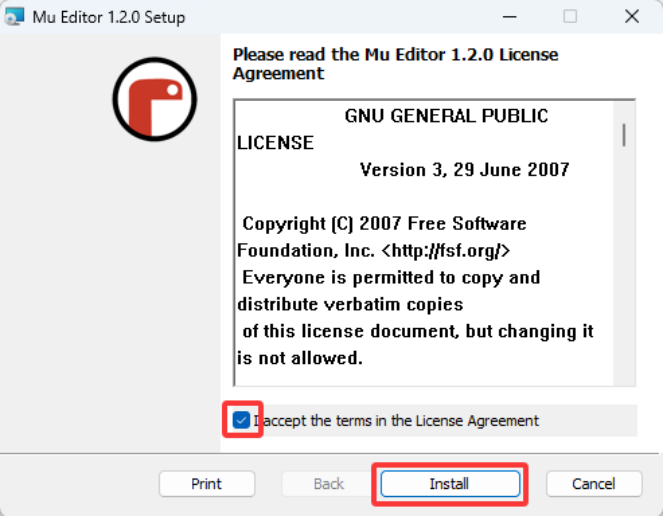
Step 2-License agreement:
Check the license, tick the accept box, and click “Install”.
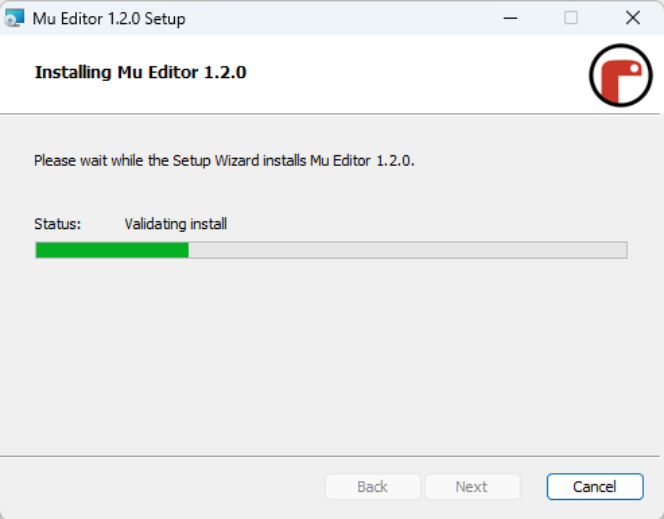
Step 3-Installation:
When MU is installed on your computer, it takes a few seconds.
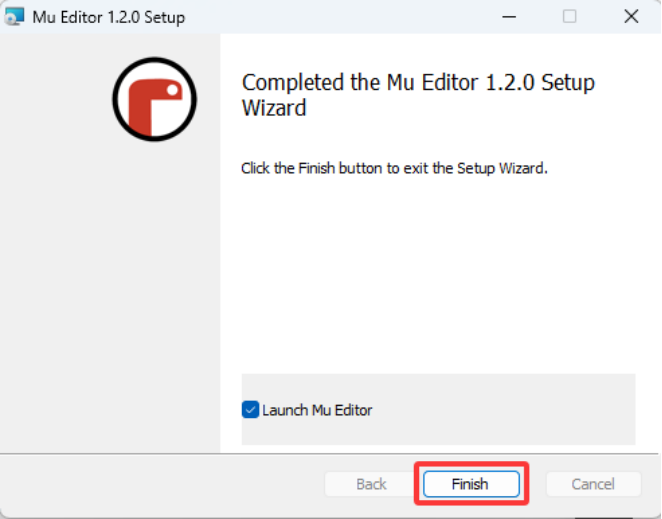
Step 4-Complete:
After installed, click “Finish”.
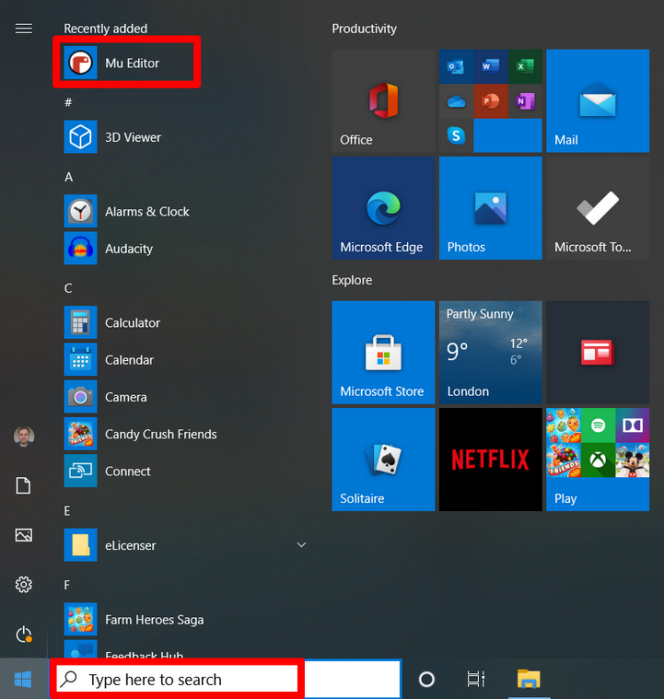
Step 5-Start the MU:
Directly click MU to enter it, or search it to open. At the first start, this may take a few seconds.
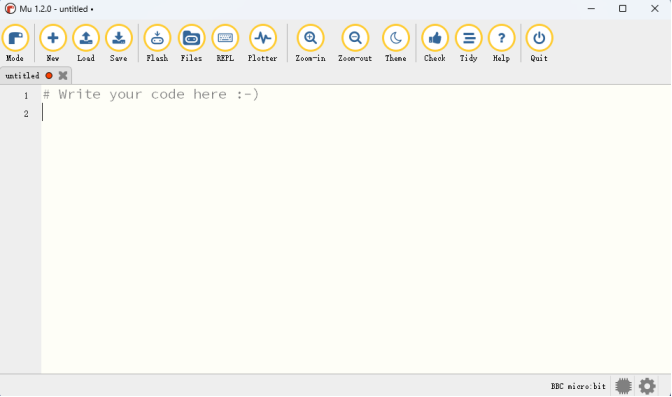
MU main interface:
4.2.2 MU on MacOSX
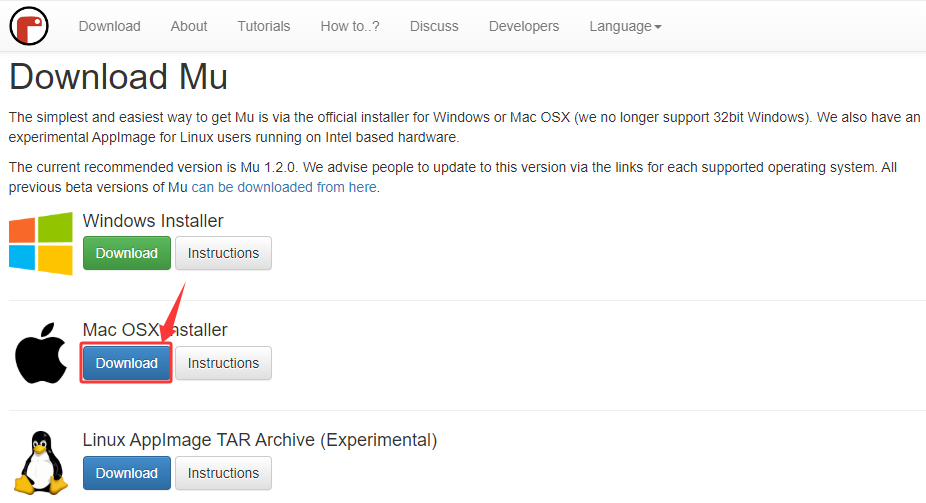
4.2.2.1 Download MU
Click to download the MU on MacOS.
4.2.2.2 Install MU
4.2.3 MU on Linux
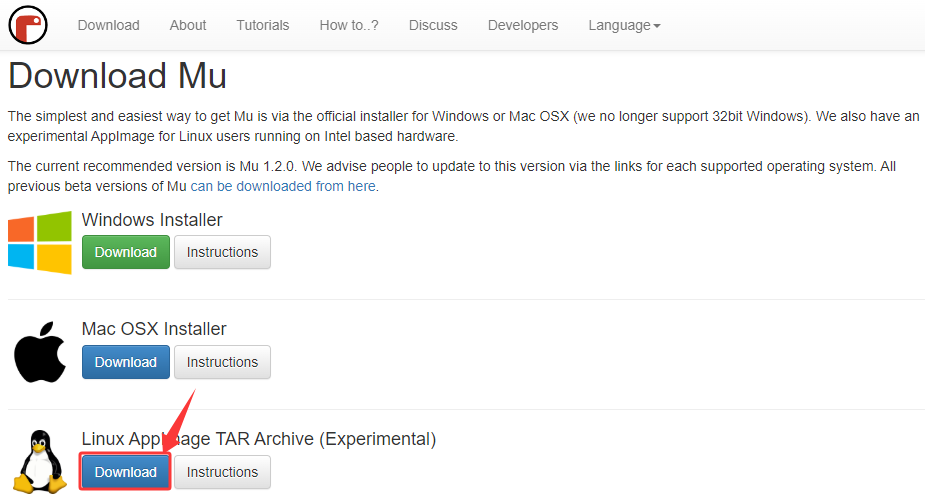
4.2.3.1 Download MU
Click to download the MU on Linux.
4.2.3.2 Install MU
4.3 Settings and Toolbar
⚠️ Note: Here we demonstrate how to use it on Windows system (as a reference for MacOSX and Linux).
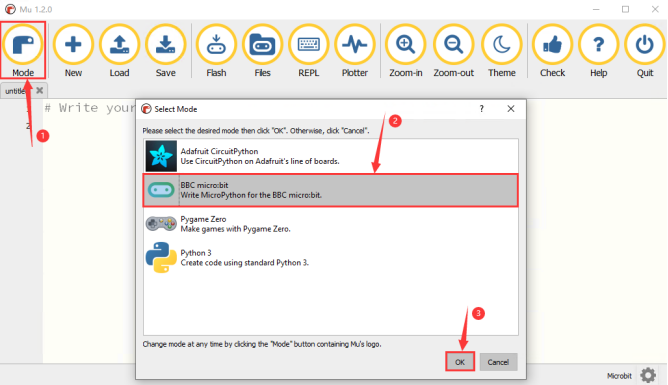
Open MU, click the “Mode” to select “BBC micro:bit”, and then click “OK”.
Please refer to the official introduction and tutorials for the MU operations.
For more tutorials about MU, please visit: https://codewith.mu/en/tutorials/
4.4 Import Library on MU
⚠️ Note: Before importing a library file, you need to upload a .py code (empty code is also acceptable) to the micro:bit board . Here, we import an empty code.
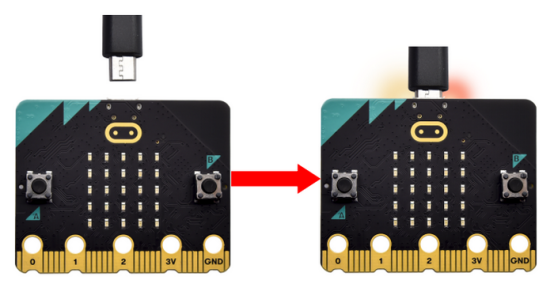
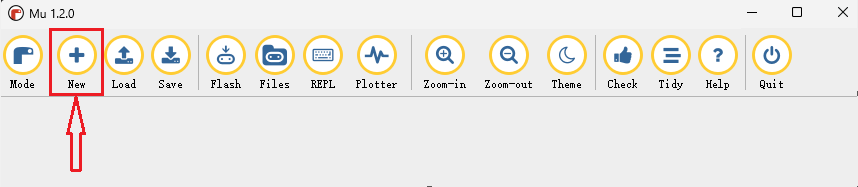
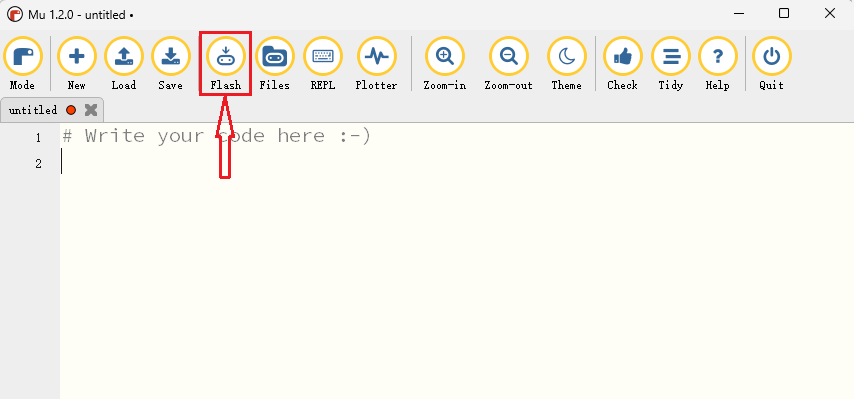
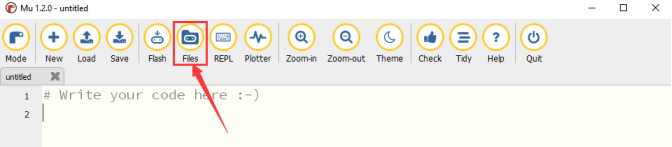
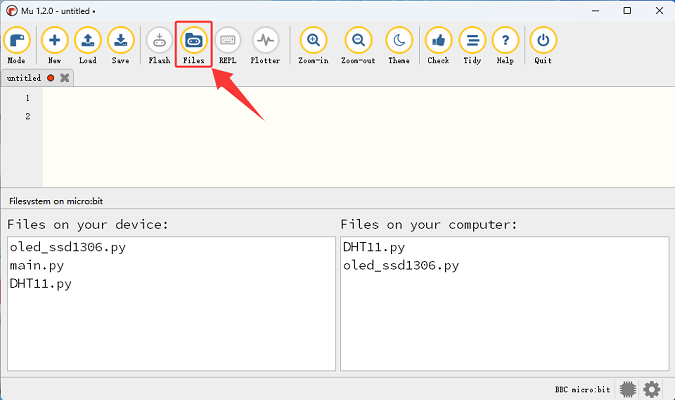
1. Connect the micro:bit board to the computer via a micro USB cable, open the Mu editor, click “New” to create a .py code(empty), and then click the “Flash” to upload the empty code to the board.
In this tutorial, OLED display and XHT11 temperature and humidity sensor require libraries. So we need to import “oled_ssd1306.py” and “DHT11.py”.
The default directory for saving files in MU is “mu_code”, which is located in the root directory of the user directory.
Reference: https://codewith.mu/en/tutorials/1.0/files.
2. Import libraries:
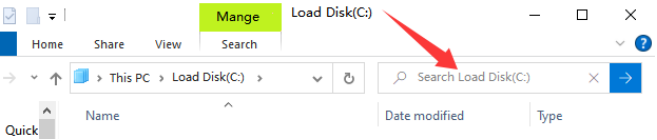
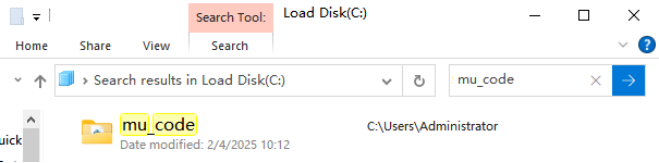
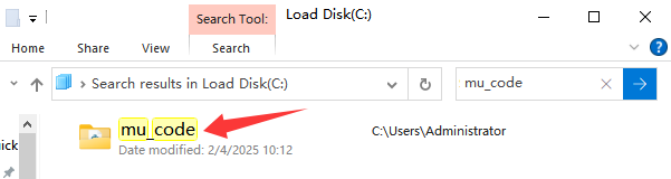
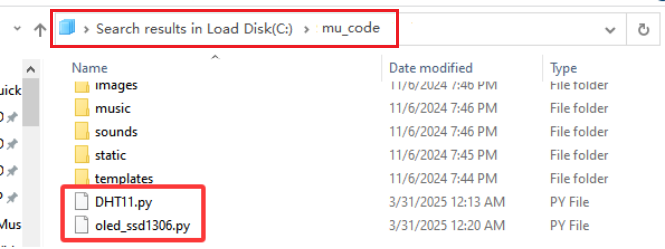
2.1. Double-click to open the C drive of your computer. Search for “mu_code” on the C drive of your computer and find the “mu_code” folder.
2.2. Open “mu_code”.
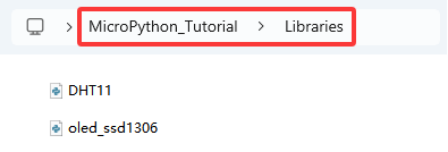
2.3. Copy and paste the library files “oled_ssd1306.py” and “DHT11.py” from the “Libraries” folder to the “mu_code” directory at the following path.
2.4. In “mu_code”, you then can see “oled_ssd1306.py” and “DHT11.py”:
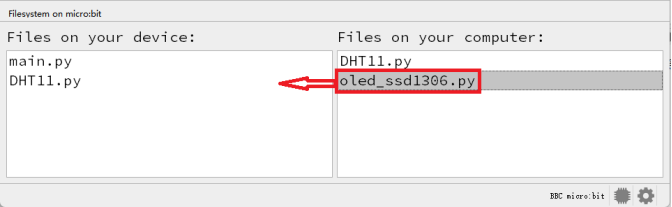
2.5. Open MU and click “Files”. Drag “DHT11.py” to the micro:bit.
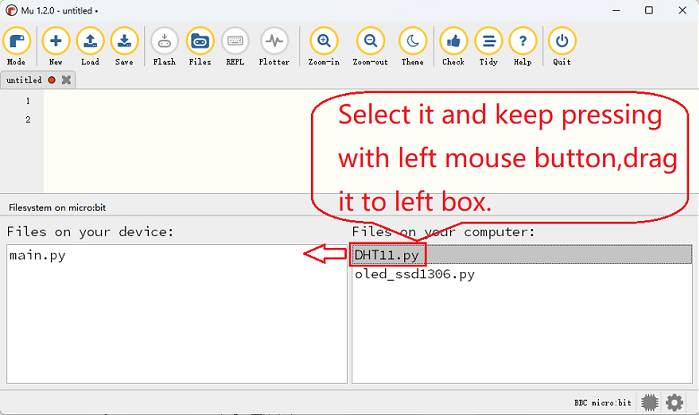
2.6. And you can see “DHT11.py” in the left box:
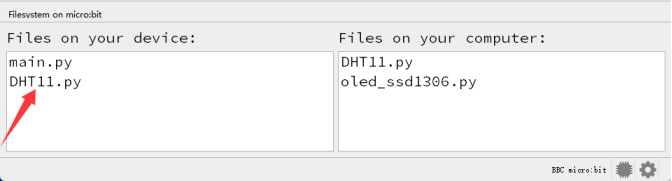
2.7. Similarly, import “oled_ssd1306.py”.
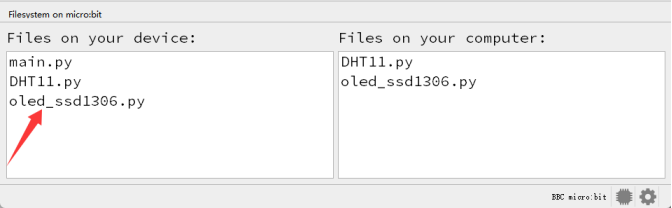
2.8. After adding the library files “oled_ssd1306.py” and “DHT11.py” , click the “Files” button again.
⚠️ Note: After importing libraries, click “Flash” to download the .py code file to micro:bit board. If the on-board 5×5 LED matrix shows the error, you need to re-load these libraries.
4.5 Load Code to MU
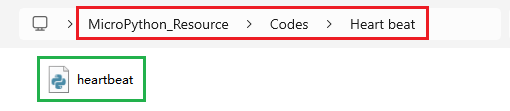
Here we take “heartbeat.py” in the folder “Heart beat” as an example.
Method one:
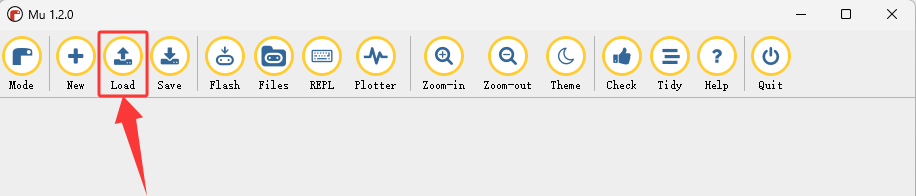
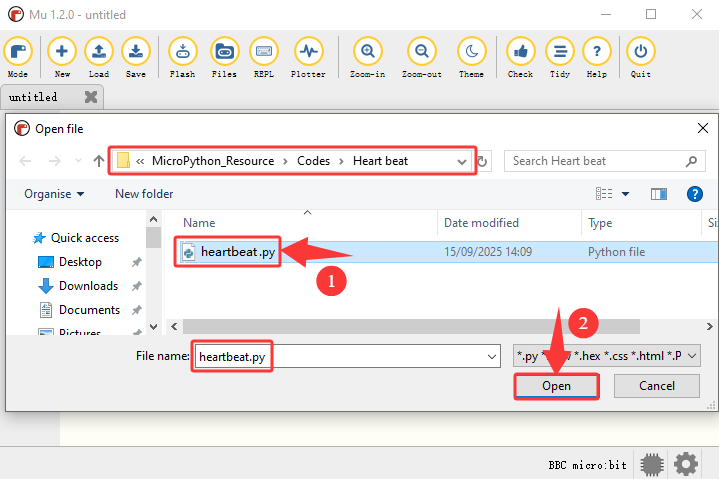
Open MU and click “Load” to open the file you need.
Loaded:

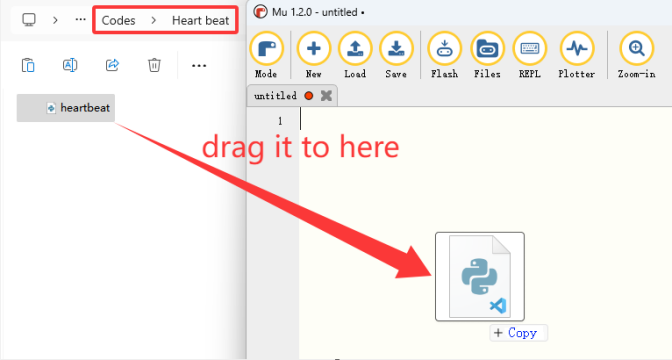
Method two:
There is a much simpler way to load code.
Open MU and click  , select “heartbeat.py” and drag it into MU:
Loaded:
4.6 Download Code to Micro:bit
⚠️ Note: After uploading a code to the micro:bit board, the original content will be overwritten, so it needs to be re-imported the next time you use it.
Connect micro:bit board to computer via USB cable.
Click “Flash” to load the code to micro:bit board.
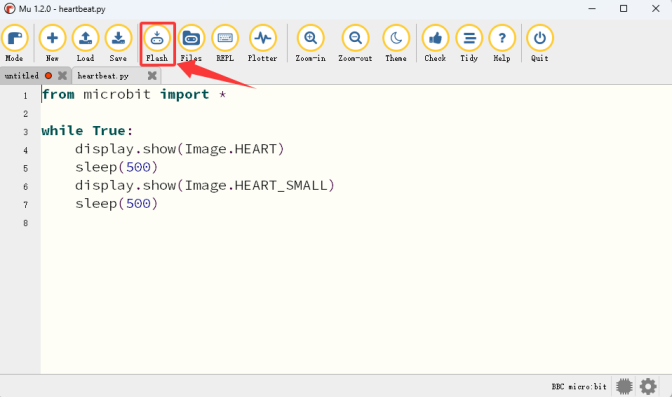
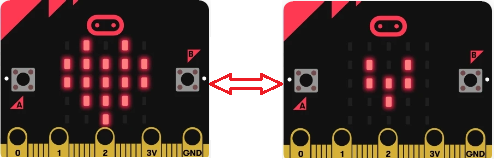
After downloading, power on via micro USB cable, and the on-board 5×5 LED matrix shows  and
and  in a loop.
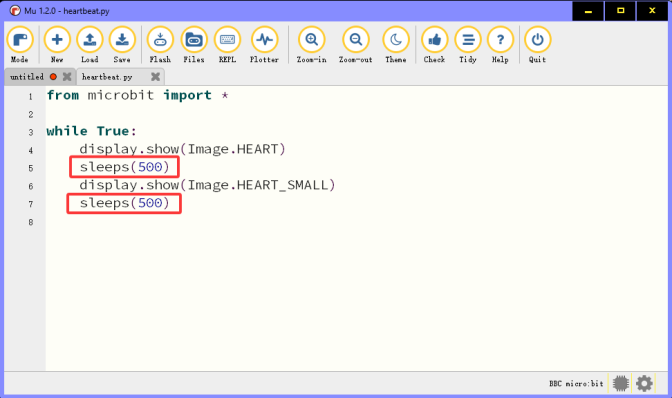
⚠️ Note: If the code includes errors, it can also be downloaded to micro:bit, but it does not work properly.
For example, when sleep() is wrongly written to sleeps(), click “Flash” to download the code to the board, and the 5×5 LED matrix may show error message and incorrect line number.
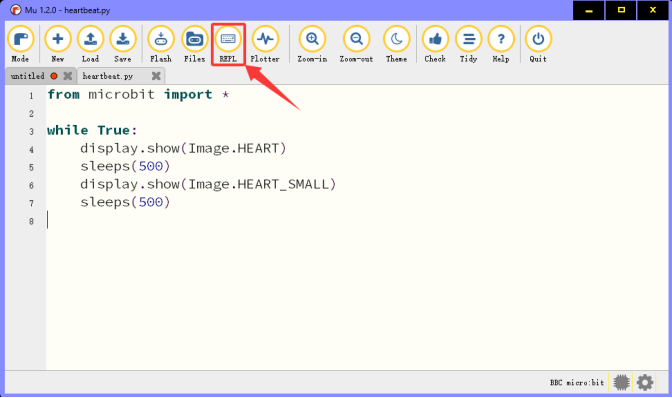
Click “REPL” and the reset button (on the back of micro:bit board, not A/B button), and the error message will be displayed in the REPL.
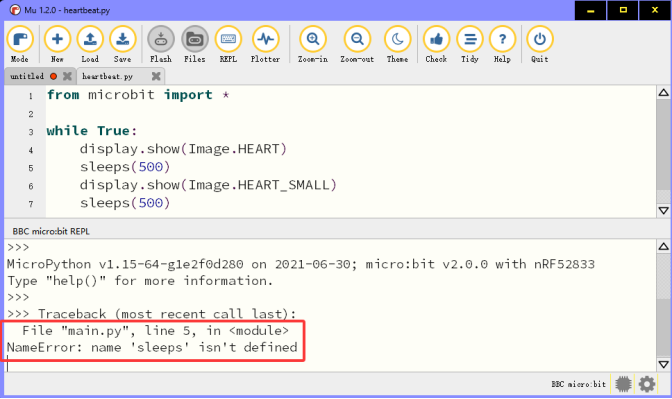
Click “REPL” again to close it. After correcting the error, click “Flash” to re-download the code.
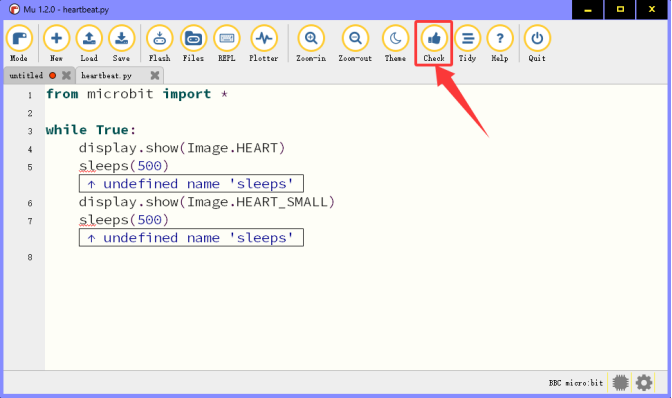
After writing the code, click “Check” to ensure the code is correct. For instance, click “Check” and the MU will point out errors.
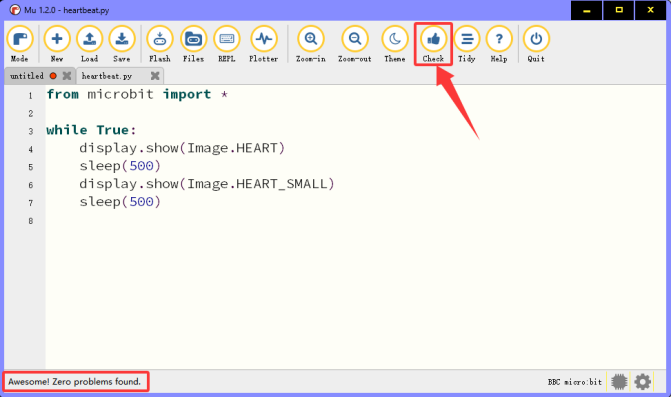
Modify the code according to the prompt, and then click “Check” to ensure the code is now correct.
For more tutorials of MU, please visit: https://codewith.mu/en/tutorials/