Project 06: Music Party
1. Overview
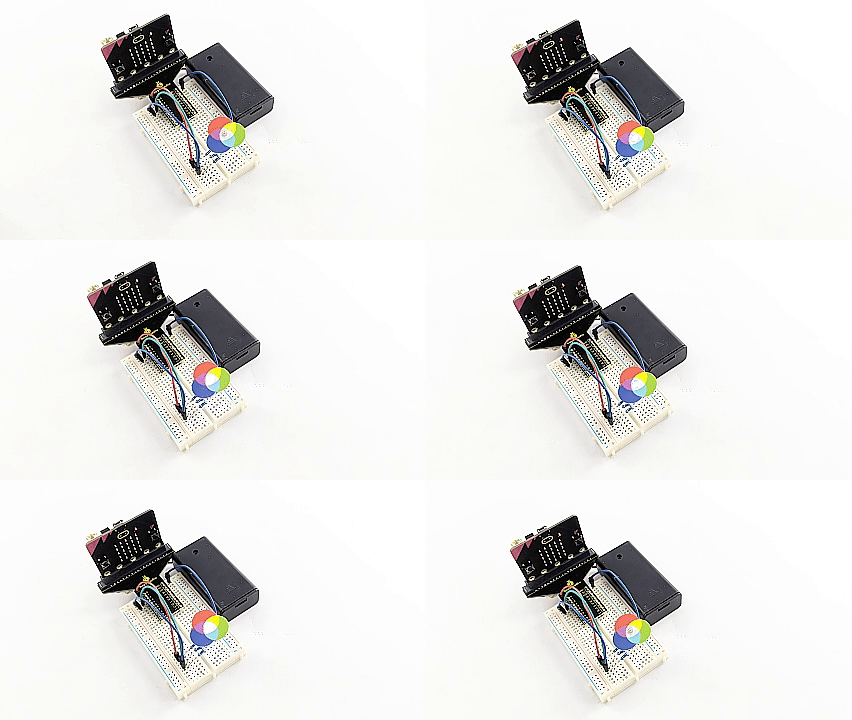
When we clap our hands, the microphone on the board picks up sound signals, and the speaker plays a cheerful birthday song while the RGB LED emits dazzling light.
2. Components
|
|
|
|---|---|---|
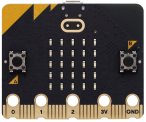
micro:bit board *1 |
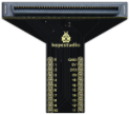
micro:bit T-type expansion board *1 |
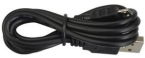
micro USB cable *1 |
|
|
|
red LED *1 |
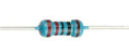
220Ω resistor *3 |
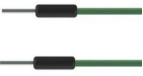
jump wire *2 |
|
|
|
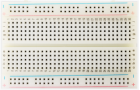
breadboard *1 |
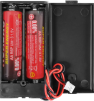
battery holder *1 |
RGB card *1 |


3. Components Knowledge
Microphone
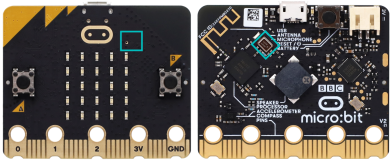
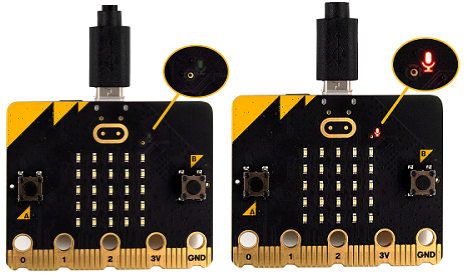
A high-quality digital microphone is integrated on the front side of the micro:bit V2 board to detect sound and audio signals. The chip that controls and processes the microphone is on its back.
The microphone is in a small round hole on the front of the board, which is convenient to capture surrounding sound signals. Just place the micro:bit board face up when using. Next to the hole is a microphone LED indicator. When the micro:bit measures sound levels, the indicator will light up.
RGB LED

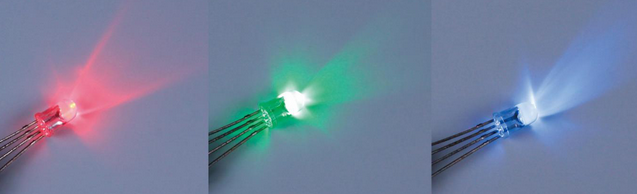
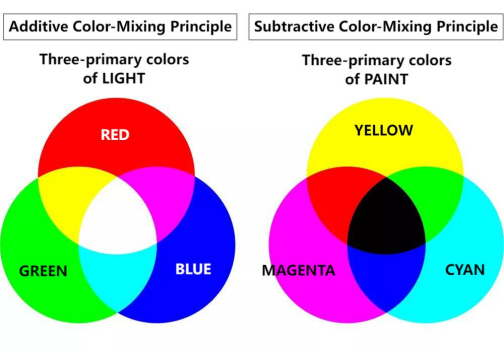
RGB LED is imaged in the intersection of three primary colors (RGB): red, green and blue. Most colors can be synthesized by RGB in different proportions. The red, green and blue LEDs are packaged in a transparent plastic case to emit colors of light by changing the input voltage of R, G and B pins.
Trichromatic theory:
RGB LED can be divided into two types: common anode and common cathode:
In a common cathode RGB LED, the three LEDs share a negative connection (cathode);
In a common anode RGB LED, the three LEDs share a positive connection (anode).
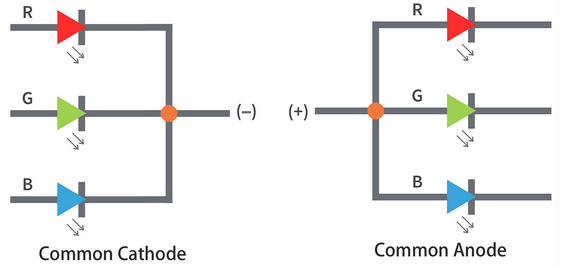
Note: Herein, we provide a common cathode RGB LED.
RGB LED pins:
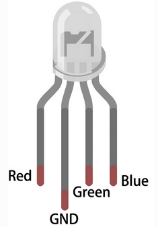
RGB LED boasts 4 pins: GND(the longest one), R(red), G(green) and B(blue). Place the RGB LED as shown below, pins from left to right are red, GND, green and blue.
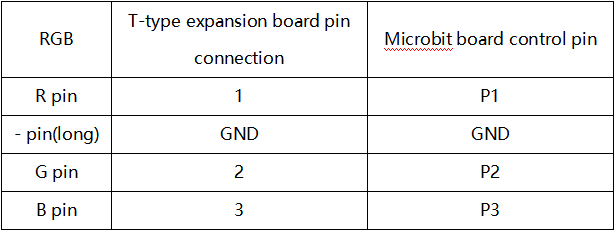
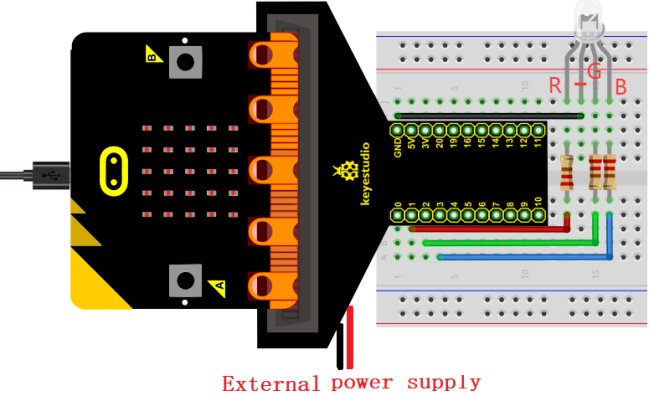
4. Wiring Diagram
5. Code Flow
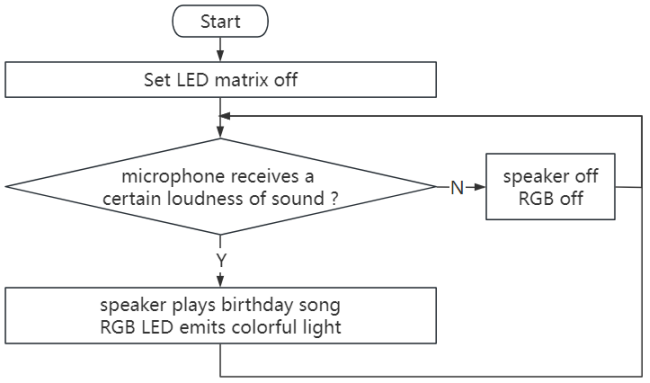
6. Test Code
The code file is provided in folder Project 06:Music Party, file Project-06-Music-Party.py.

Complete code:
'''
Function: Clap your hands, the microbit microphone receives the sound signal, the music sounds, and the RGB emits a dazzling light to simulate a musical party
Compiling IDE: MU 1.2.0
Author: https://docs.keyestudio.com
'''
# import related libraries
from microbit import *
import music

display.clear() # clear LED matrix

while True:
    if microphone.current_event() == SoundEvent.LOUD:  # If the microphone picks up a loud signal
       music.play(["G3:4", "G3", "A4"]) # the speaker plays some tones
       pin1.write_analog(1023)      # P1 analog value is 1023,RGB is red
       pin2.write_analog(0)
       # pin3.write_analog(0)
       sleep(100)
       music.play(["G4:4", "C5", "B4"])
       pin1.write_analog(0)         # P1 analog value is 0,RGB is not red
       pin2.write_analog(1023)      # P2 analog value is 1023,RGB is green
       # pin3.write_analog(0)
       sleep(100)
       pin1.write_analog(10)
       pin2.write_analog(10)
       # pin3.write_analog(1023)      # P3 analog value is 1023,RGB is blue
       sleep(100)
       music.play(["G4:4", "D5", "C5"])
       pin1.write_analog(123)
       pin2.write_analog(123)
       # pin3.write_analog(0)
       sleep(100)
       music.play(["G4:4", "D5", "C5"])
       pin1.write_analog(1023)
       pin2.write_analog(400)
       # pin3.write_analog(1023)
       sleep(100)
       music.play(["G3:4", "G3", "G4"])
       pin1.write_analog(10)
       pin2.write_analog(1023)
       # pin3.write_analog(1023)
       sleep(100)
       pin1.write_analog(1023)
       pin2.write_analog(1023)
       # pin3.write_analog(1023)
       sleep(100)
       music.play(["E5:4", "C5", "B4", "A4"])
       pin1.write_analog(32)
       pin2.write_analog(184)
       # pin3.write_analog(336)
       sleep(100)
       pin1.write_analog(640)
       pin2.write_analog(328)
       # pin3.write_analog(180)
       sleep(100)
       music.play(["F5:4", "F5", "E5"])
       pin1.write_analog(552)
       pin2.write_analog(172)
       # pin3.write_analog(904)
       sleep(100)
       pin1.write_analog(1020)
       pin2.write_analog(796)
       # pin3.write_analog(560)
       sleep(100)
       music.play(["C5:4", "D5", "C5"])
       pin1.write_analog(136)
       pin2.write_analog(560)
       # pin3.write_analog(140)
       sleep(100)
       pin1.write_analog(0)
       pin2.write_analog(0)
       # pin3.write_analog(0)
       sleep(100)
if microphone.current_event() == SoundEvent.QUIET:  # If the microphone picks up a quie signal
       pin1.write_analog(0)
       pin2.write_analog(0)
7. Test Result
Click “Flash” to load the code to the micro:bit board.
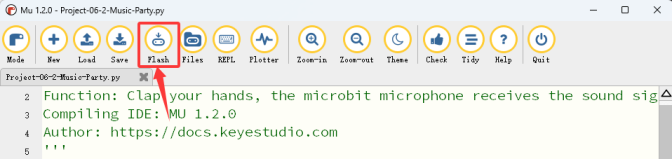
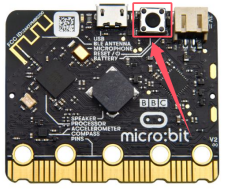
After downloading the code to the board, power on via micro USB cable or external power supply(turn the DIP switch to ON), and press the reset button on the board.
When we clap our hands, the microphone on the board picks up sound signals, and the speaker plays a cheerful birthday song while the RGB LED emits dazzling light. Isn’t the music party in a happy and joyful atmosphere?
ATTENTION: If the wiring is correct but you cannot see the results, press the reset button on the back of the board.