Project 9 Passive Buzzer
1. Introduction
We can use Arduino to make many interactive works of which the most commonly used is acoustic-optic display.
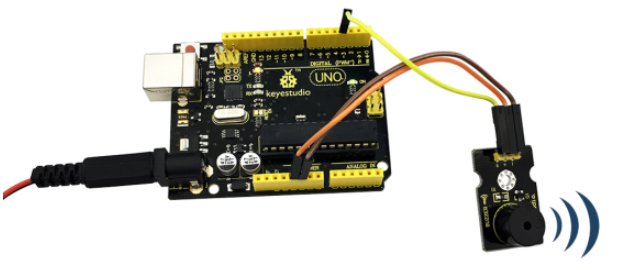
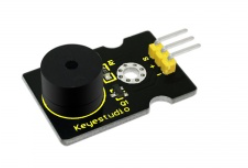
The circuit in this experiment can produce sound. Normally, the experiment is done with a buzzer or a speaker while buzzer is simpler and easier to use.
The buzzer we introduced here is a passive buzzer. It cannot be actuated by itself, but by external pulse frequencies. Different frequencies produce different sounds.
We can use Arduino to code the melody of a song, which is quite fun and simple.
2. Specification
Working voltage: 3.3-5v
Interface type: digital
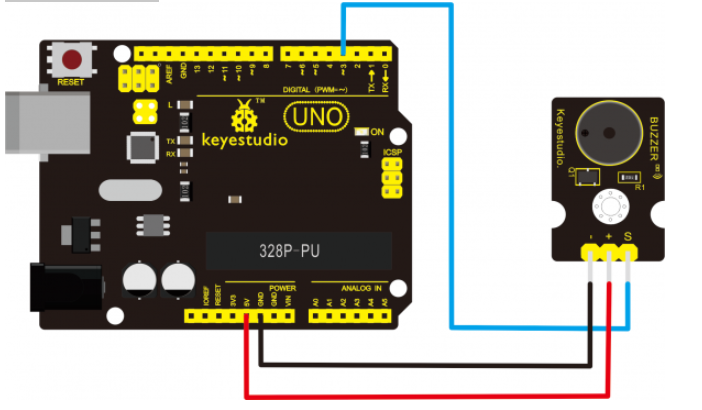
3. Connection Diagram
4. Sample Code
int buzzer=3;//set digital IO pin of the buzzer

void setup()
{
	pinMode(buzzer,OUTPUT);// set digital IO pin pattern, OUTPUT to be output
}

void loop()
{
    unsigned char i,j;//define variable
    while(1)
    {
        for(i=0;i<80;i++)// output a frequency sound
        {
            digitalWrite(buzzer,HIGH);// sound
            delay(1);//delay1ms
            digitalWrite(buzzer,LOW);//not sound
            delay(1);//ms delay
        }
        for(i=0;i<100;i++)// output a frequency sound
        {
            digitalWrite(buzzer,HIGH);// sound
            digitalWrite(buzzer,LOW);//not sound
            delay(2);//2ms delay
        }
	}
}
5. Test Result
After downloading the program, buzzer experiment is complete. You should hear the buzzer ringing.