Project 7 Play Music
1.Project instruction
We can use Arduino to make many interactive works. The most commonly used one is acoustic-optic display. All the previous experiment has something to do with LED. However, the circuit in this experiment can produce sound. Normally, the experiment is done with a buzzer but not a speaker while buzzer is more simpler and easier to use.
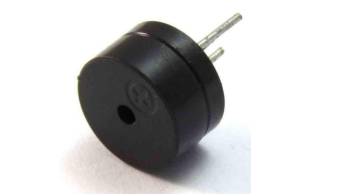
The buzzer we introduced here is a passive buzzer. It cannot be actuated by itself, but by external pulse frequencies.
Different frequency produces different sound. We can use Arduino to code the melody of a song, which is quite fun and simple.
2.Project Principle
Passive buzzer is an integrated electronic buzzer without vibration source inside. It must be driven by 2K-5K square wave instead of direct current signals. There is little difference between the two buzzers, but when the pins of the two buzzers are placed up, the passive buzzer comes with green circuit board, and the one sealed with vinyl is an active buzzer.
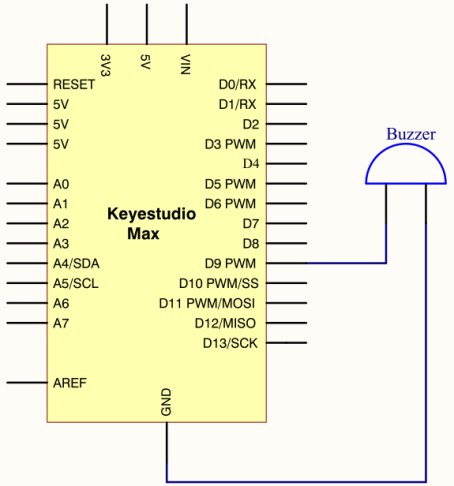
3.Project circuit
4.Code
int  tonepin=9;// set pin9 connecting buzzer

void setup()
{
     pinMode(tonepin,OUTPUT);//set IO port to output
}

void loop()
{
     unsigned char i,j;
     while(1)
     {
        for(i=0;i<80;i++)//output a sound with frequency
        {
          digitalWrite(tonepin,HIGH);//emit a sound
          delay(1);//delay in 1ms
          digitalWrite(tonepin,LOW);//don’t emit a sound
          delay(1);//delay 1 ms
        }
        for(i=0;i<100;i++)// output another sound with frequency, 100 controls frequency and can be adjusted also by yourselves
        {
          digitalWrite(tonepin,HIGH);
          delay(2);
          digitalWrite(tonepin,LOW);
          delay(2);
        }
     }
}
Seen from the above code, 80 and 100 in the for statement effects frequency, and delay controls time, alike beats in music.