4. Python
4.1 Data download
Python information contains library files、project code and firmware,please click to download for follow-up study.
Data download: Python
4.2 Download Thonny
For Windows——Operating System: Windows 10
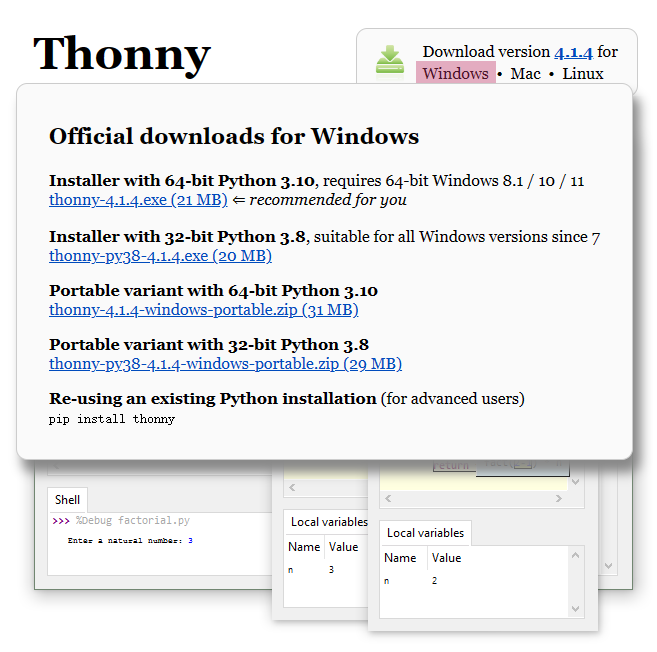
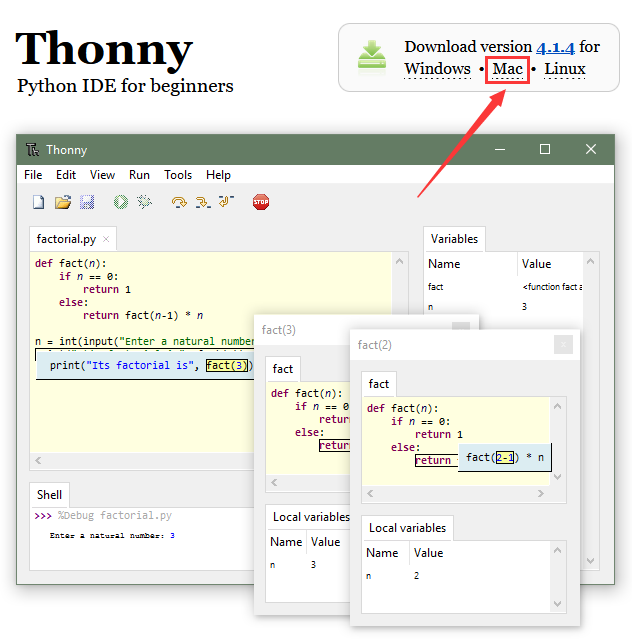
Enter Thonny IDE official to download the Thonny for Windows version.

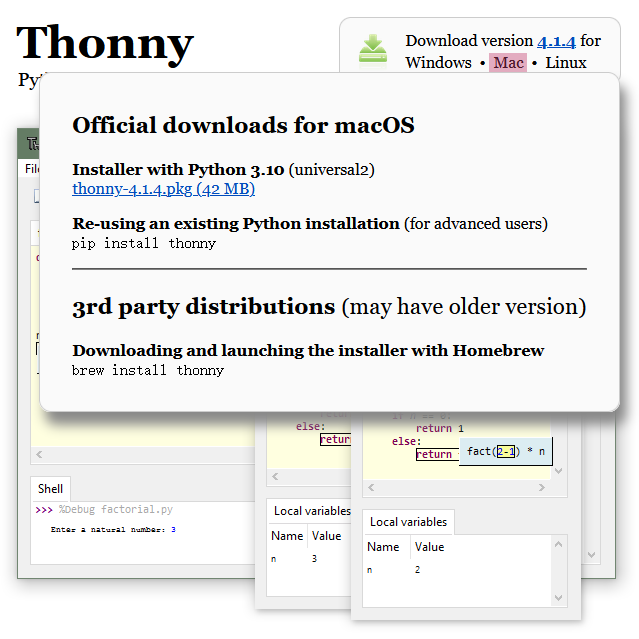
For MAC
Please refer to Windows.
4.3 Install Thonny
Thonny supports two installation methods:
Thonny+Python package
Python IDE and Thonny are packaged together and can be directly installed and used. It is fast and easy so is recommended for beginners. There are also two ways to install this package:
Installer

Portable variant

Thonny only
Thonny is actually a package of python. When the user already has a python environment, click
pip install thonnyto install Thonny only, which is more suitable for developers.

Please download the corresponding version according to your requirements.
4.3.1 Installer
Download the app according to your operation system. Here we demonstrate
under 64bit Windows 10 to download
Installer with 64-bit Python 3.10.
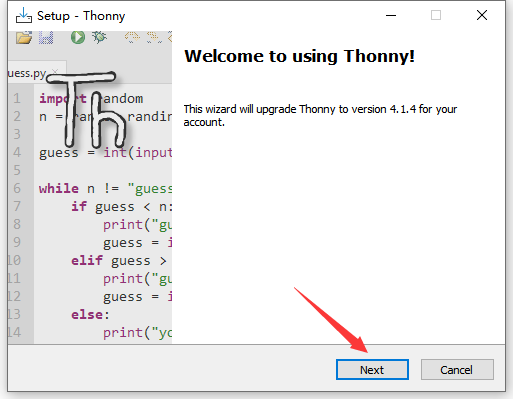
Click
 and you will see “Select Setup Install Mode”.
Choose Install for me only.
and you will see “Select Setup Install Mode”.
Choose Install for me only.

Next.
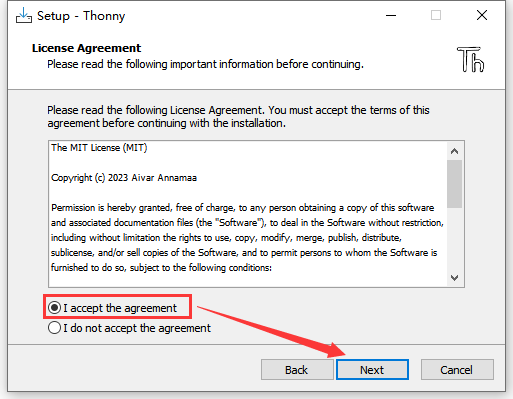
Tick I accept the agreement and Click Next.
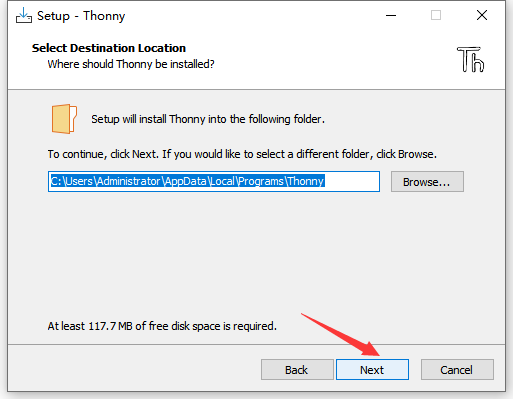
The default installation path is in Disk C. You may click Browse… to choose another disk. And then click Next.
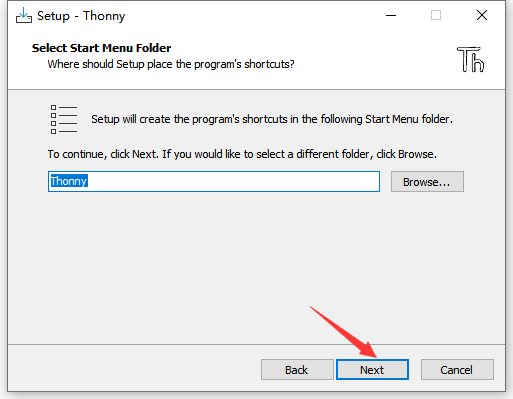
By default, a shortcut to the program is created in the Start menu folder. Click Browse… to set another path for the shortcut and Next.
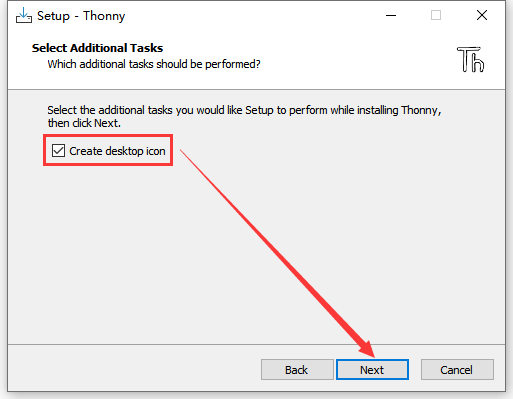
Tick Create desktop icon and Next.
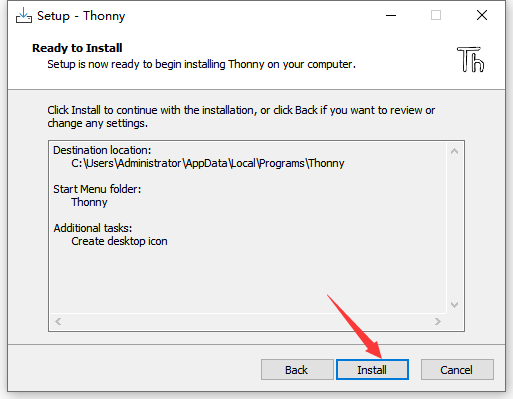
Install.
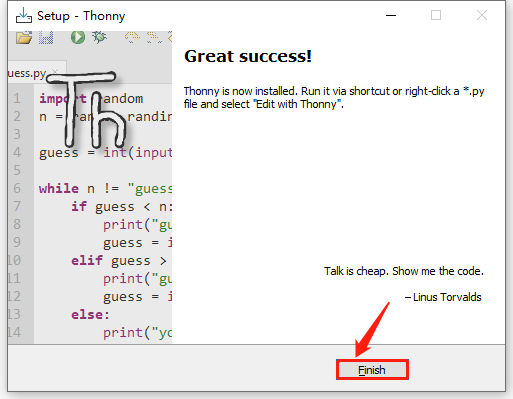
“Finish”!
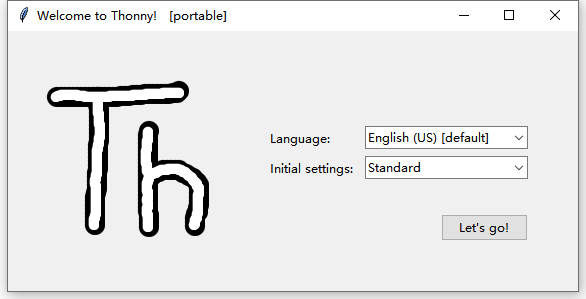
Back to the desktop and start Thonny to choose a language.

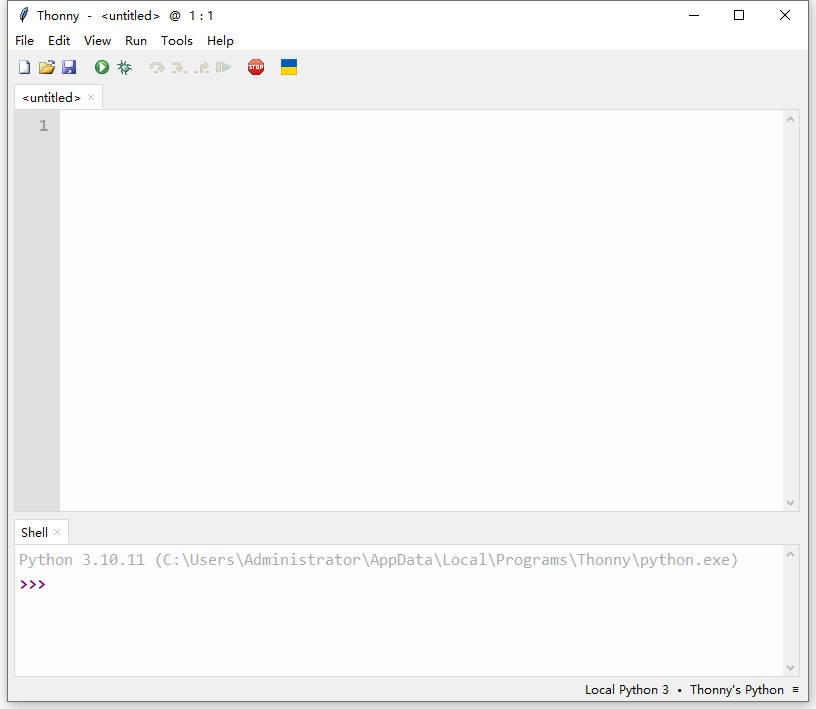
Done.

4.3.2 Portable Variant
Download the app according to your operation system. Here we demonstrate
under 64bit Windows 10 to download
Installer with 64-bit Python 3.10.
Click
 to start Thonny and choose a language.
Done.
4.4 Burn Firmware (Important)
To run MicroPython code on Pico, it is necessary to burn MicroPython firmware to Pico.
Connect the board to your computer via Micro USB.
B. Press and hold the white button (BOOTSEL) on “Raspberry Pi Pico”. Then, connect the Raspberry Pi Pico to the computer via a microUSB cable.
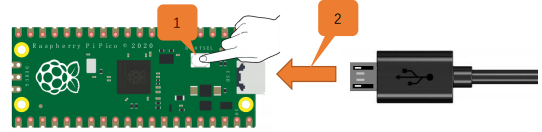
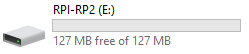
C. Release the button. After connection, open [Device Manager] and your computer will automatically recognize the removable disk (RPI-RP2) as follows:
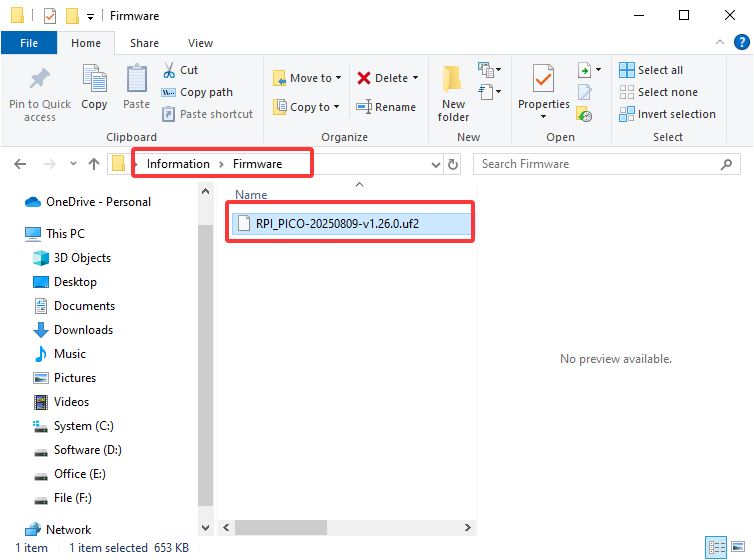
D. Copy the RPI_PICO-20250809-v1.26.0.uf2 file from the “Firmware”
folder to the removable disk (RPI-RP2), just like copying a file to a
USB flash drive, and then wait for it to complete.
E. After burning the firmware, Raspberry Pi Pico will restart. After that, you can run Micropython.
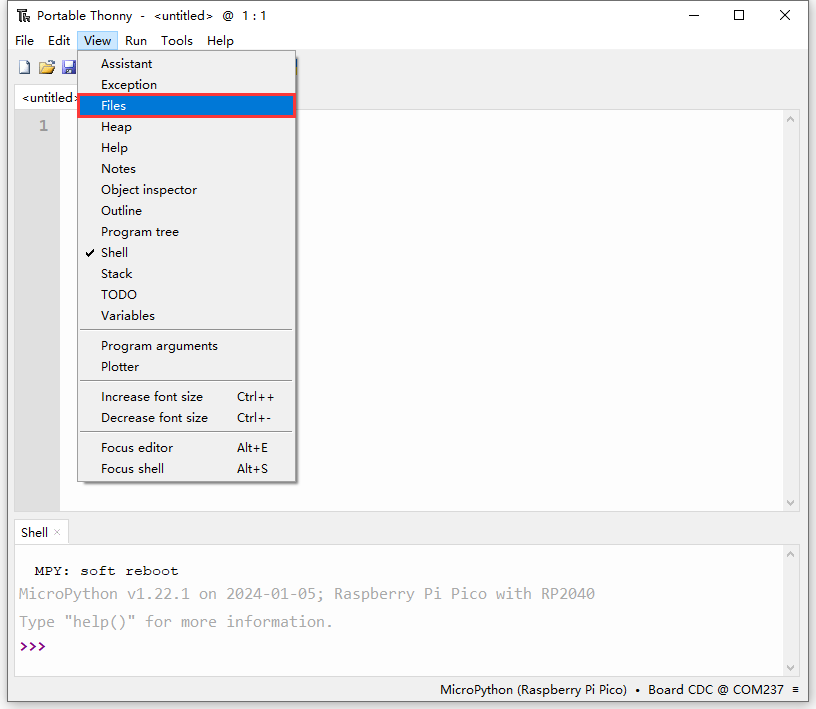
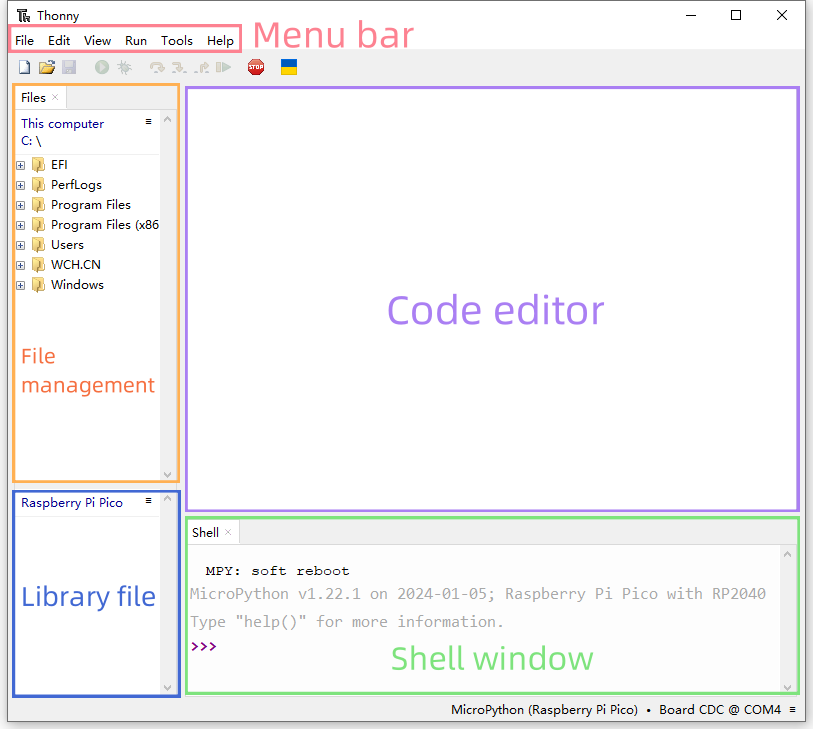
4.5 Homepage
Click View and tick Files to open the file manager.
4.6 Toolbar
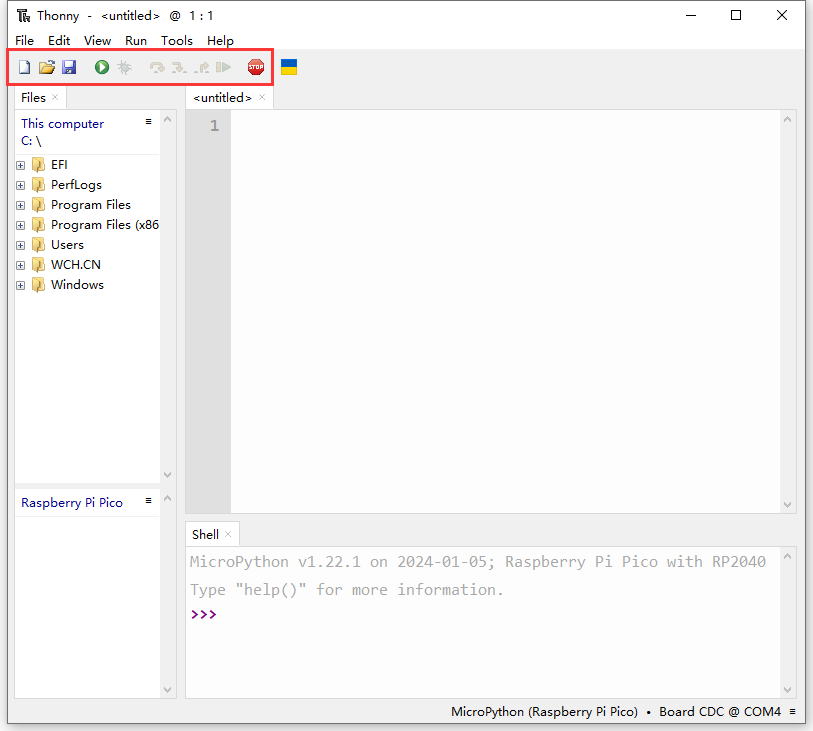
Icon |
Function |
|---|---|
|
New |
|
Open… |
|
Save |
|
Run current script |
|
Debug current script |
|
Step over |
|
Step into |
|
Step out |
|
Resume |
|
Stop/Restart backend |


4.7 Connect Pico to Thonny
Connect the Pico development board to the computer, then set the development board to Pico and select the port.
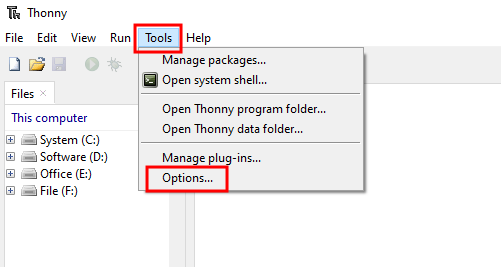
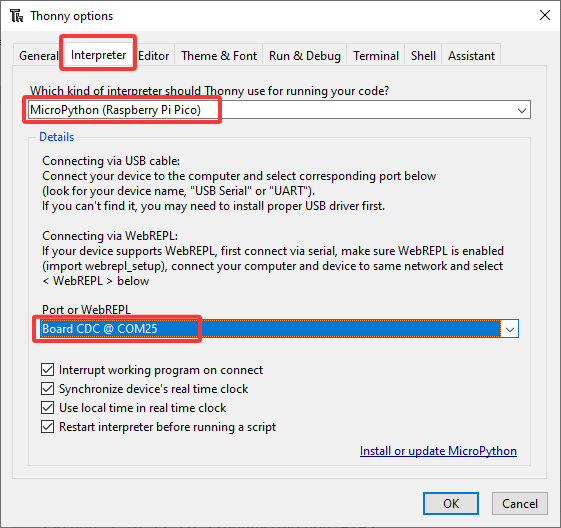
Click Tools–>Options...
Select Interpreter , then set the development board to
MicroPython(Raspberry Pi Pico), and choose the ports automatically
recognized, and click OK.
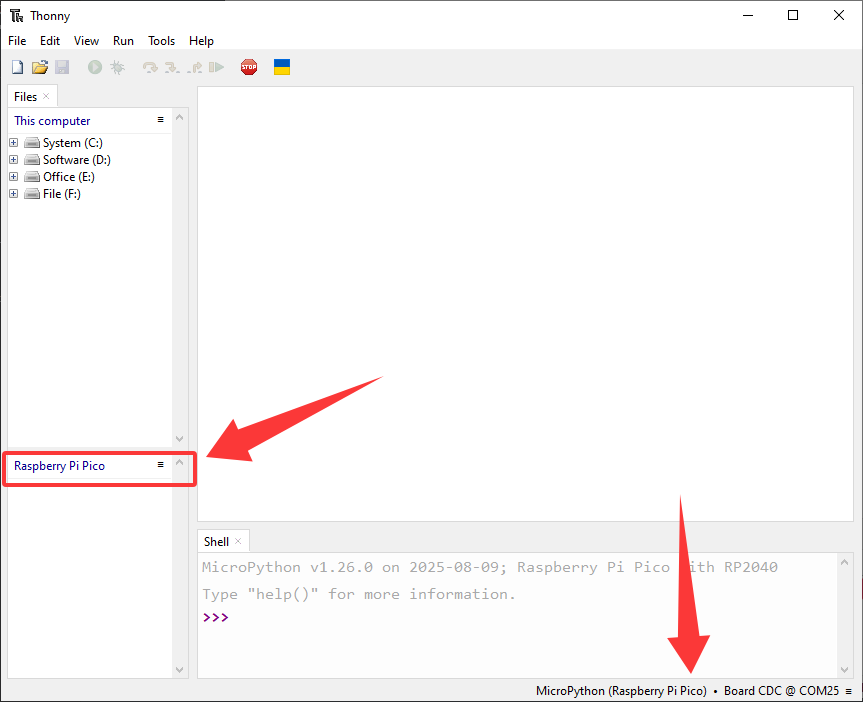
After connection, “Raspberry Pi Pico” will appear on the left side of Thonny and there will also be a prompt in the lower right corner.
4.8 Load Code from Computer
Note: You need to download the required data files from
1.Download code and library files and extract them to your desktop.
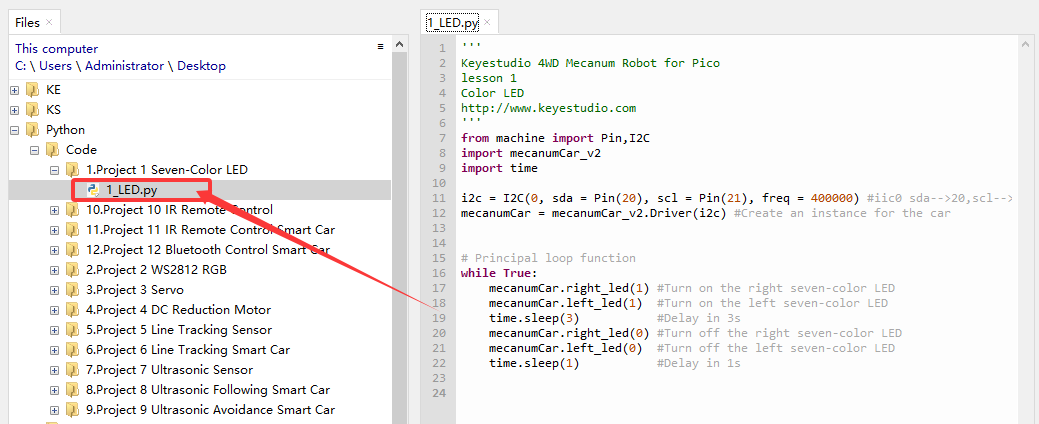
Click Files –> This computer, open the file Resources.

Enter codes and you can see the codes. Click it to open the file in
Thonny.
4.9 Upload Library to Pico
Errors may be reported during running code without saving the library to Pico.
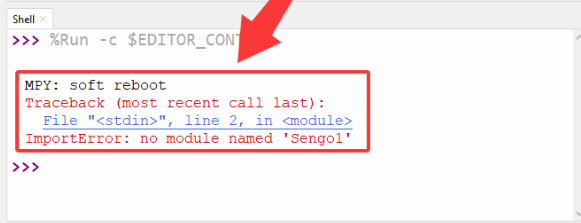
Add library:
In Files, open Resources –> lib to check library:
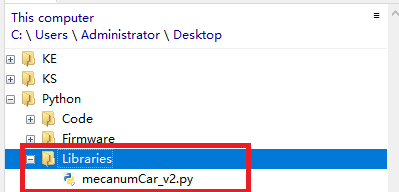
Choose mecanumCar_v2.py to “Upload to/”.
After that, mecanumCar_v2.py is displayed in “Raspberry Pi Pico”.
4.10 Project
- Project 1 Seven-Color LED
- Project 2 WS2812 RGB
- Project 3 Servo
- Project 4 DC Reduction Motor
- Project 5 Line Tracking Sensor
- Project 6 Line Tracking Smart Car
- Project 7 Ultrasonic Sensor
- Project 8 Ultrasonic Following Smart Car
- Project 9 Ultrasonic Avoidance Smart Car
- Project 10 IR Remote Control
- Project 11 IR Remote Control Smart Car
- Project 12 Bluetooth Control Smart Car