Handling Robot
Description
Among many industrial robots, handling robots are undoubtedly effective, applied in industrial manufacturing, warehousing and logistics, tobacco, medicine, food, chemical and other industries, or in post offices, libraries, ports and parking lots. In this experiment, we will use LEGO blocks to build a handling robot to carry things.
How to build up a handling robot
Step 1
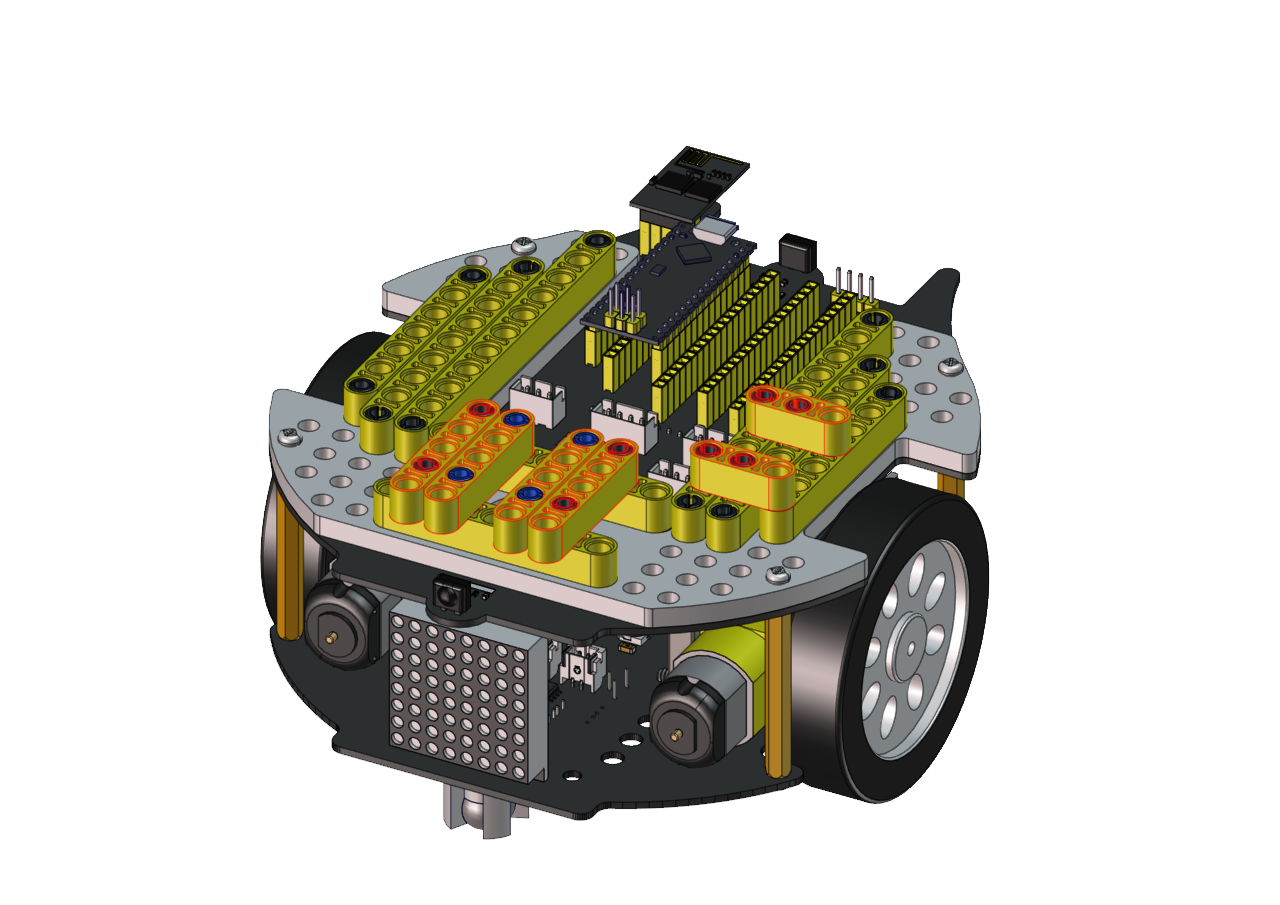
Dismantle the ultrasonic sensor

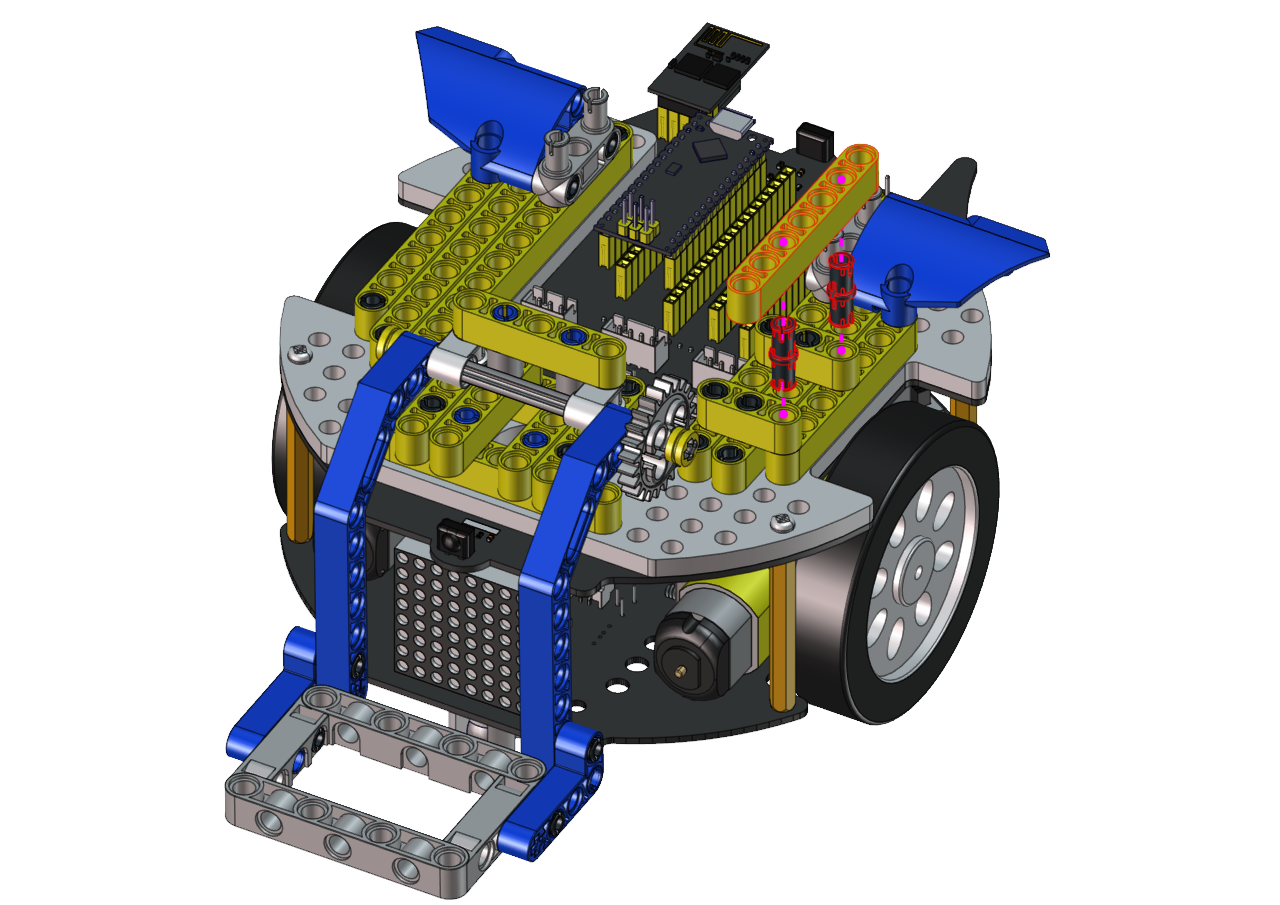
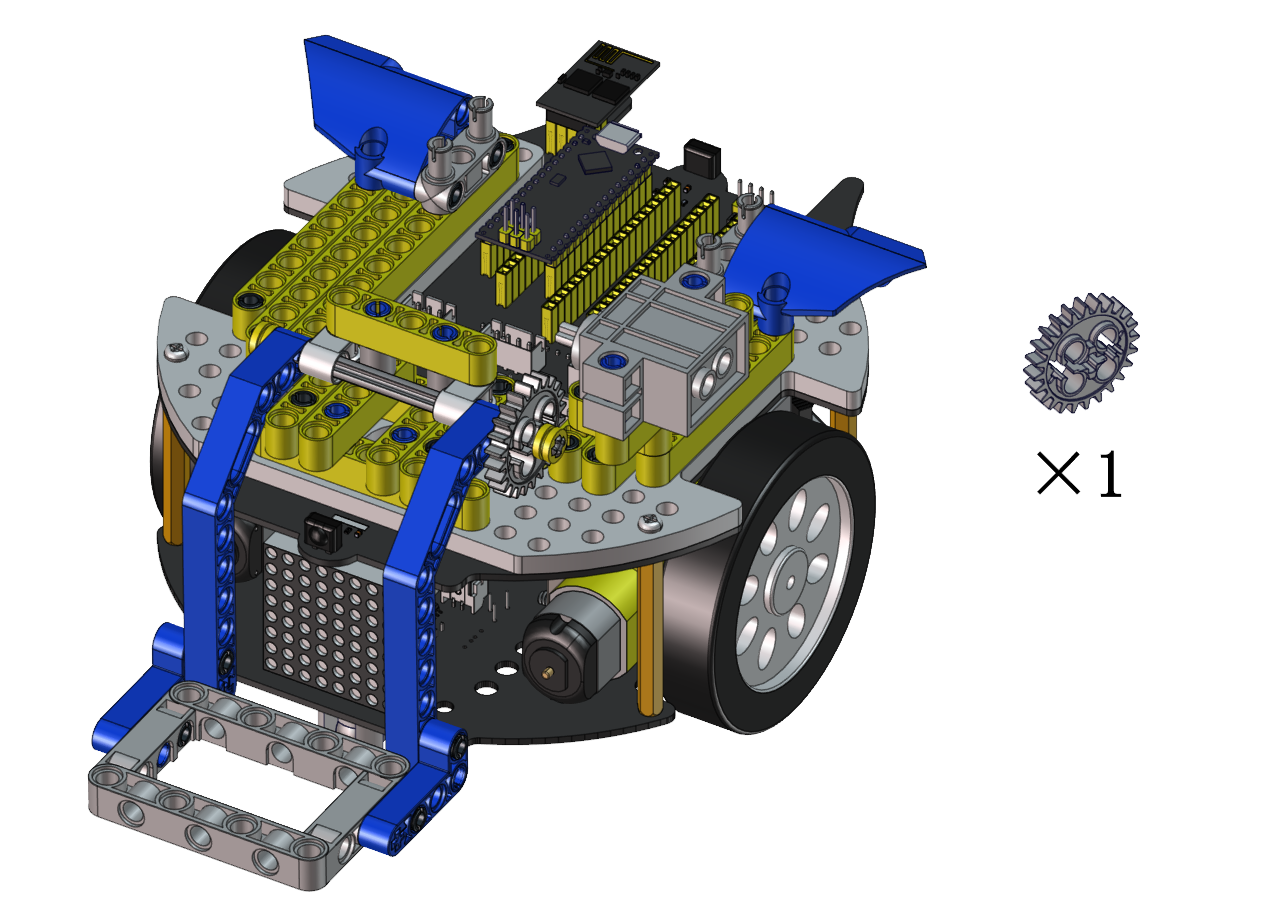
Required components


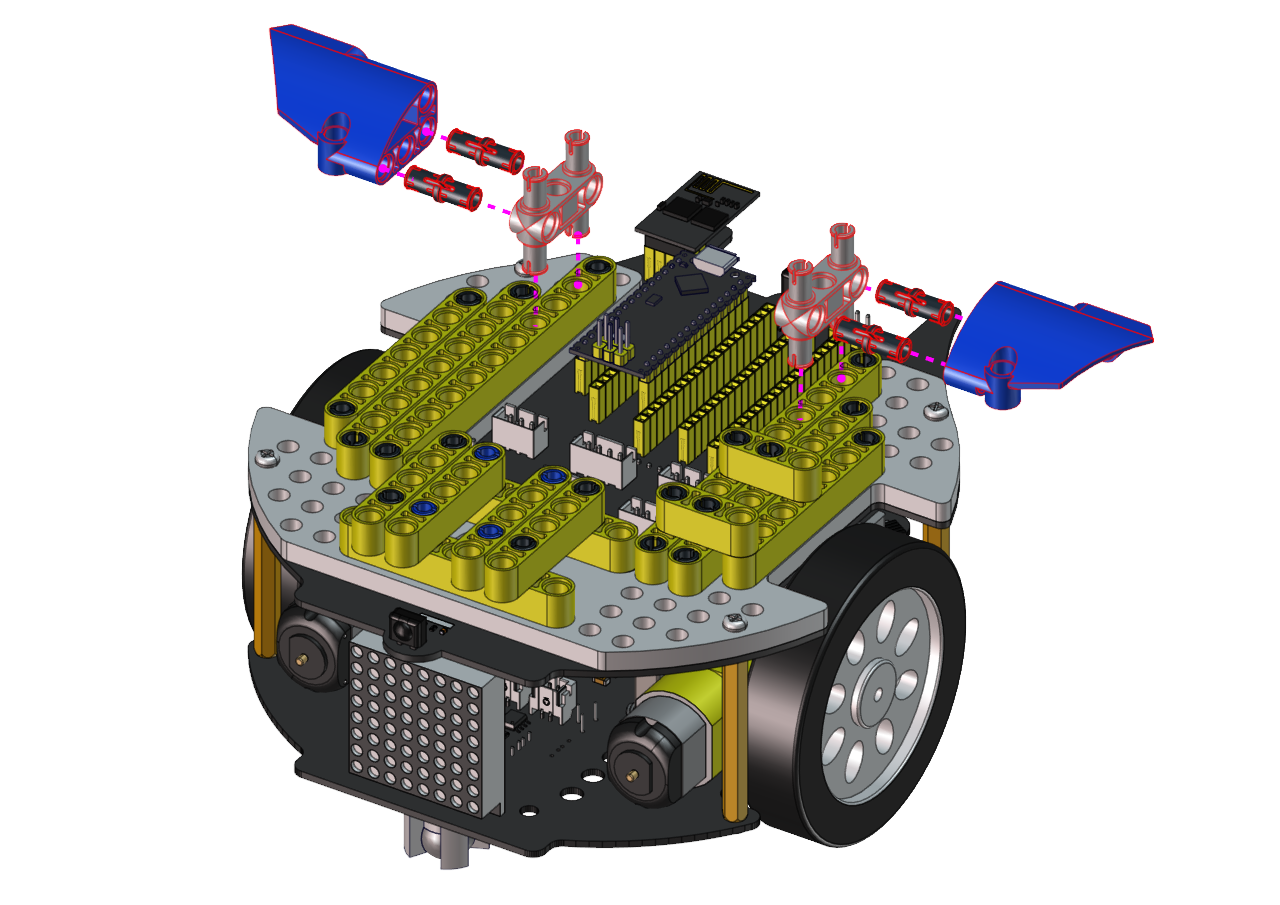
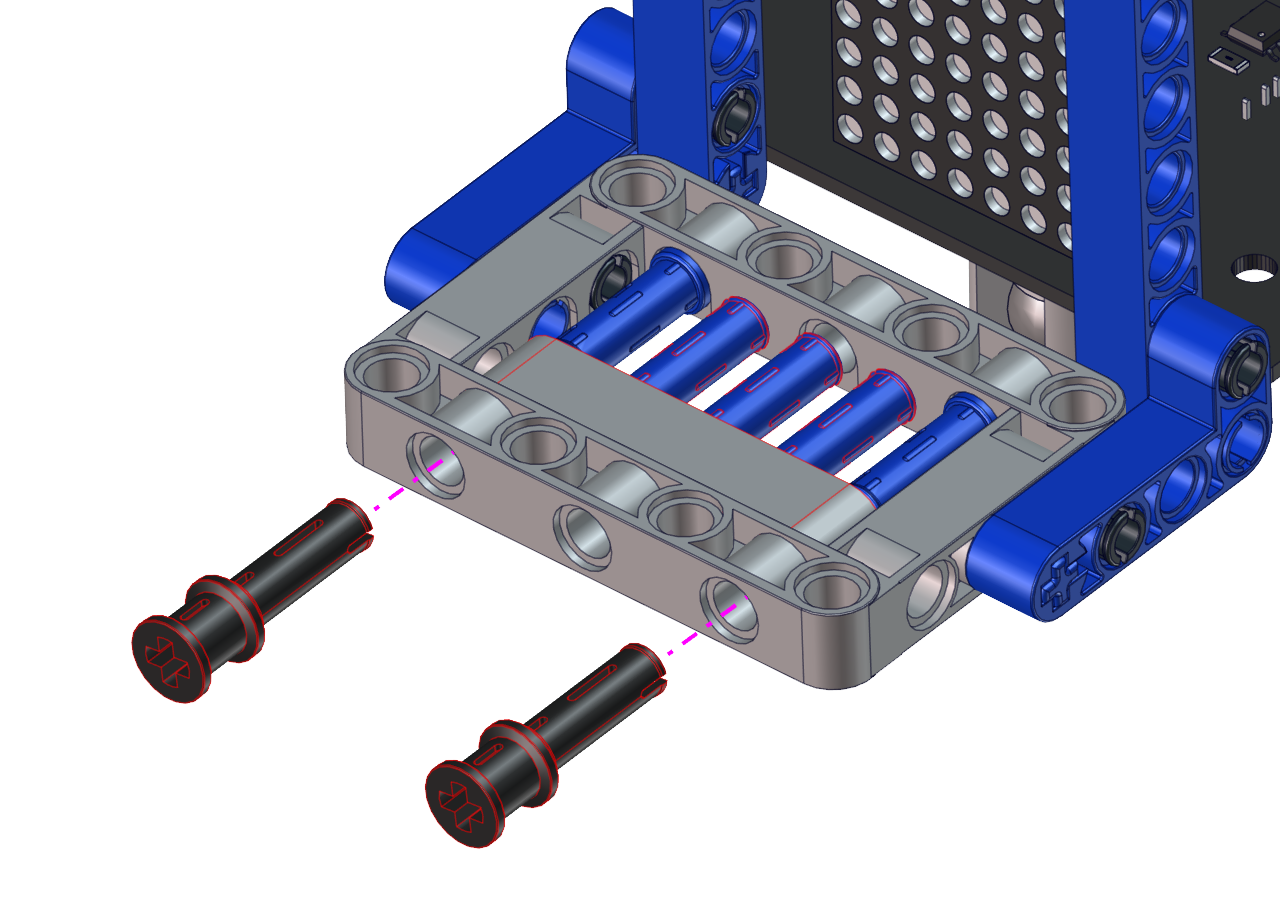
Step 2
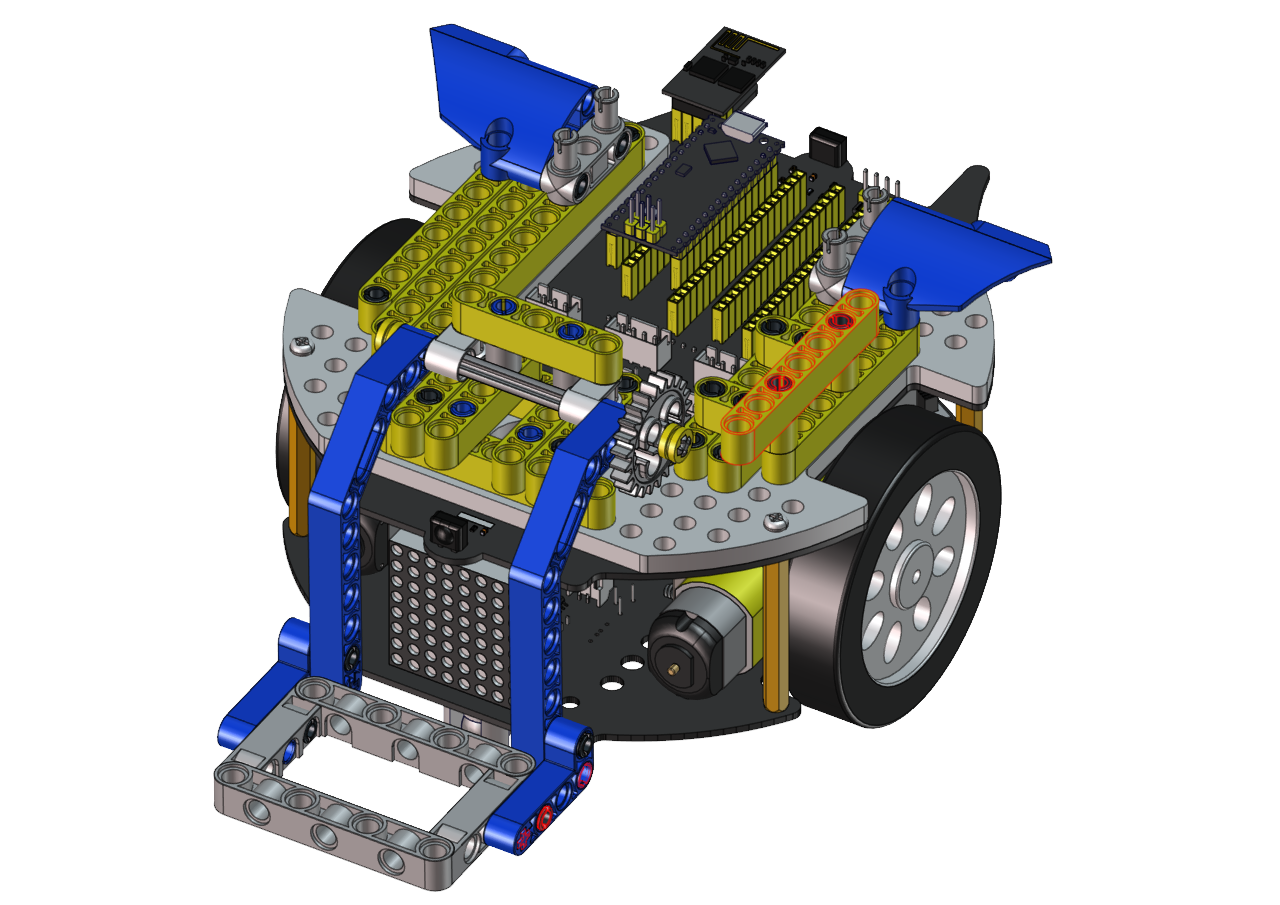
Required components


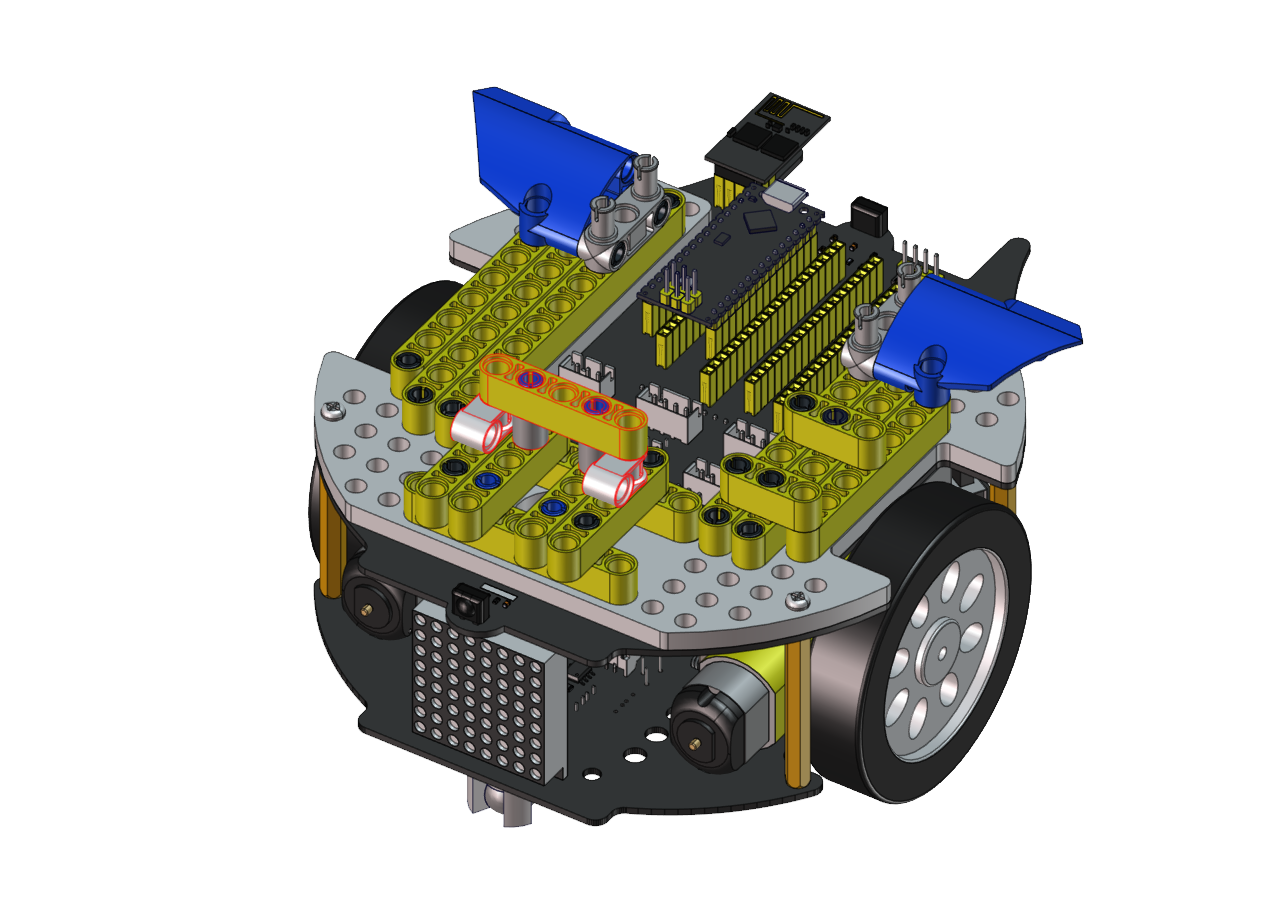
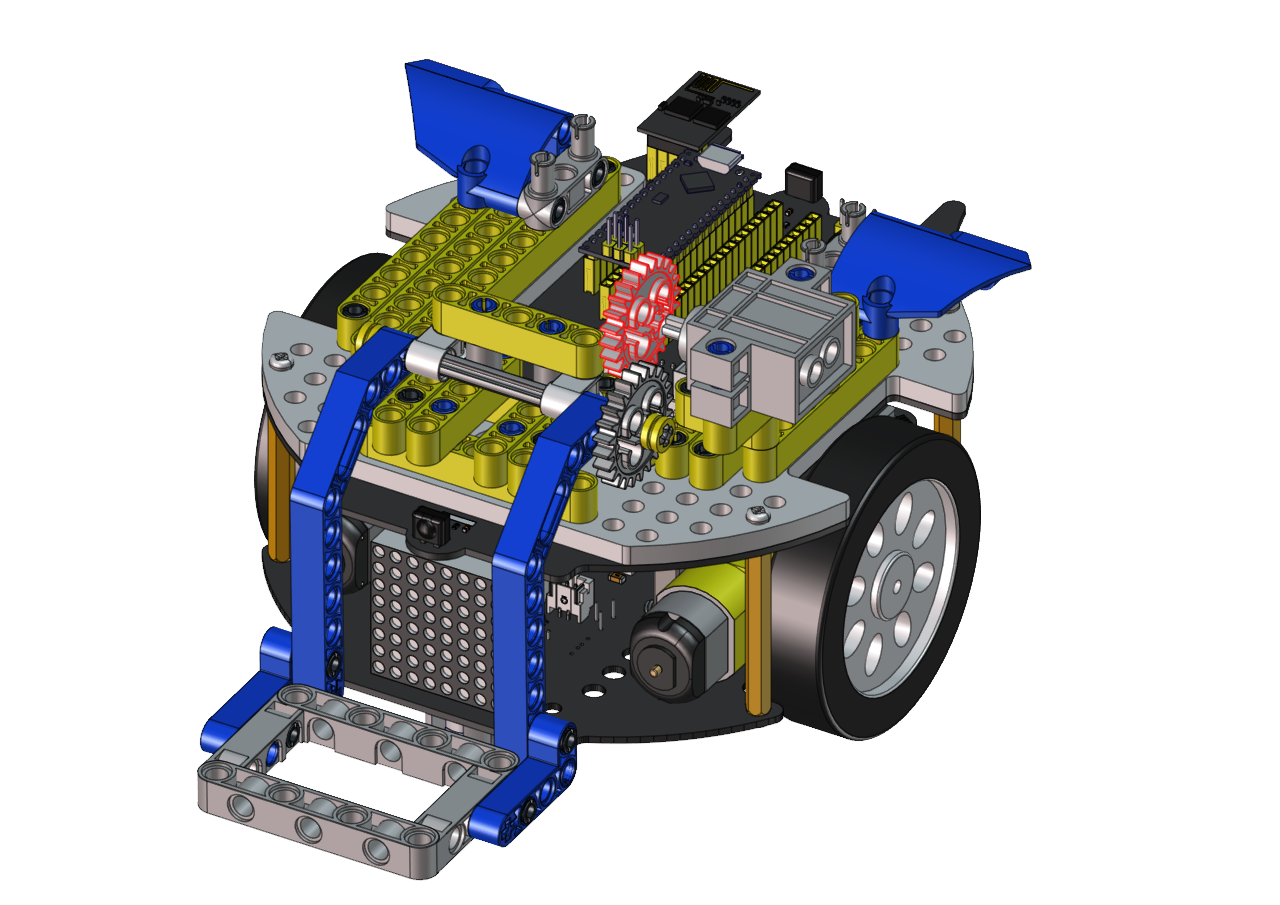
Step 3
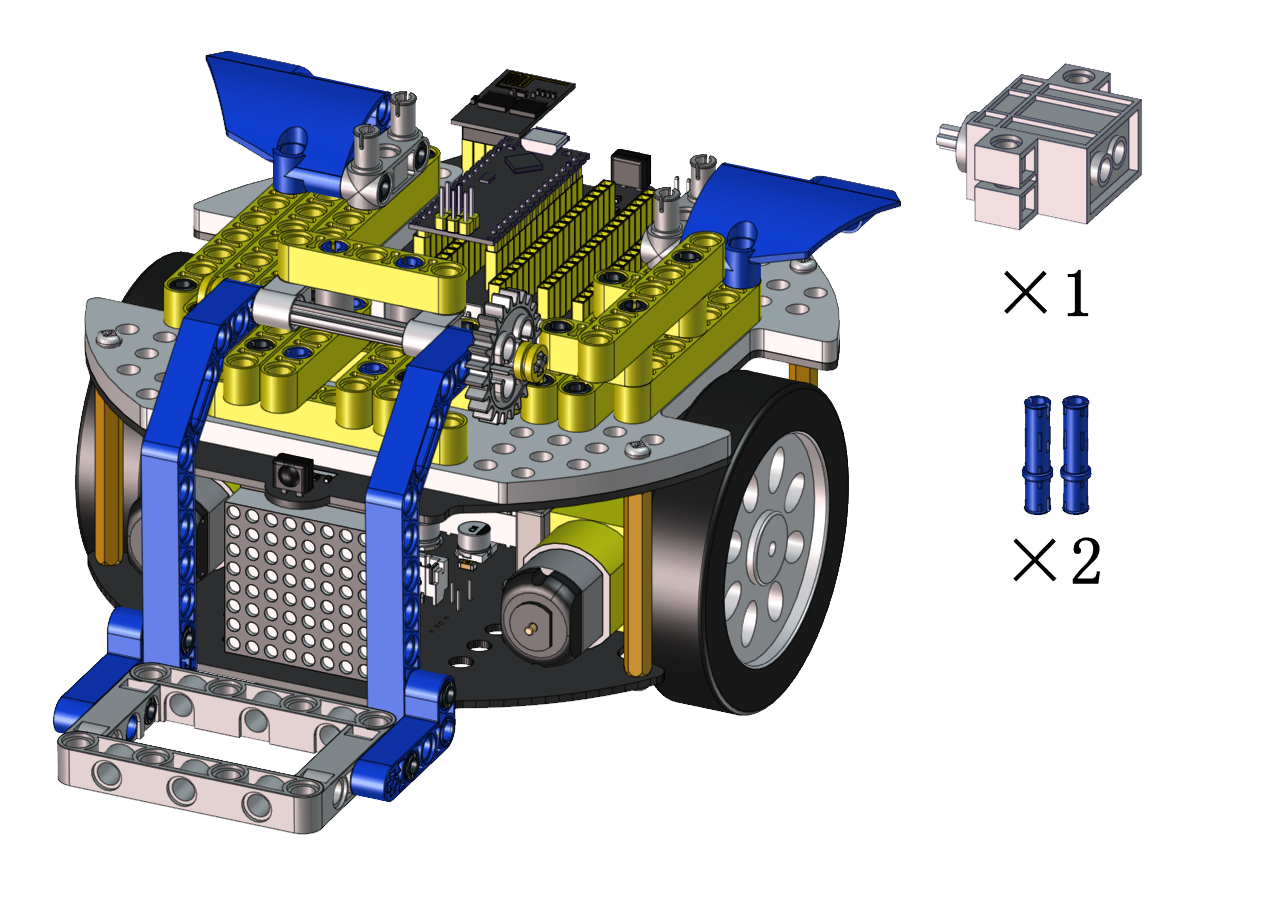
Required components


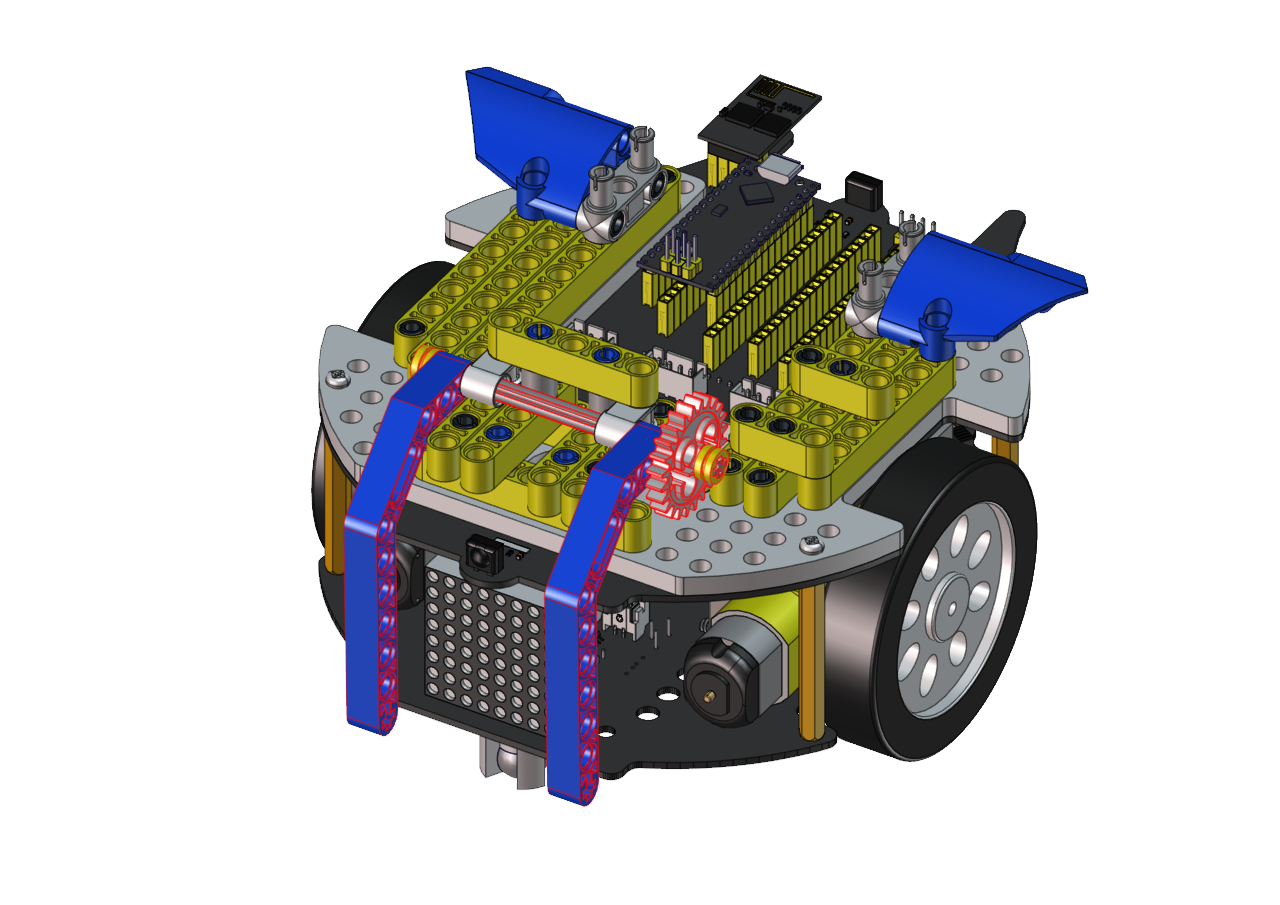
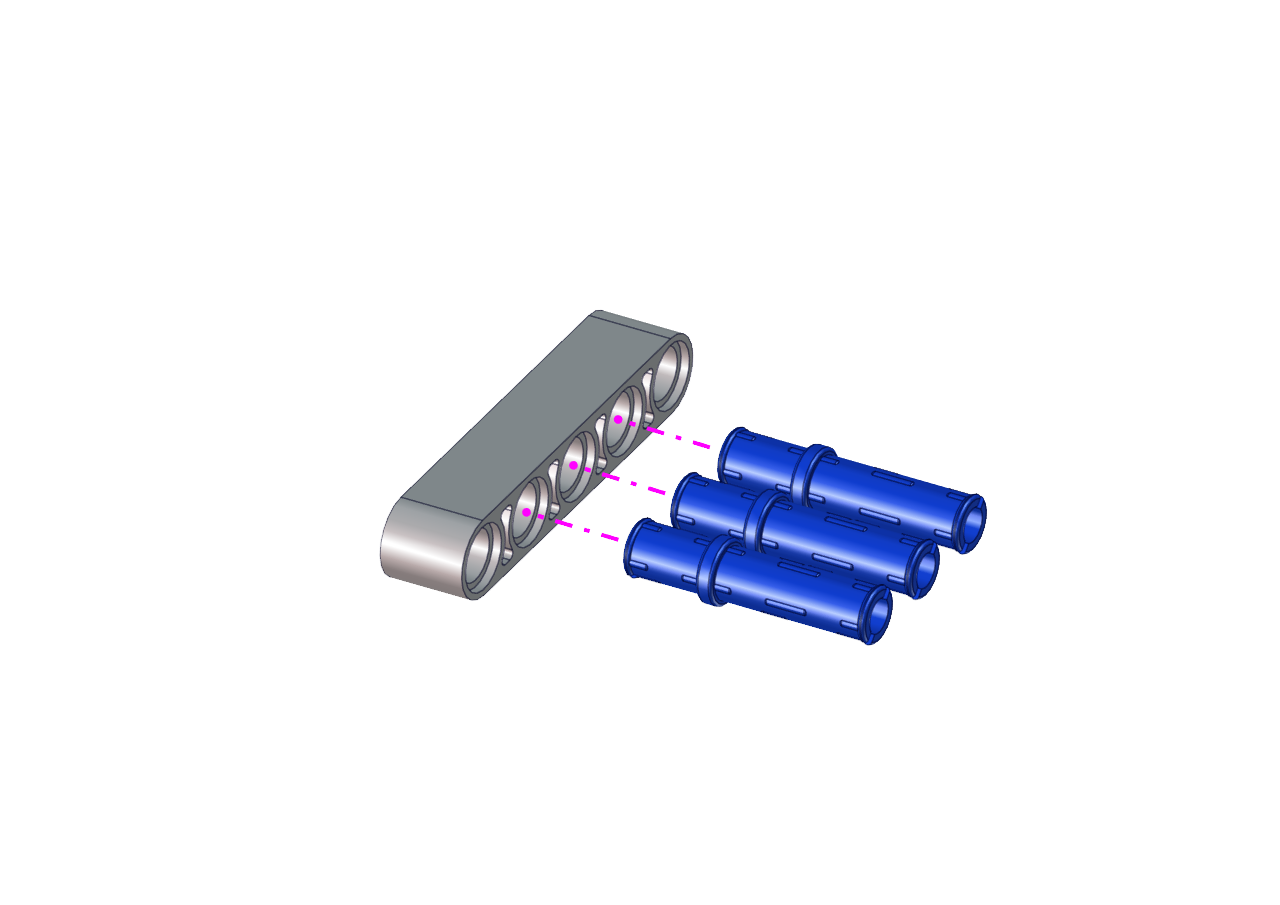
Step 4
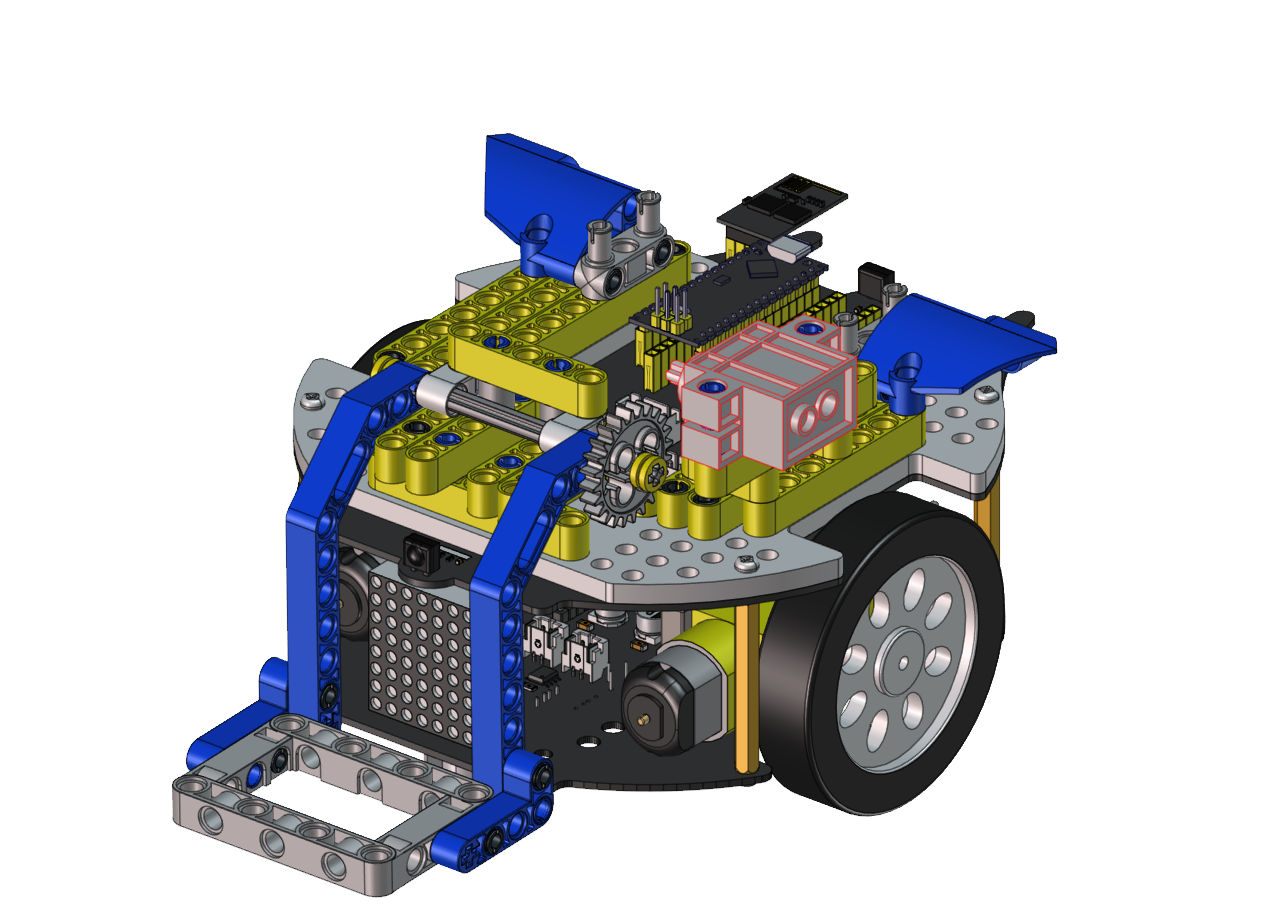
Required components


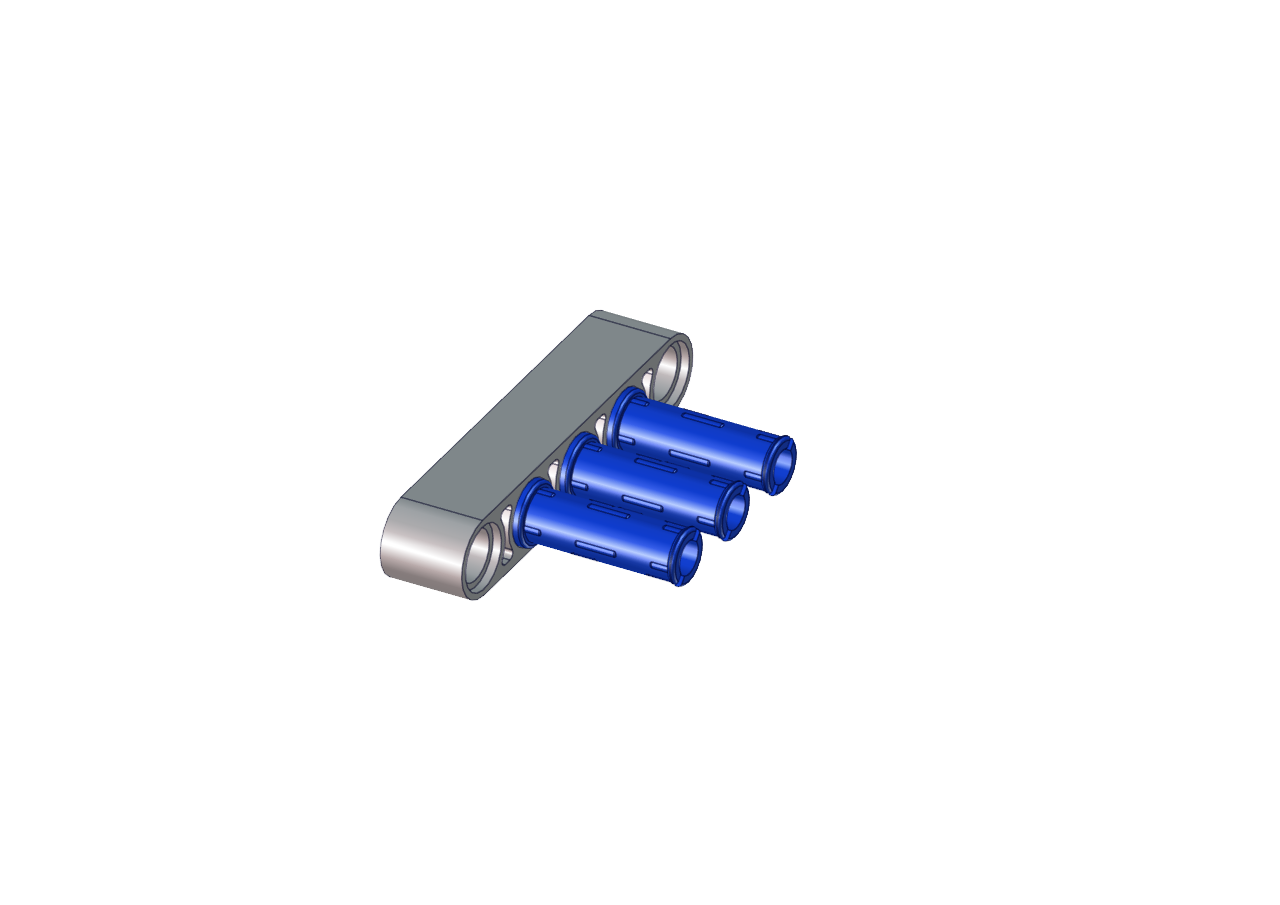
Step 5
Required components


Step 6
Required components


Step 7
Required components

Step 8
Required components

Step 9
Required components
Set the angle of the servo to 180 degree
Wire servo up Servo |
PCB Board |
|---|---|
Brown |
G |
Red |
5V |
Orange |
S2(A0) |
Upload the code of the servo to the main board of the Beetlebot car, as shown below
#include <Servo.h>
Servo lgservo;  // create servo object to control a servo

void setup() {
lgservo.attach(3);  // attaches the servo on pin 3 to the servo object
}

void loop() {
lgservo.write(180); // tell servo to go to position
}

Step 10
Required components


Wire up servo

Test Code:
#include <Servo.h>
Servo lgservo;
#define ML 15
#define ML_PWM 17
#define MR 14
#define MR_PWM 16
#define servo2 3

char val;
char wifiData;

void setup() {
Serial1.begin(9600);
pinMode(ML, OUTPUT);
pinMode(ML_PWM, OUTPUT);
pinMode(MR, OUTPUT);
pinMode(MR_PWM, OUTPUT);

lgservo.attach(3);
lgservo.write(180);
}

void loop() {
if(Serial1.available() > 0)
{
    val = Serial1.read();
    Serial.print(val);
}
switch(val)
{
    case 'F': car_forward(); break;
    case 'B': car_back(); break;
    case 'L': car_left(); break;
    case 'R': car_right(); break;
    case 'S': car_stop(); break;
    case 'p': lgservo.write(110); break;
    case 'x': lgservo.write(180); break;
}
}


void car_forward()
{
digitalWrite(ML,LOW);
analogWrite(ML_PWM,127);
digitalWrite(MR,LOW);
analogWrite(MR_PWM,127);
}

void car_back()
{
digitalWrite(ML,HIGH);
analogWrite(ML_PWM,127);
digitalWrite(MR,HIGH);
analogWrite(MR_PWM,127);
}

void car_left()
{
digitalWrite(ML,HIGH);
analogWrite(ML_PWM,150);
digitalWrite(MR,LOW);
analogWrite(MR_PWM,105);
}

void car_right()
{
digitalWrite(ML,LOW);
analogWrite(ML_PWM,105);
digitalWrite(MR,HIGH);
analogWrite(MR_PWM,150);
}

void car_stop()
{
digitalWrite(ML,LOW);
analogWrite(ML_PWM,0);
digitalWrite(MR,LOW);
analogWrite(MR_PWM,0);
}
Connect Wifi, click buttons to make the car to move toward building blocks and put some building blocks on the robot.
Then press to drive the robot to move.
Hold down the button  to drive the robot to drop building blocks, then building blocks can be conveyed