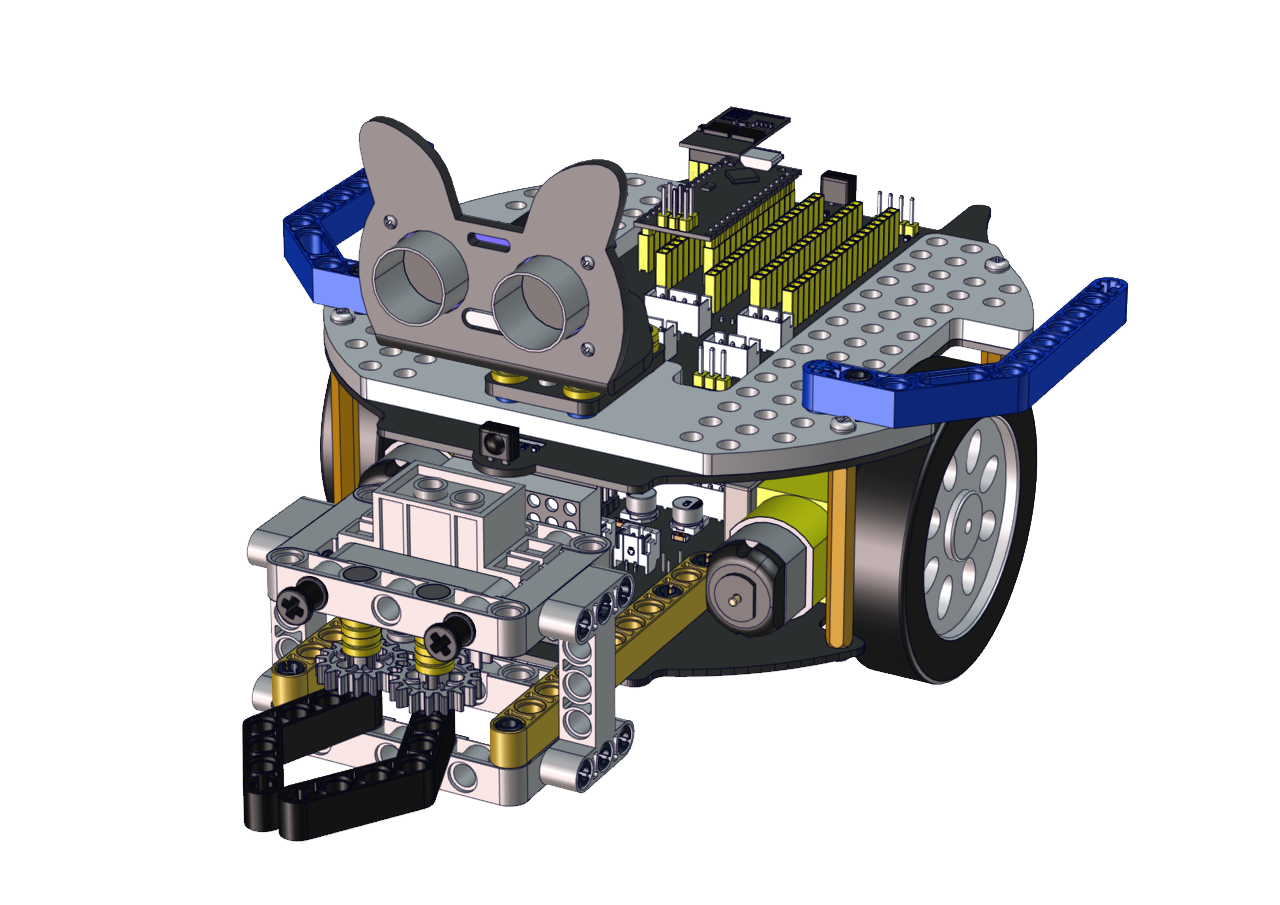
Soccer Robot
Description:
Can you imagine that a robot can play soccer? This idea has became realistic. As we know, the RoboCup championship is generally held each year. In this part, we will create a soccer robot to play soccer.
How to install the soccer robot
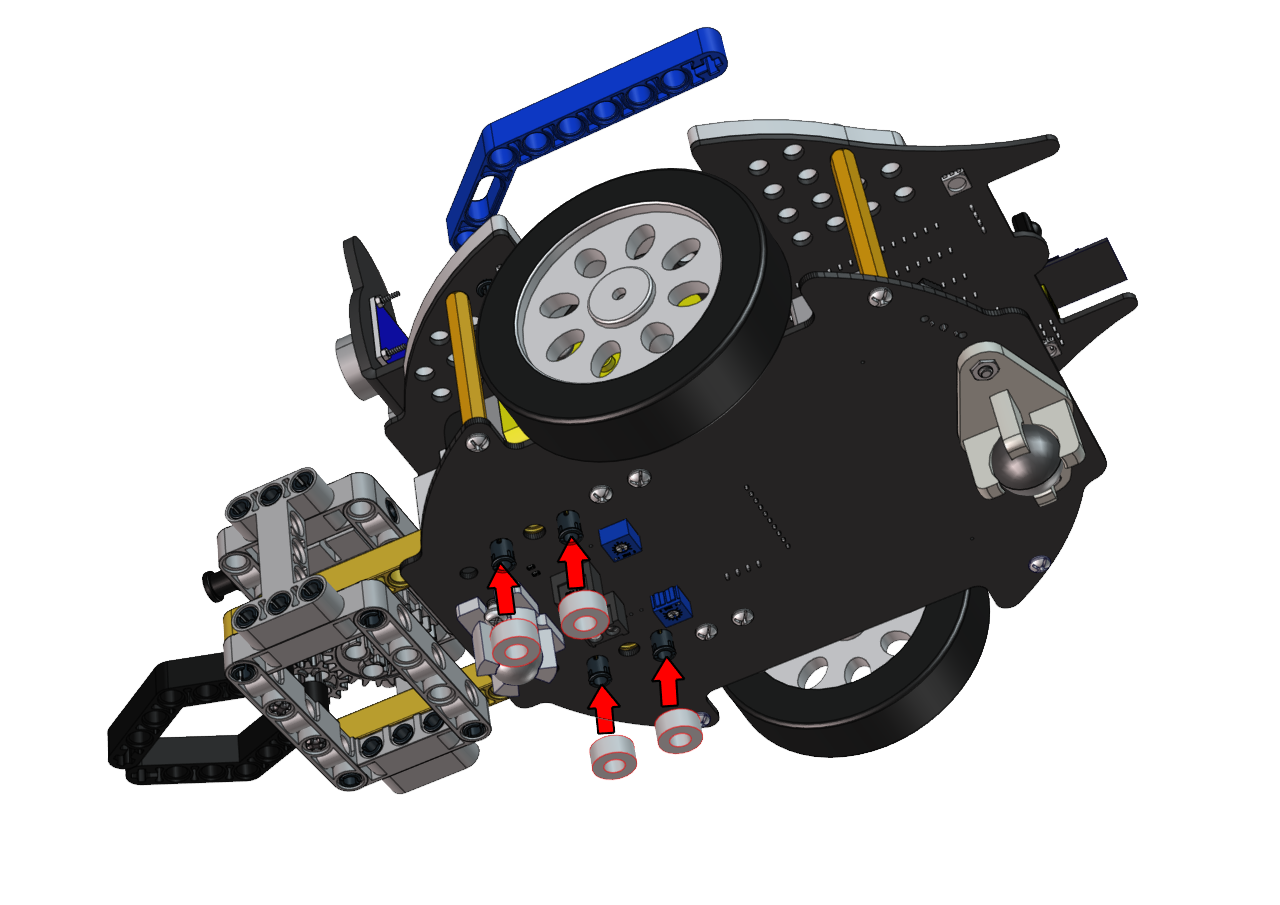
Step 1 Remove two photoresistors

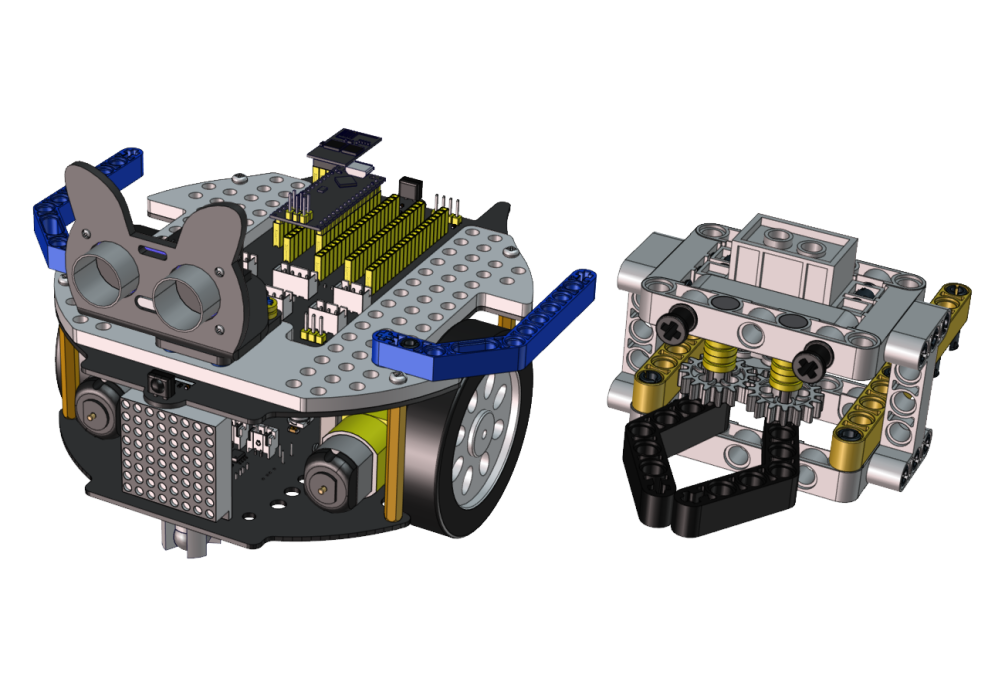
Required Parts


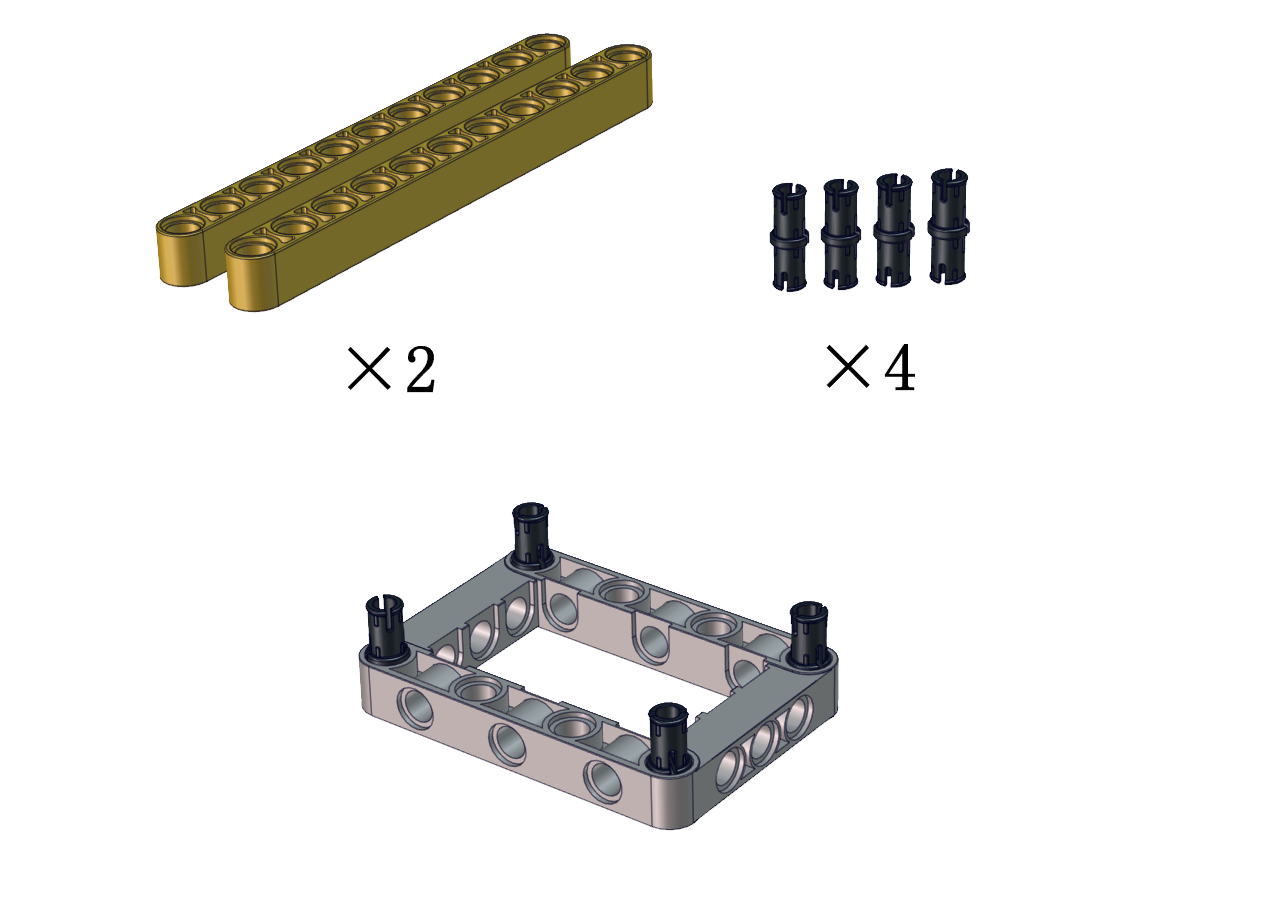
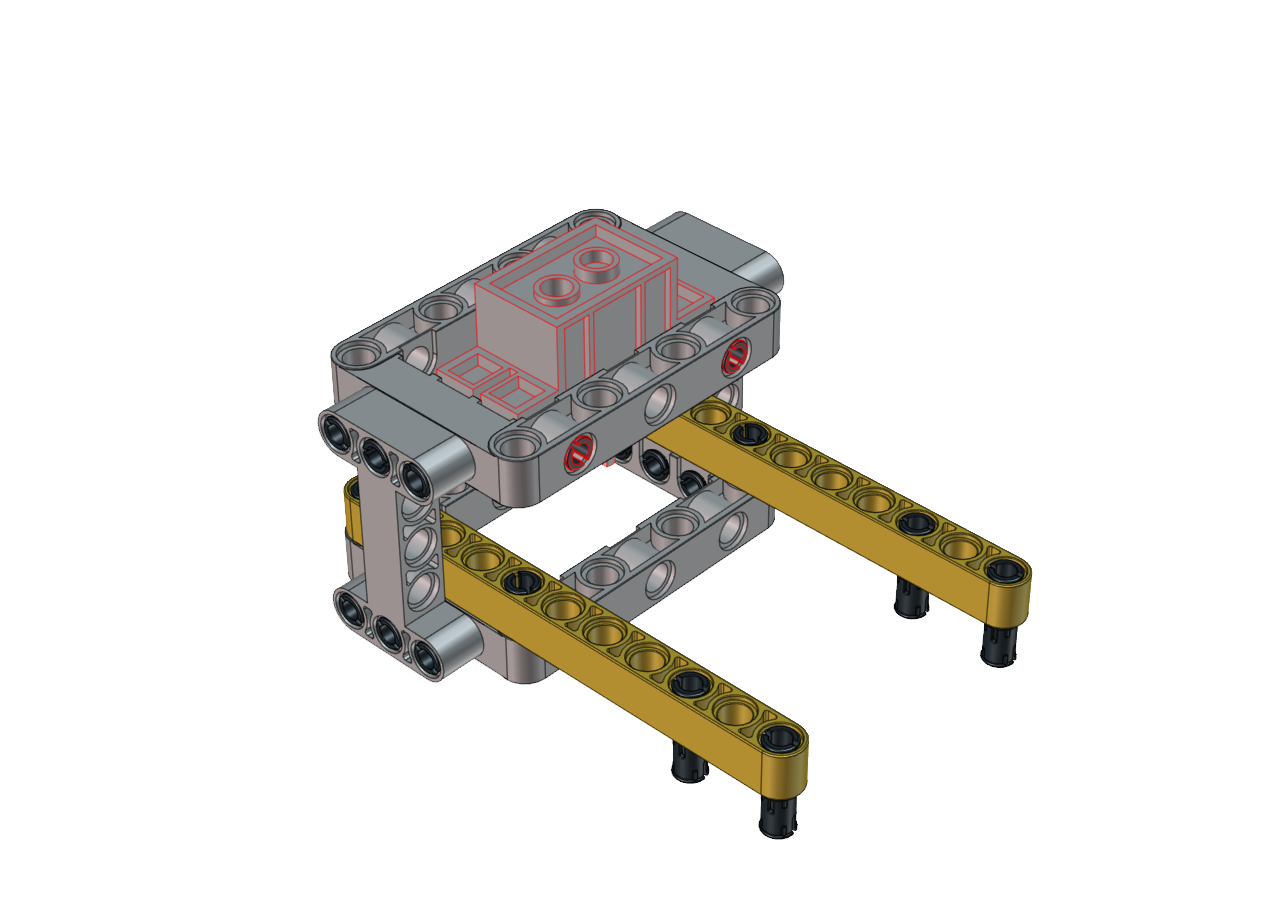
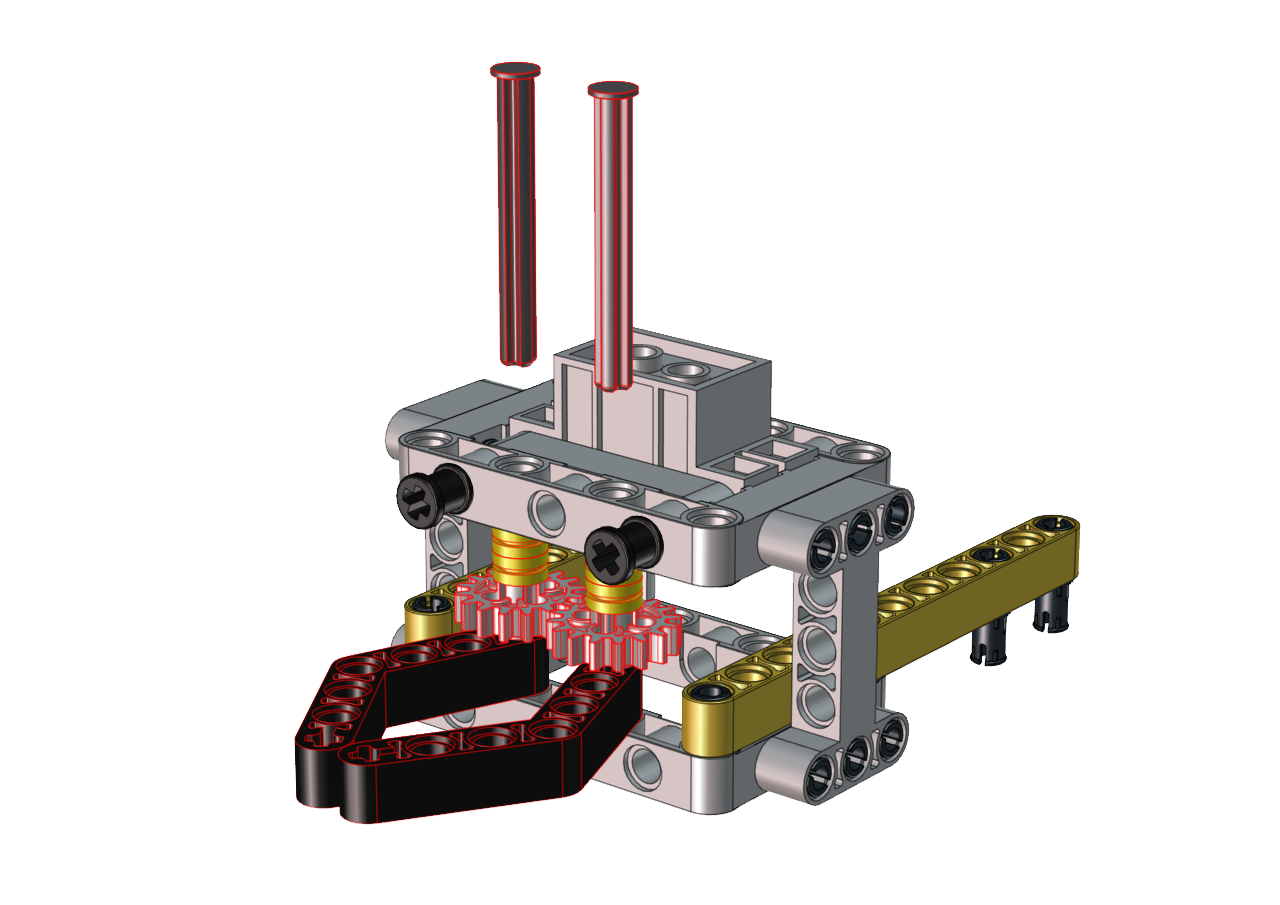
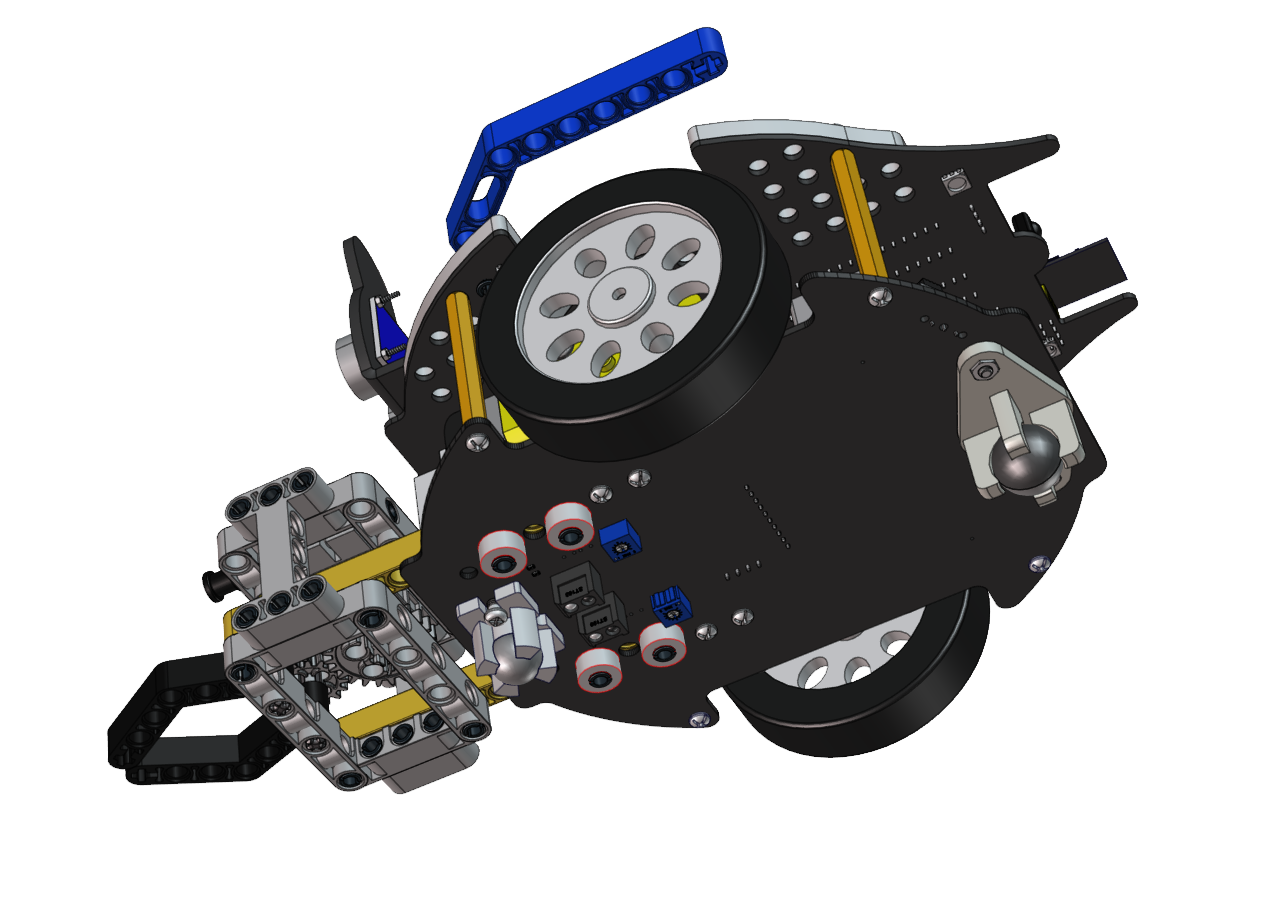
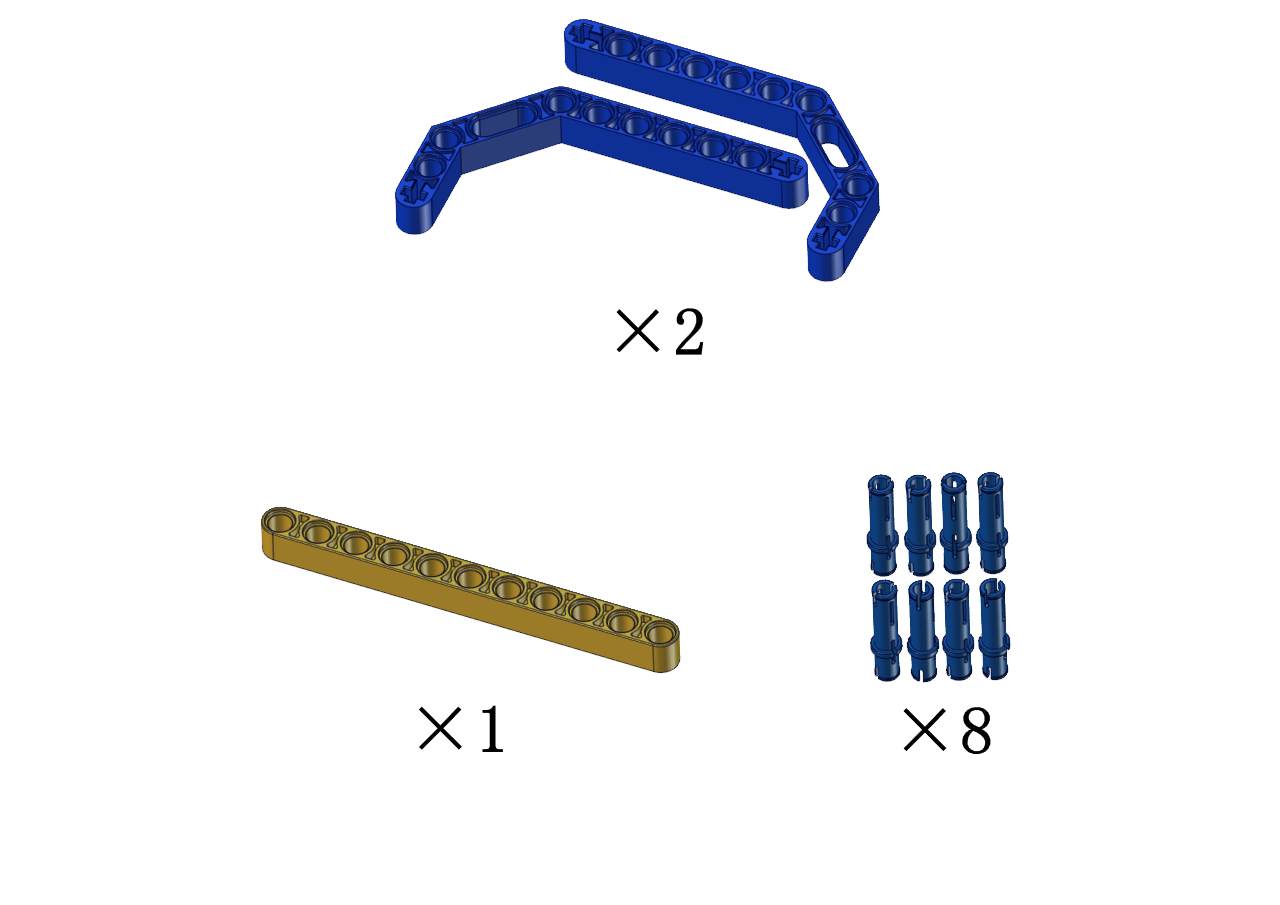
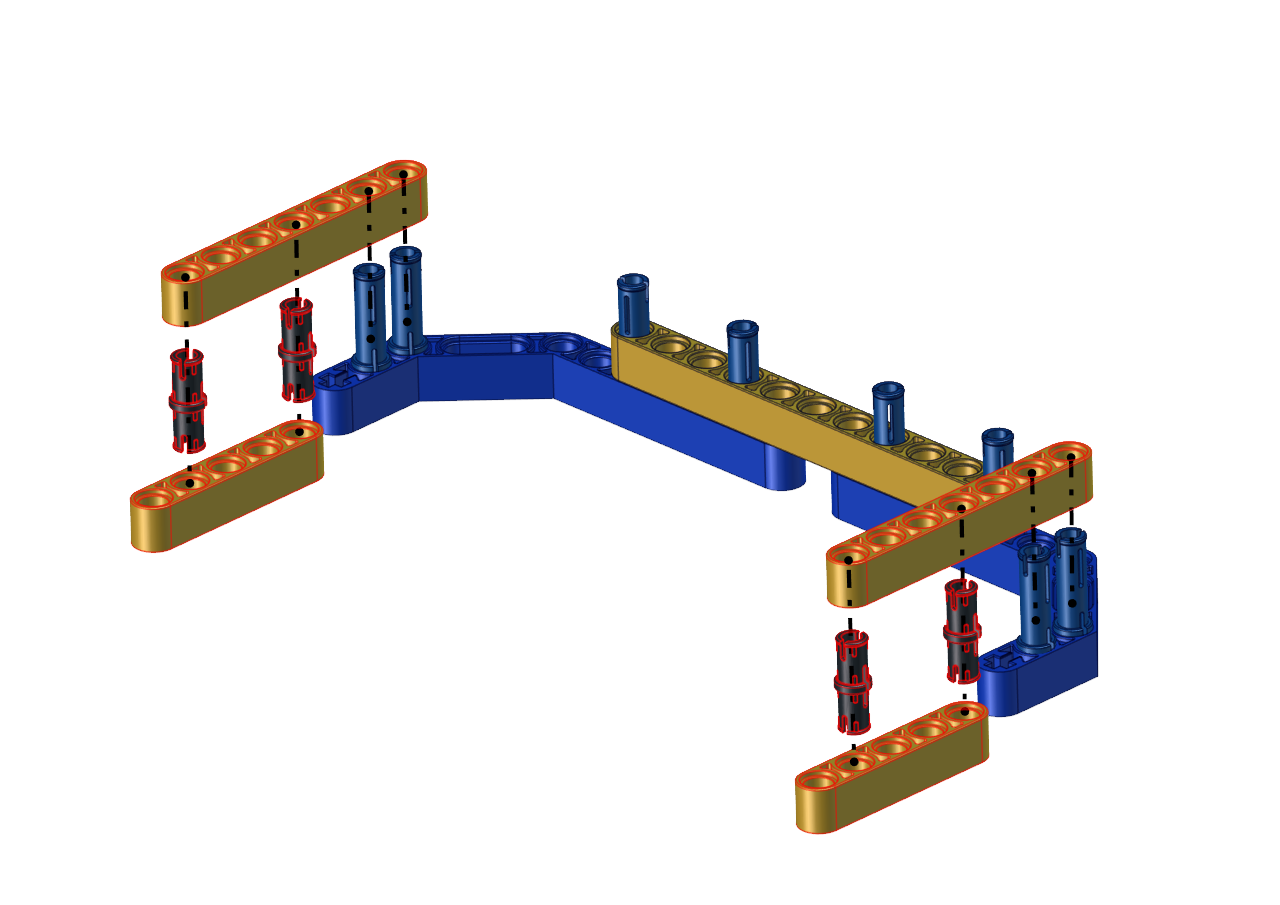
Step 2
Required Parts


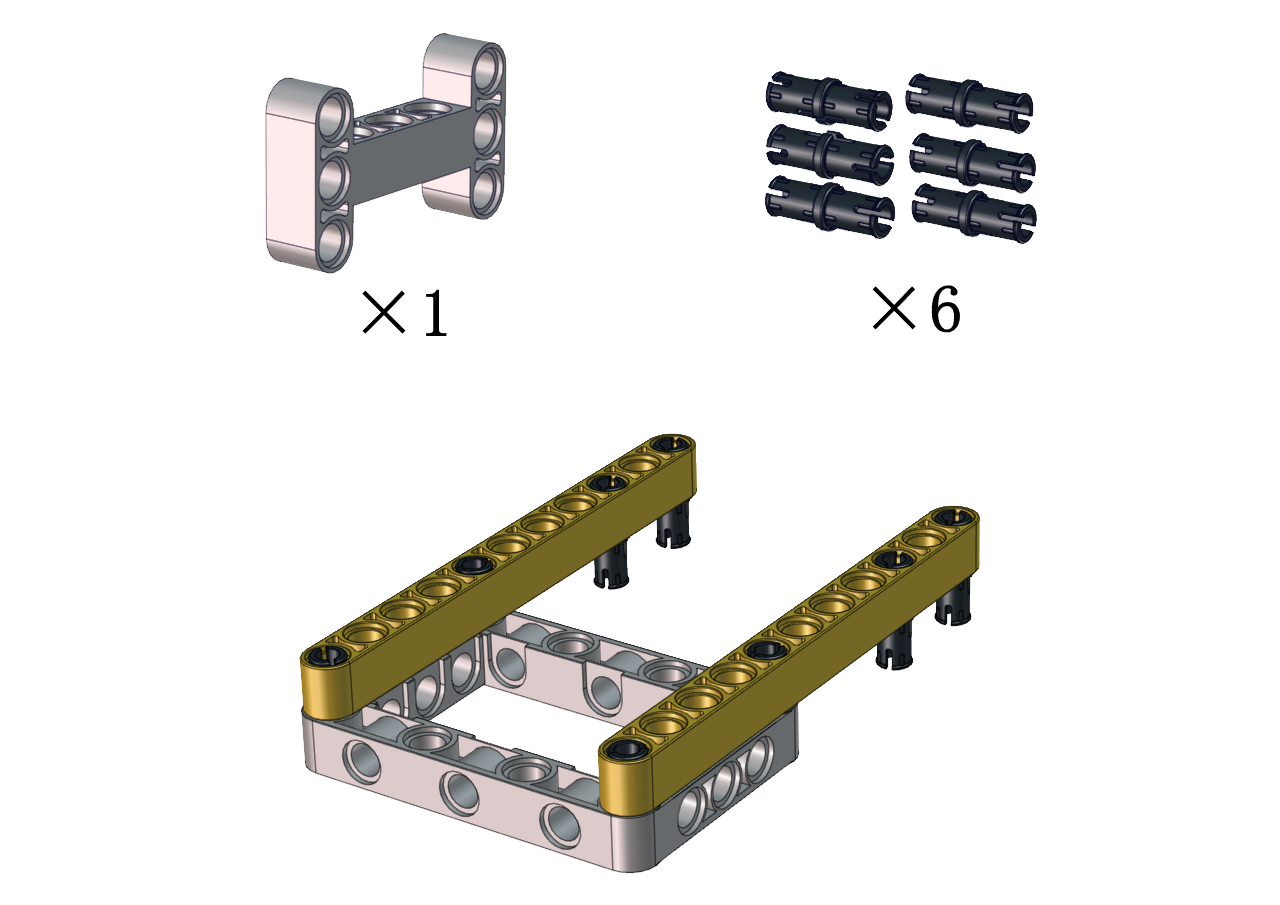
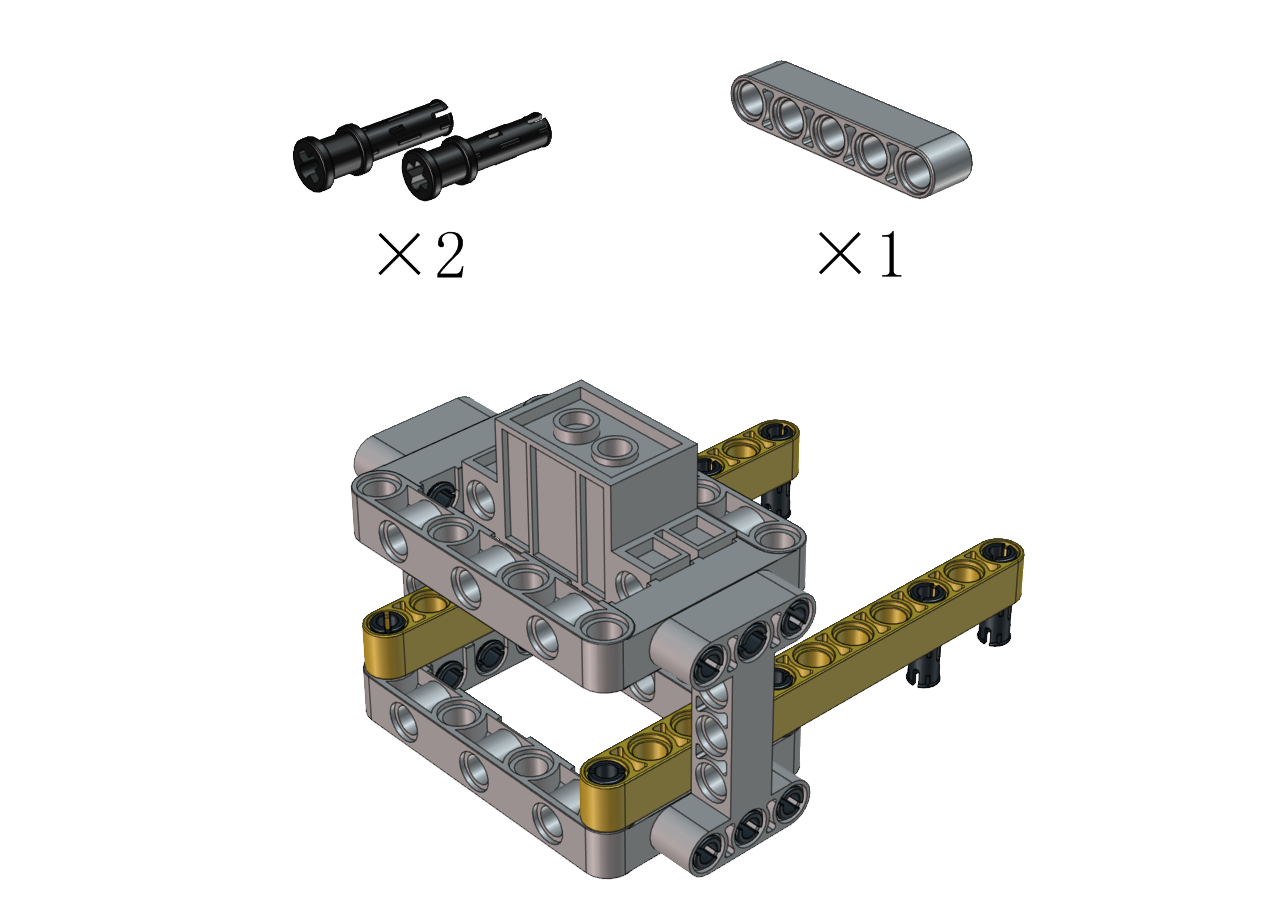
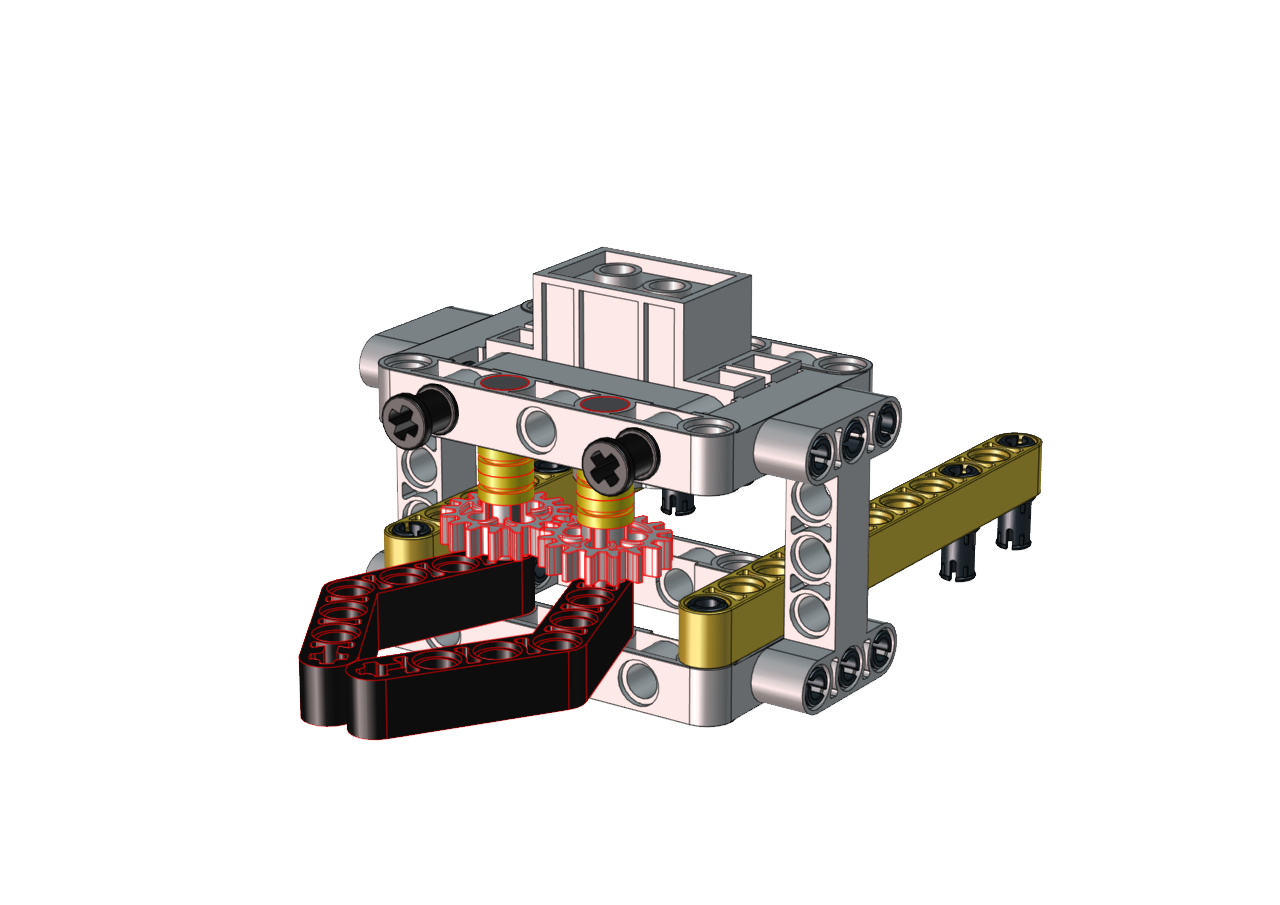
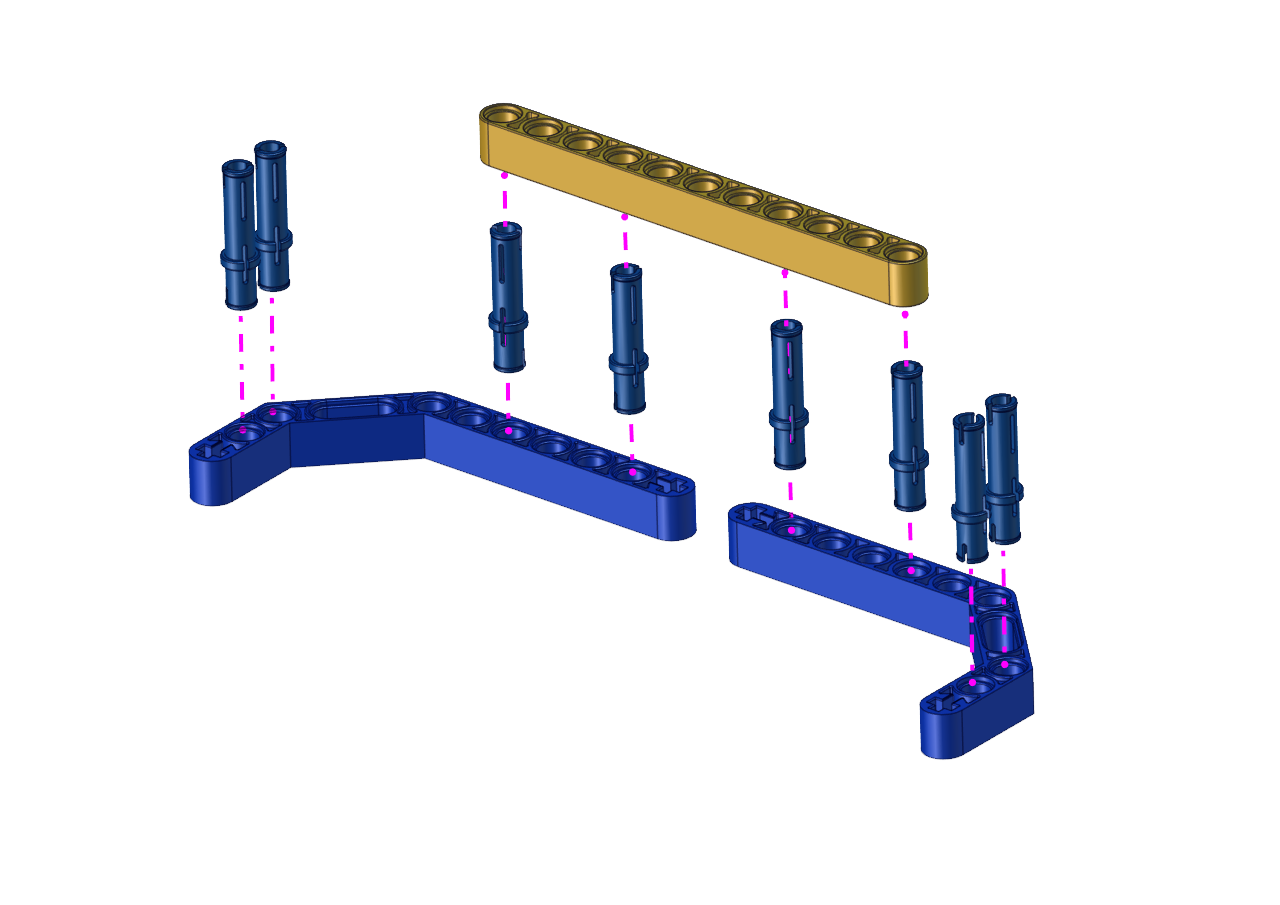
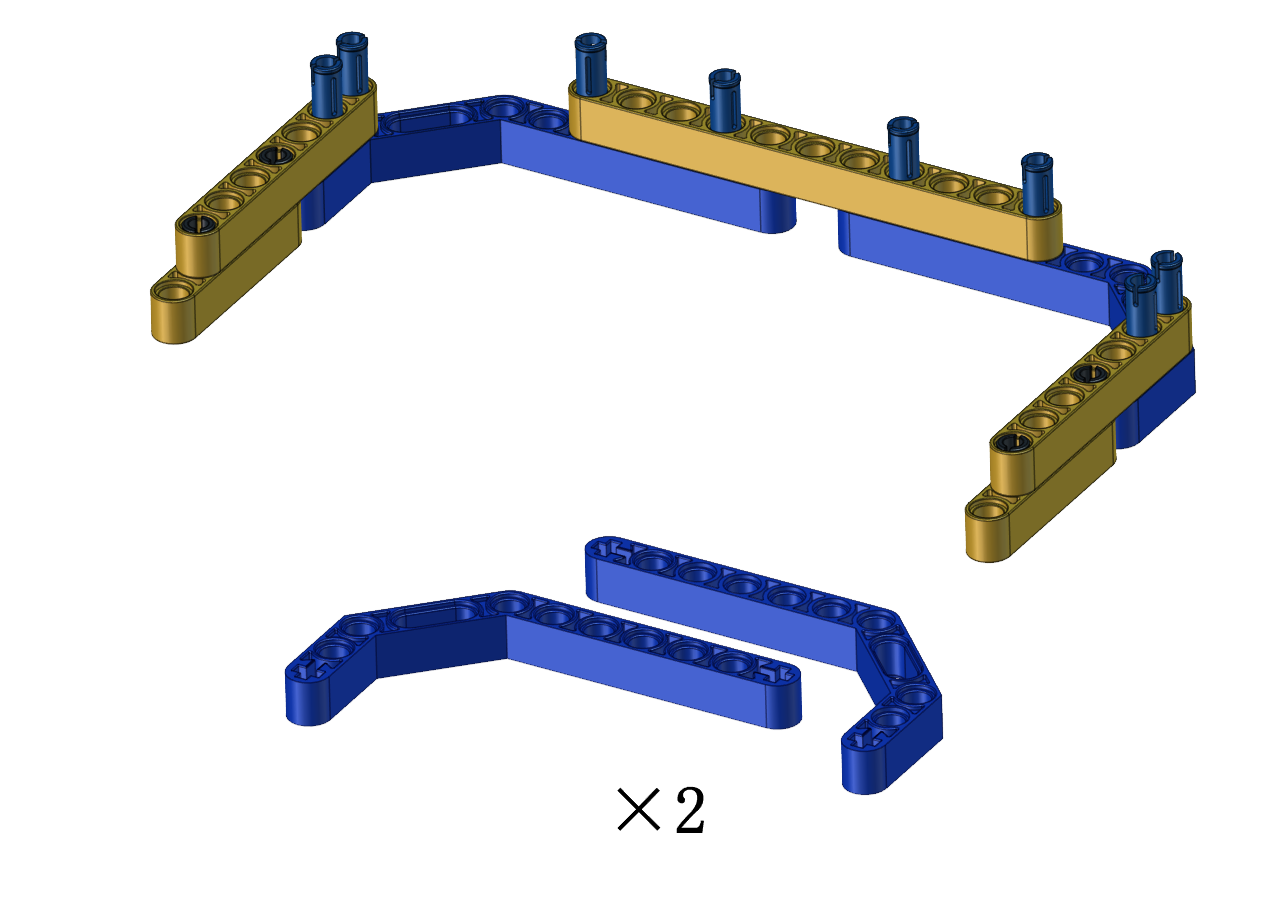
Step 3
Required Parts


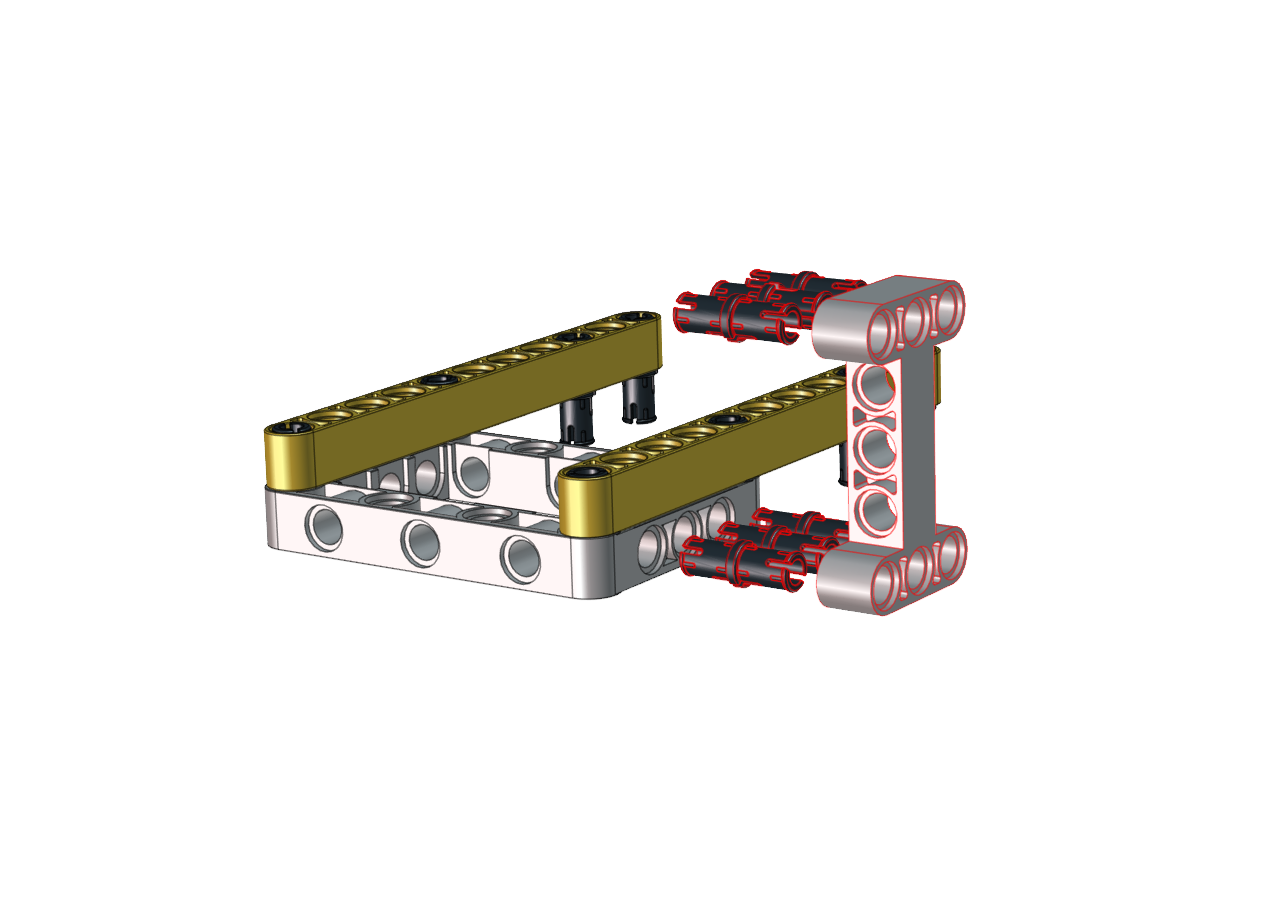
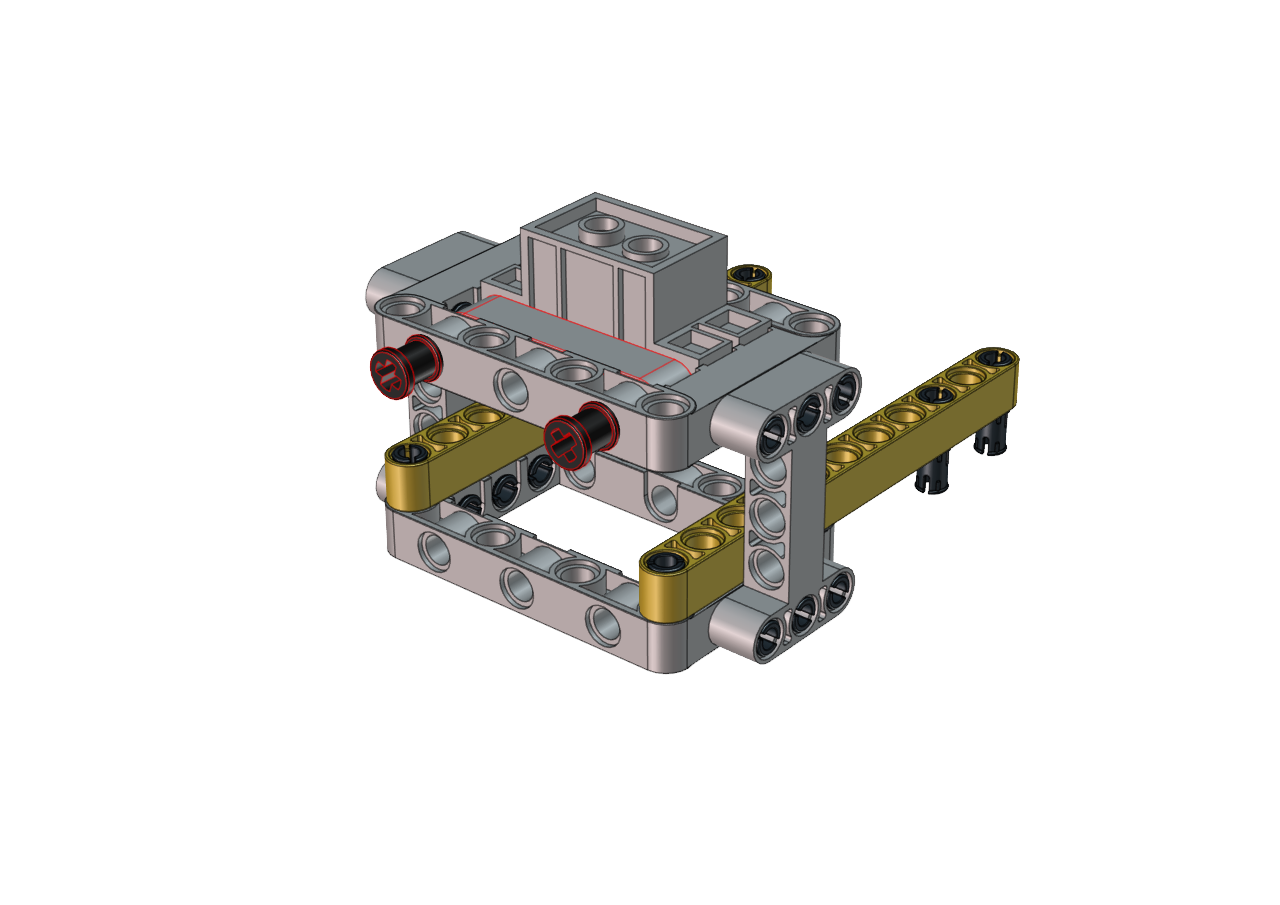
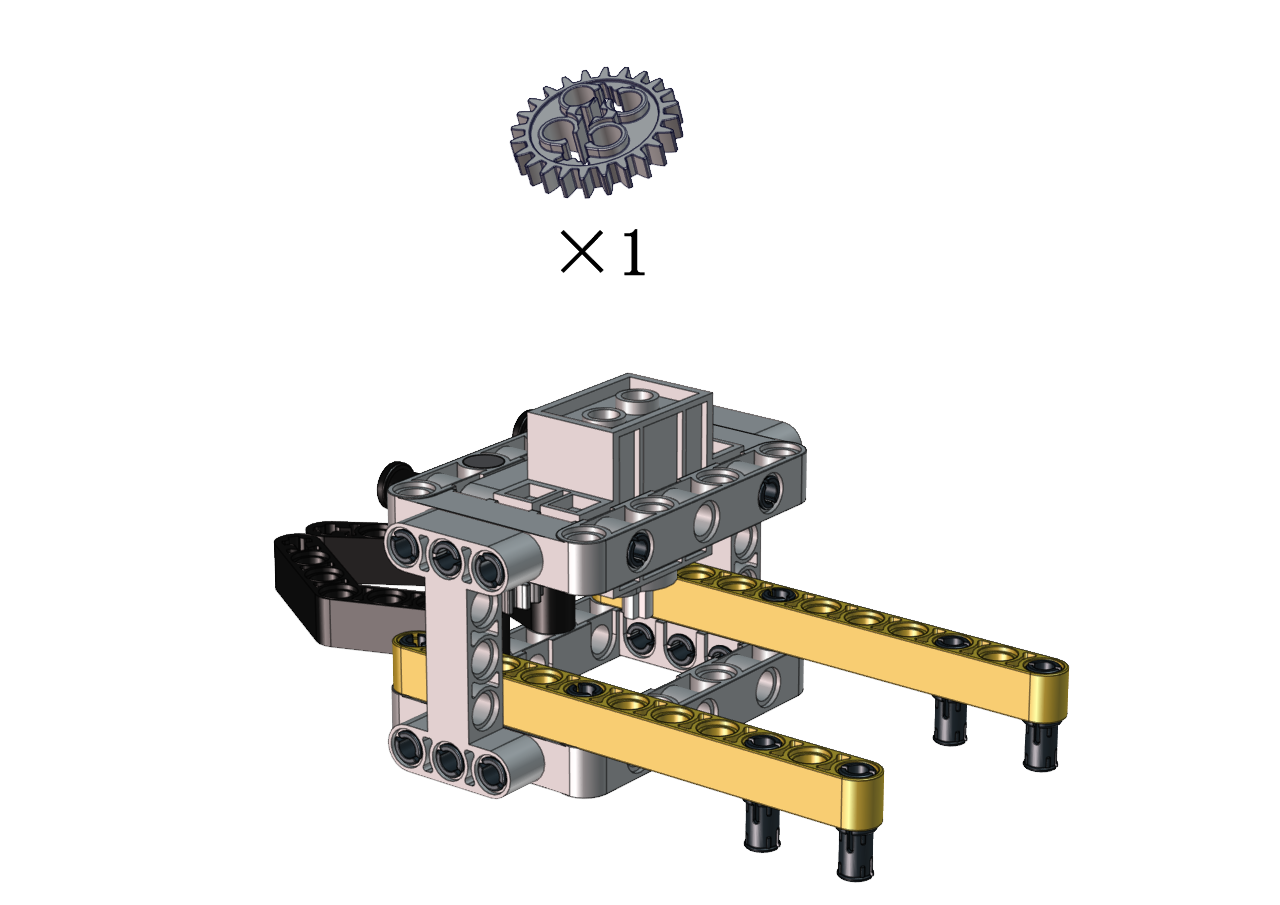
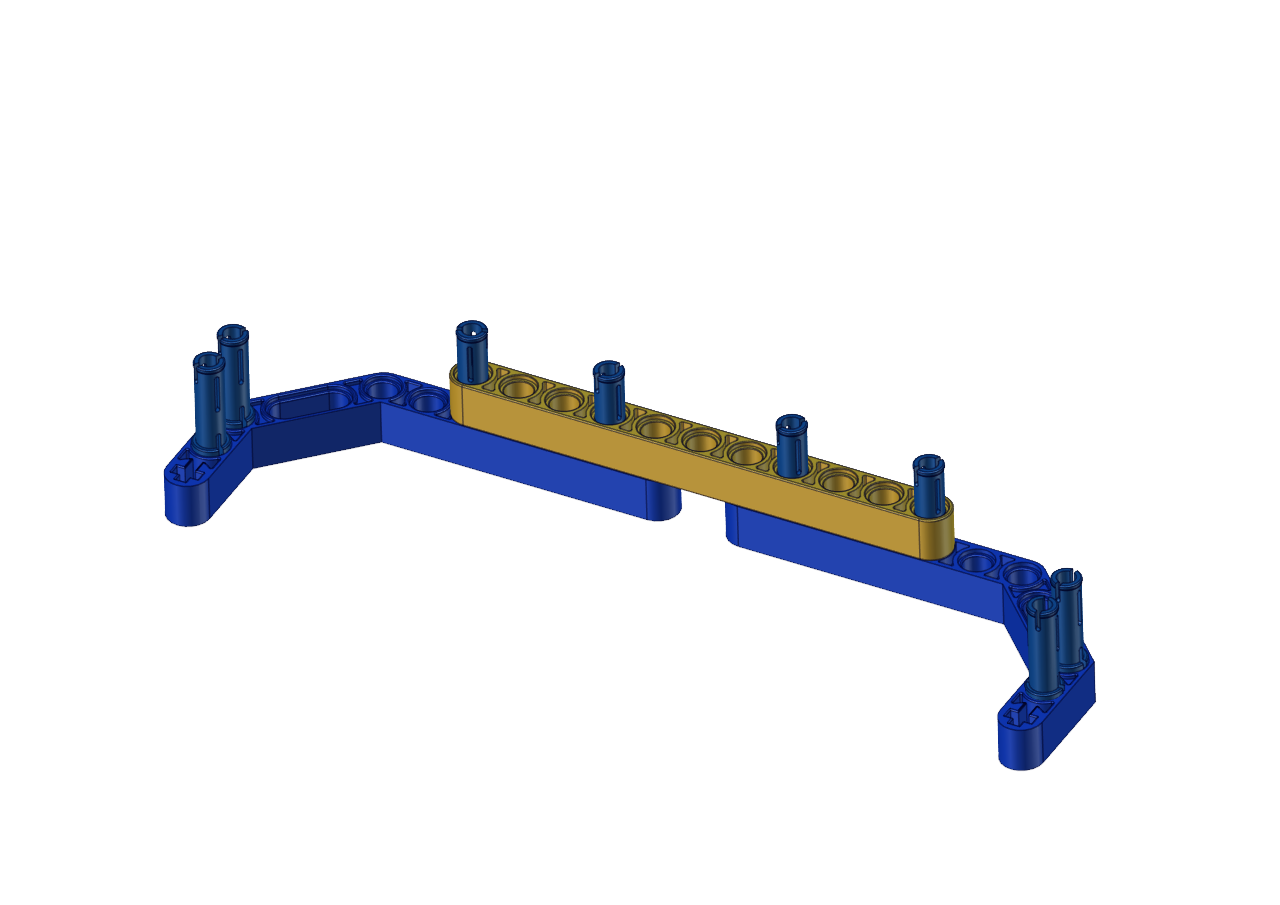
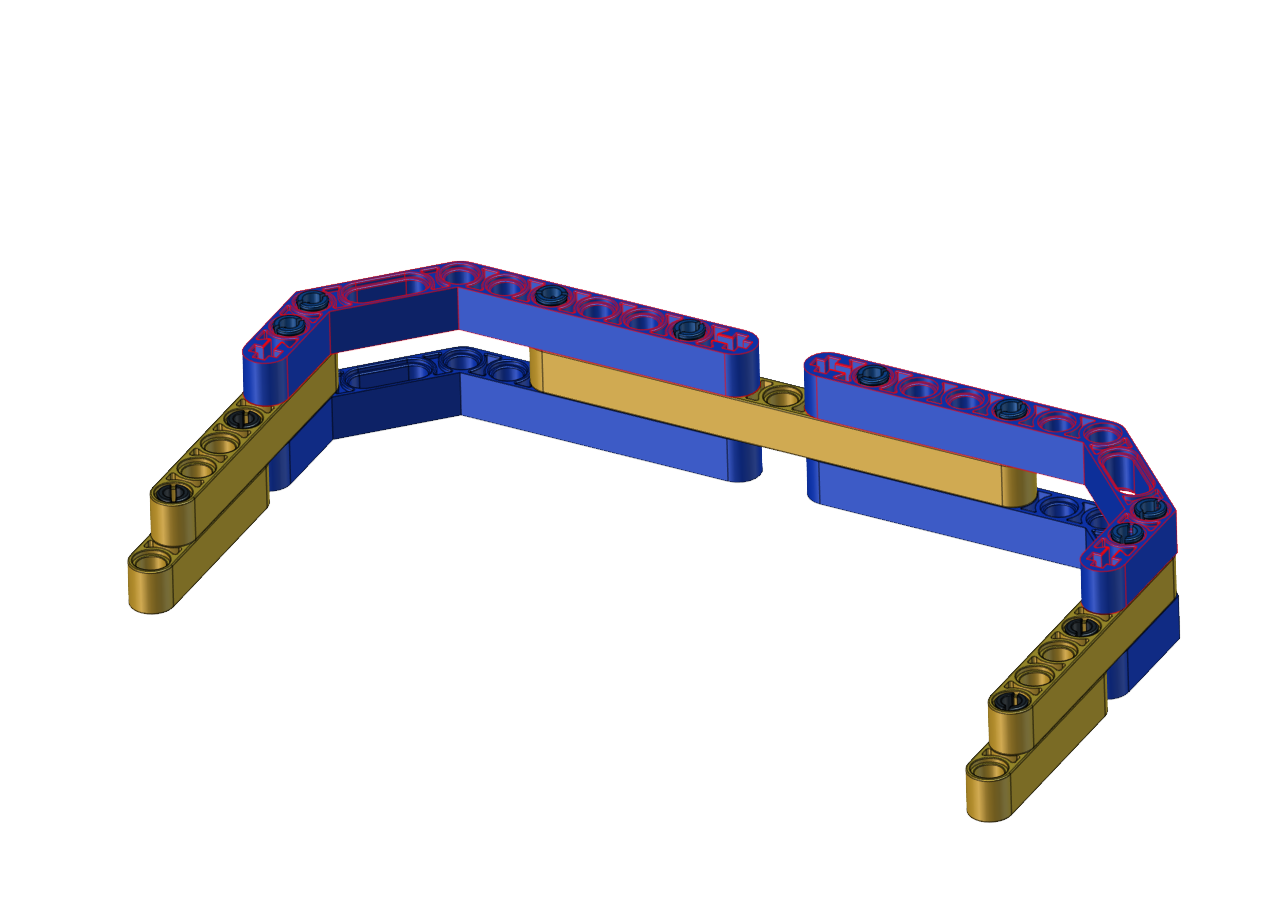
Step 4
Required Parts

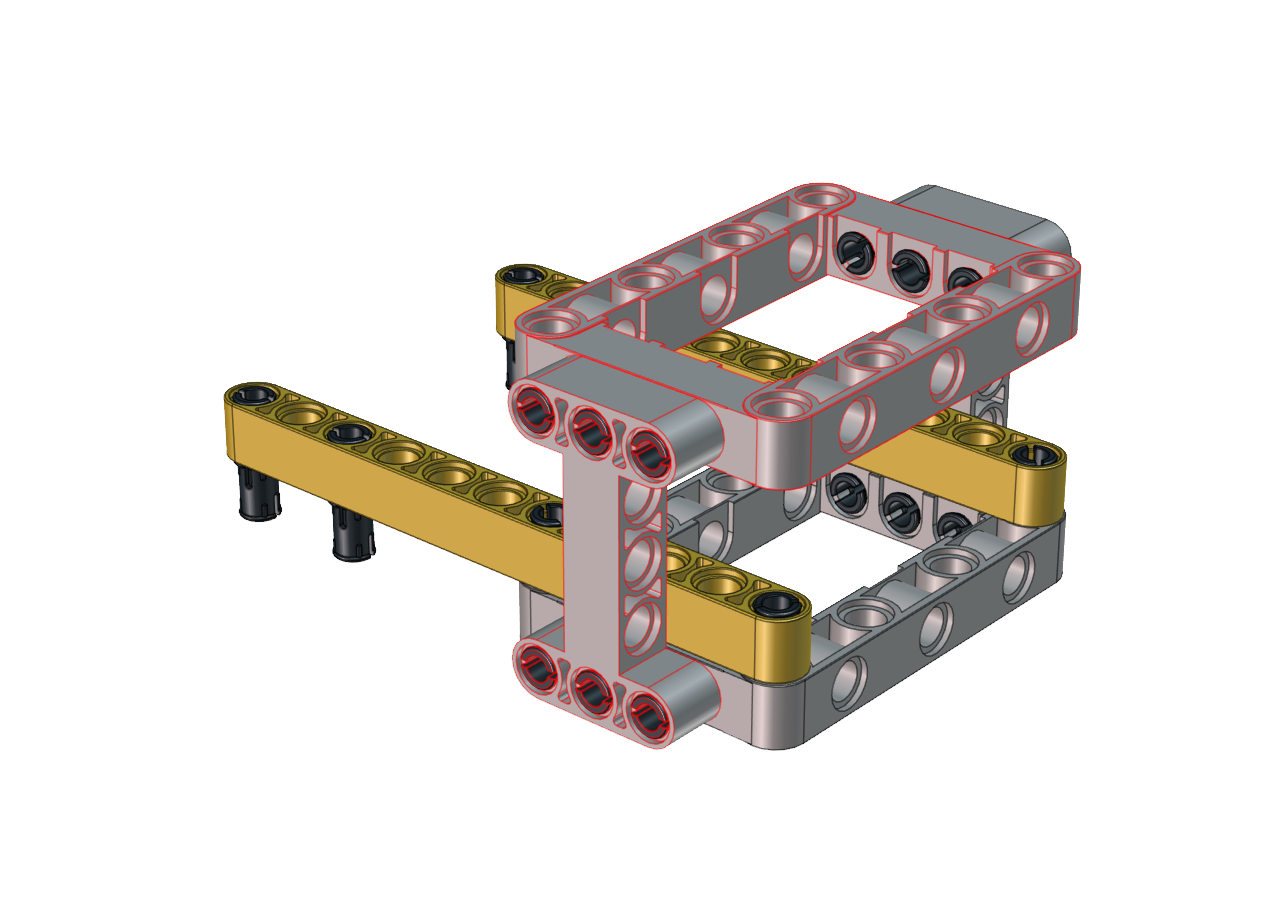
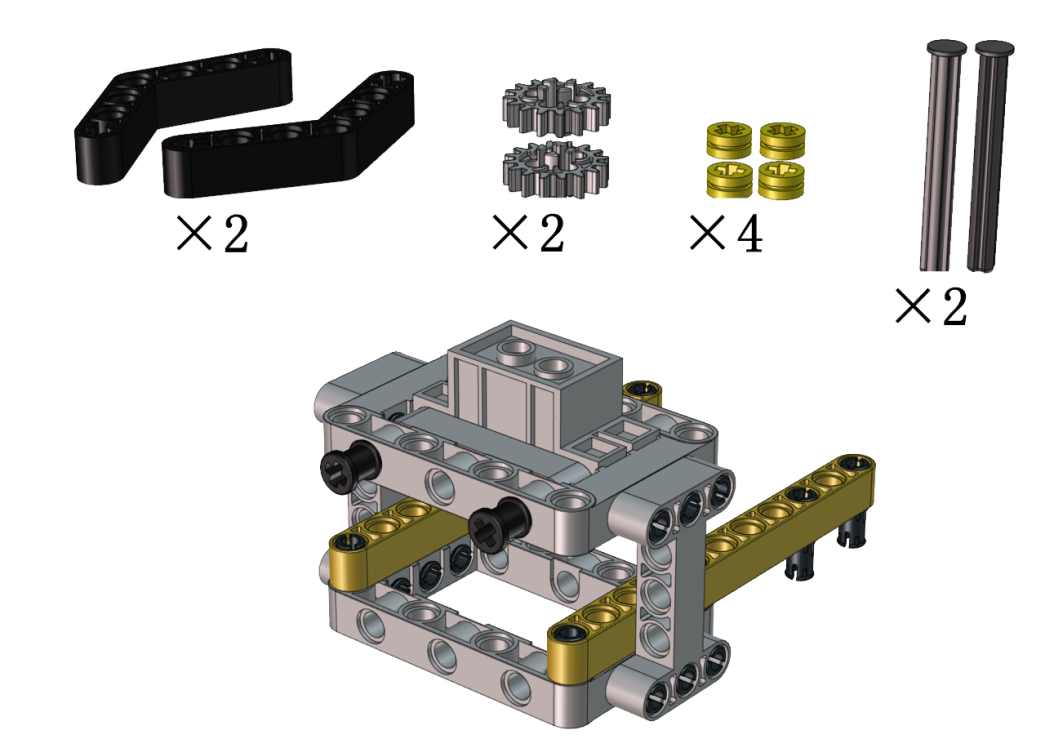
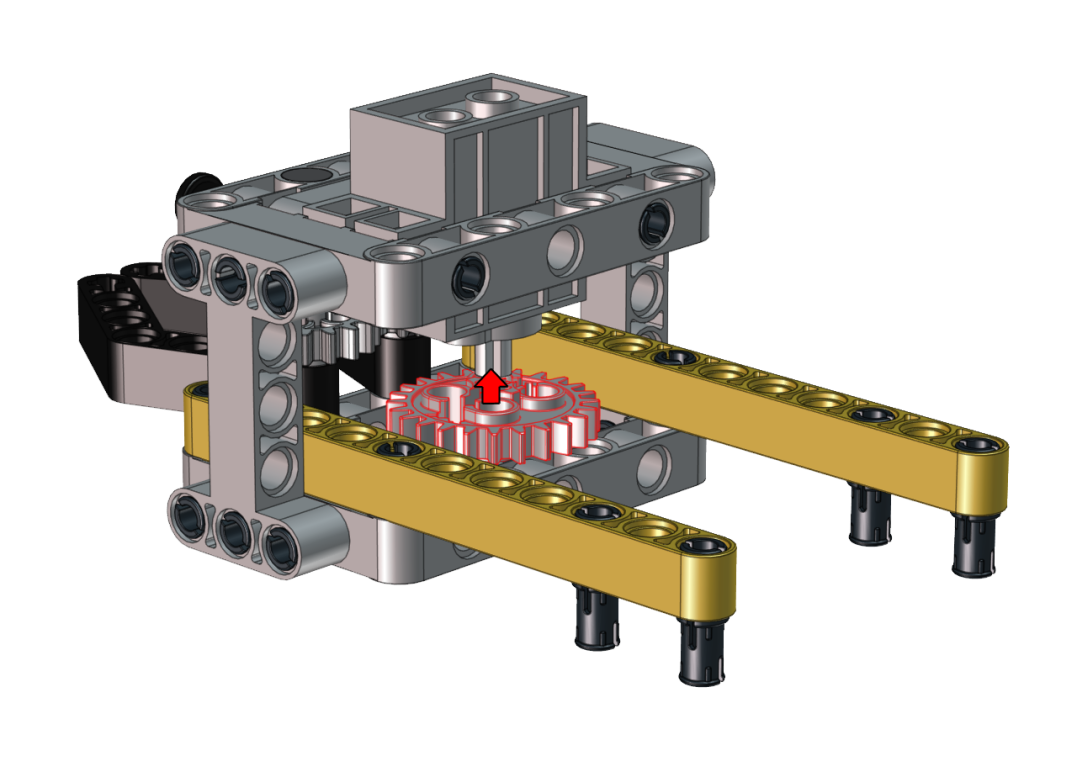
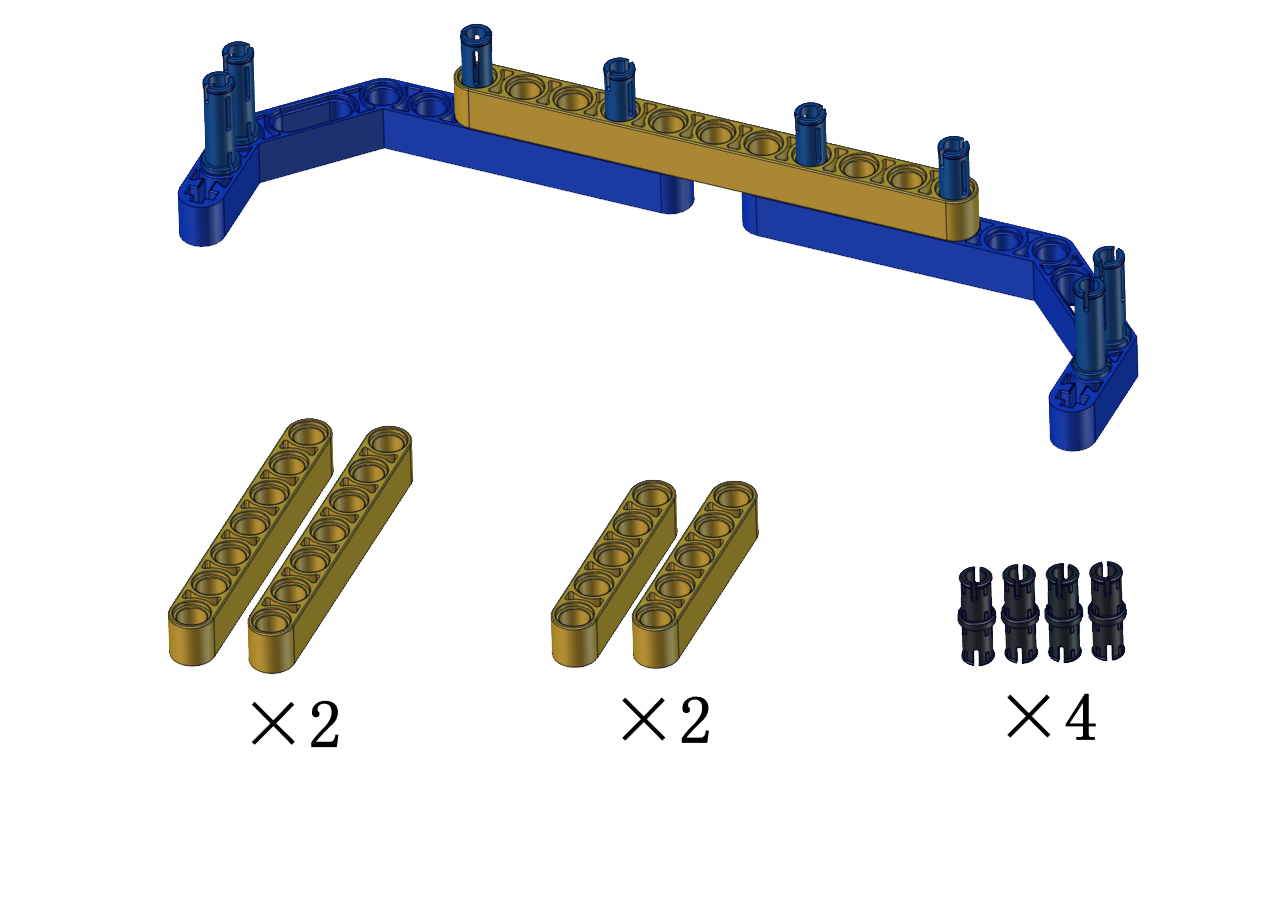
Step 5
Required Parts


Step 6
Required Parts

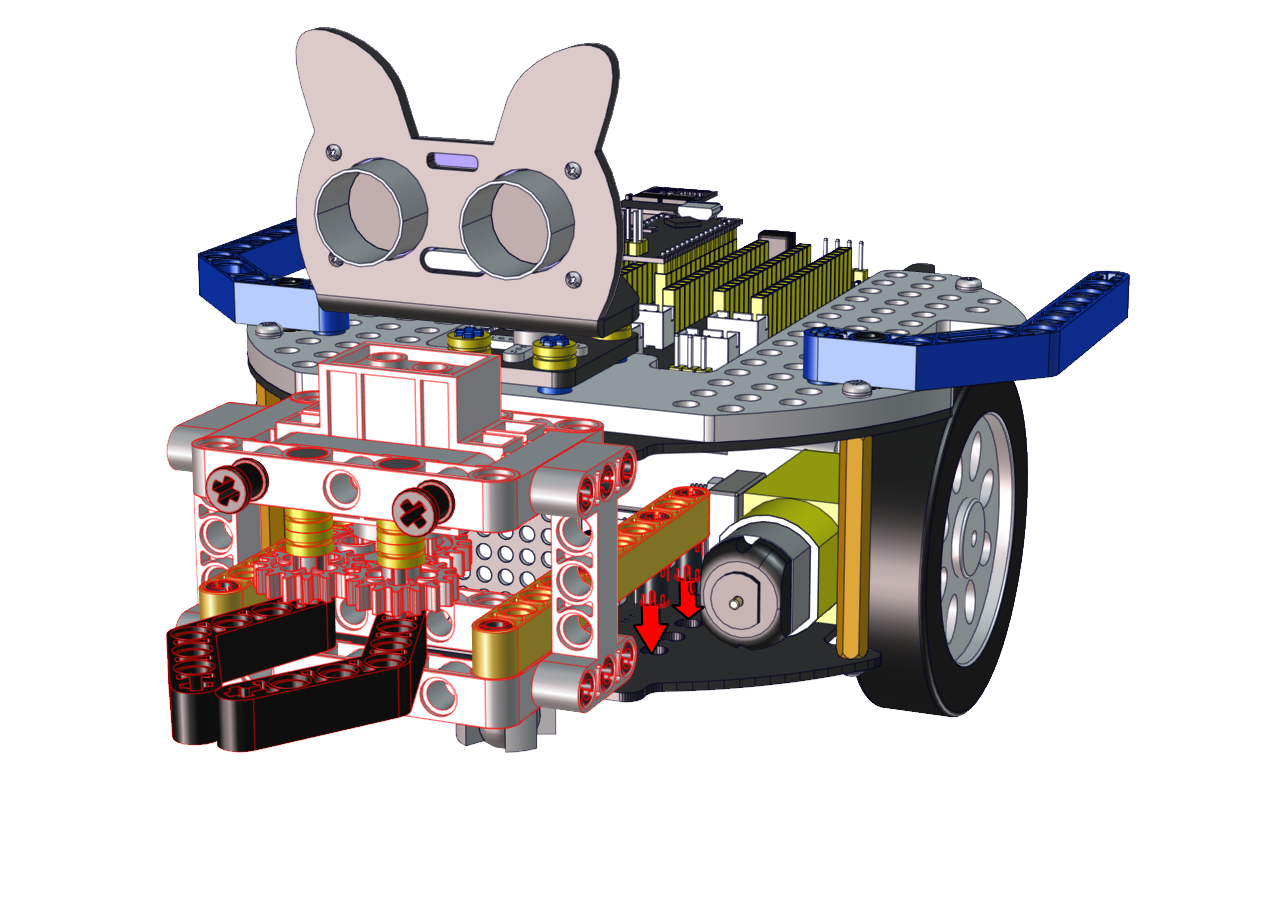
Note the installation direction of the part marked by the red circle

Step 7
Required Parts

Step 8
Required Parts
Adjust the angle of the claw. Then make it close and face front
Step 9
Required Parts
Set the angle of the servo to 180 degree
Wire Up Servo |
PCB Board |
|---|---|
Brown |
G |
Red |
5V |
Orange |
S2(GPIO23) |
Upload the code of the servo to the main board of the Beetlebot car, as shown below
    #include <Servo.h>
    Servo lgservo;  // create servo object to control a servo

    void setup() {
    lgservo.attach(3);  // attaches the servo on pin 3 to the servo object
    }

    void loop() {
    lgservo.write(180); // tell servo to go to position
    }
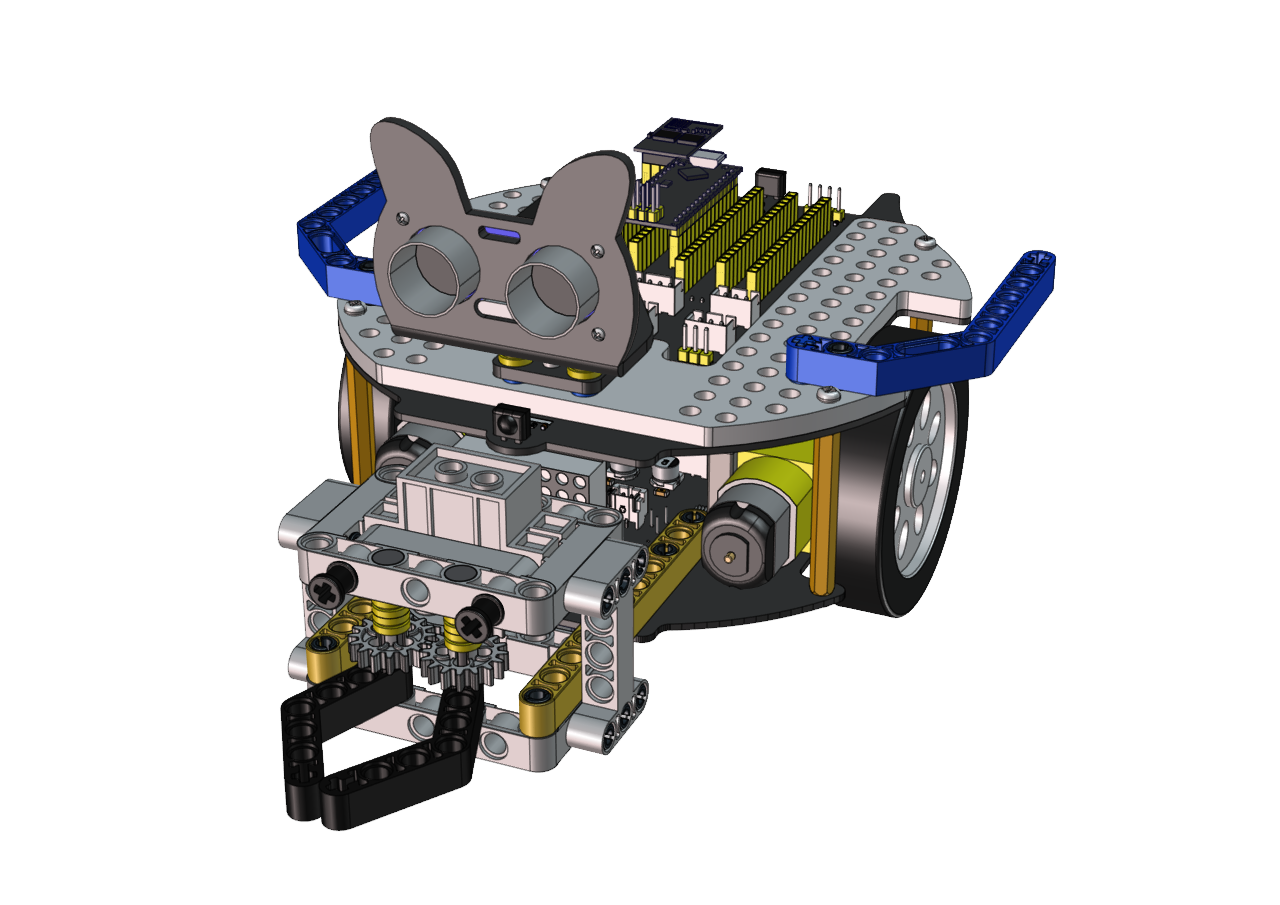
Keep the claw close and face front before installing the gear

Step 10
Required Parts
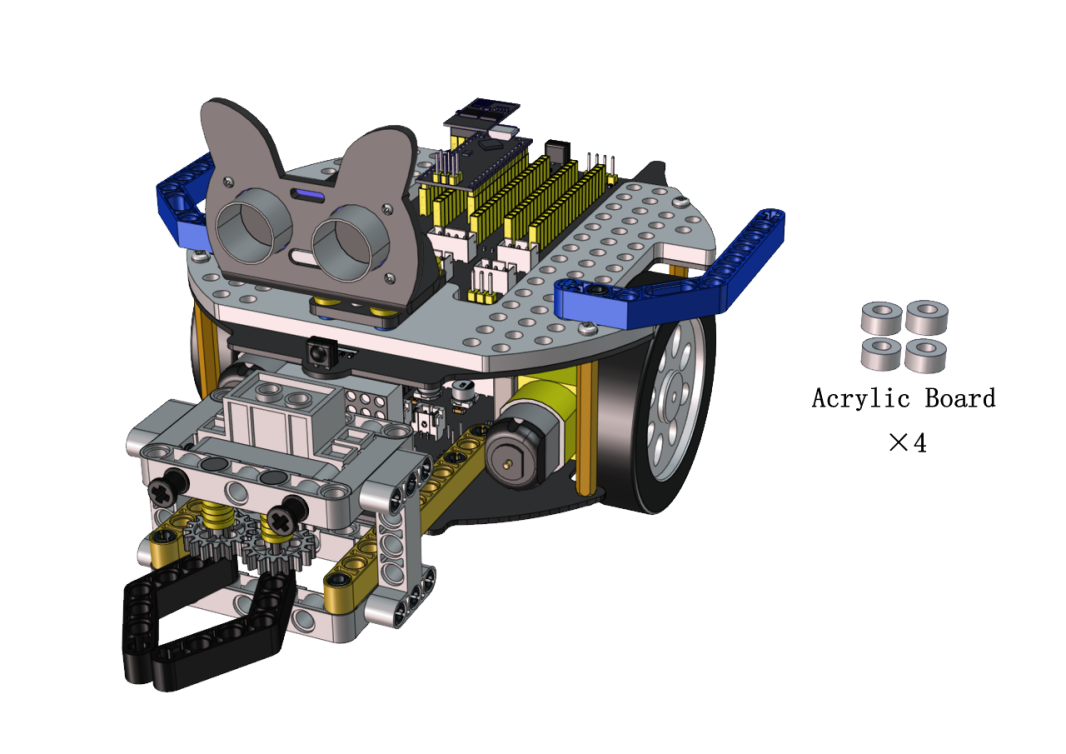
Step 11
Required Parts
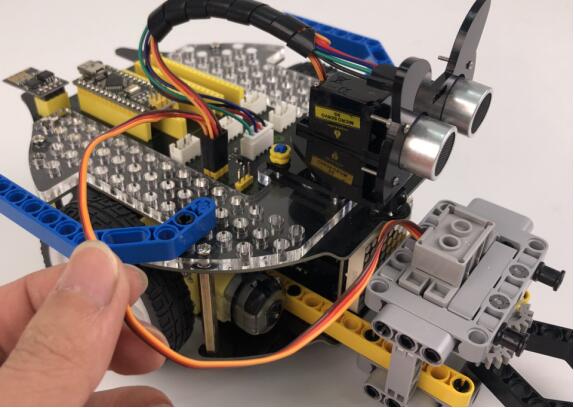
Wiring Diagram
Wire up the LEGO servo
Install a soccer goal
Step 1
Required Parts
Step 2
Required Parts

Step 3
Required Parts

Then the soccer goal is installed well.
Test Code:
#include <Servo.h>
Servo lgservo;
#define ML 15
#define ML_PWM 17
#define MR 14
#define MR_PWM 16
#define servo2 3

char val;
char wifiData;

void setup() {
Serial1.begin(9600);
pinMode(ML, OUTPUT);
pinMode(ML_PWM, OUTPUT);
pinMode(MR, OUTPUT);
pinMode(MR_PWM, OUTPUT);

lgservo.attach(3);
lgservo.write(180);
delay(1000);
lgservo.write(145);
}

void loop() {
if(Serial1.available() > 0)
{
    val = Serial1.read();
    Serial.print(val);
}
switch(val)
{
    case 'F': car_forward(); break;
    case 'B': car_back(); break;
    case 'L': car_left(); break;
    case 'R': car_right(); break;
    case 'S': car_stop(); break;
    case 'p': lgservo.write(180); break;
    case 'x': lgservo.write(145); break;
}
}


void car_forward()
{
digitalWrite(ML,LOW);
analogWrite(ML_PWM,127);
digitalWrite(MR,LOW);
analogWrite(MR_PWM,127);
}

void car_back()
{
digitalWrite(ML,HIGH);
analogWrite(ML_PWM,127);
digitalWrite(MR,HIGH);
analogWrite(MR_PWM,127);
}

void car_left()
{
digitalWrite(ML,HIGH);
analogWrite(ML_PWM,150);
digitalWrite(MR,LOW);
analogWrite(MR_PWM,105);
}

void car_right()
{
digitalWrite(ML,LOW);
analogWrite(ML_PWM,105);
digitalWrite(MR,HIGH);
analogWrite(MR_PWM,150);
}

void car_stop()
{
digitalWrite(ML,LOW);
analogWrite(ML_PWM,0);
digitalWrite(MR,LOW);
analogWrite(MR_PWM,0);
}
Build up the soccer goal with building blocks and place it at fixed location, connect the robot car through Wifi.
Put a small soccer in the middle of the claw of the robot car, press and hold down the button  to enable the claw to hold the soccer, then press buttons
  to adjust the car’s movement direction so as to put the soccer close to the soccer goal. At last, release the button to allow the soccer to drop on the floor and roll to the soccer goal. If not, repeat the above step to shoot the goal.
If your friend owns this kind of soccer robot, you guys can hold a soccer match. It sounds amazing, right?.