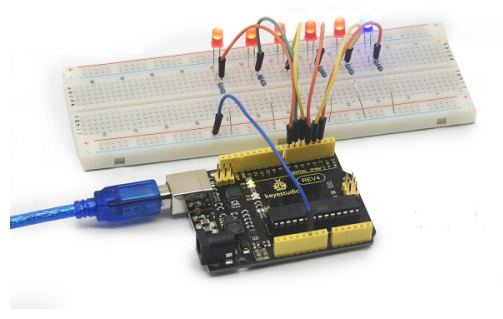
Project 5 LED chasing
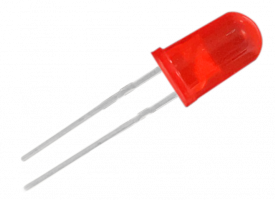
1. Introduction We often see billboards composed of colorful LEDs. They are constantly changing to form various light effects. In this experiment, we compile a program to simulate LED chasing effect. The long lead of LED is the positive side; short lead is negative.
2. Hardware required
Led *6
Arduino board *1
220Ω resistor *6
Breadboard *1
USB cable*1
Breadboard wire *13
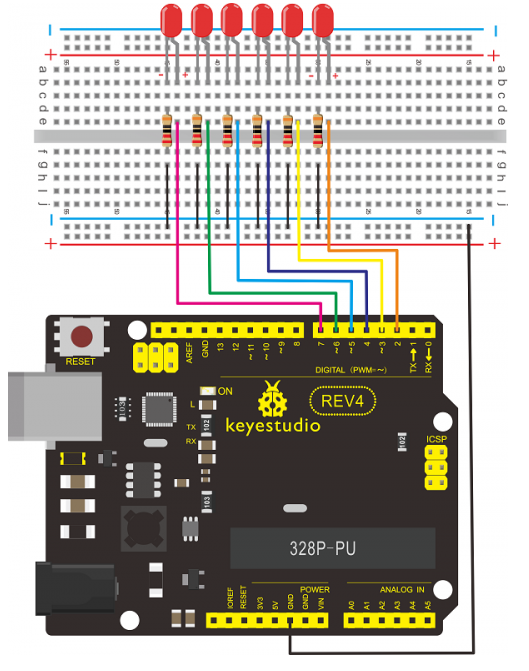
3. Connection for REV4
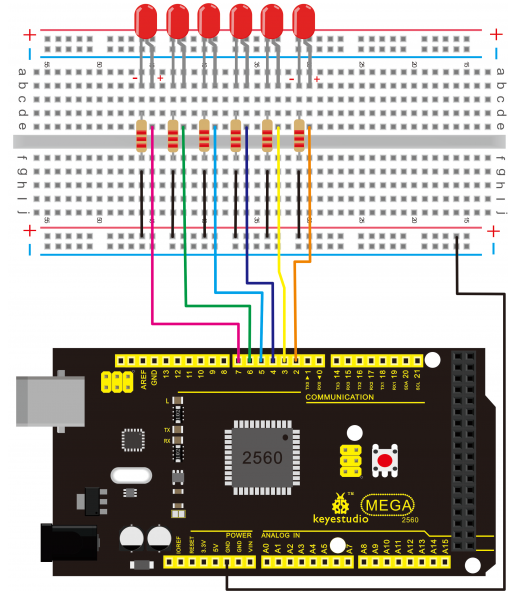
4. Connection for 2560 R3
5. Sample Code
int BASE = 2 ;  // the I/O pin for the first LED
int NUM = 6;   // number of LEDs

void setup()
{
   for (int i = BASE; i < BASE + NUM; i ++)
   {
     pinMode(i, OUTPUT);   // set I/O pins as output
   }
}

void loop()
{
   for (int i = BASE; i < BASE + NUM; i ++)
   {
     digitalWrite(i, LOW);    // set I/O pins as “low”, turn off LEDs one by one.
     delay(200);        // delay
   }
   for (int i = BASE; i < BASE + NUM; i ++)
   {
     digitalWrite(i, HIGH);    // set I/O pins as “high”, turn on LEDs one by one
     delay(200);        // delay
   }
}
6. Result You can see the LEDs blink by sequence.