Project 19: Flame Sensor
(1)Description:
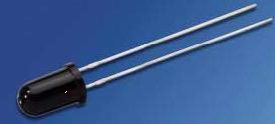
The flame sensor uses an IR receiving tube to detect flames. It converts the brightness of the flame into high and low-level signals and inputs them into the central processor for corresponding program processing. The voltage value of the analog port varies depending on whether there is a flame close by or no flame at all.
If there is no flame, the analog port reads about 0.3V; when there is a flame, the analog port reads about 1.0V. The closer the flame is, the higher the voltage value. It can be used to detect a fire source or to build a smart robot.
Note that the probe of the flame sensor can only withstand temperatures between -25℃ and 85℃.
During use, make sure to keep the flame sensor at a safe distance from the fire to avoid damaging it.
(2)Parameters:
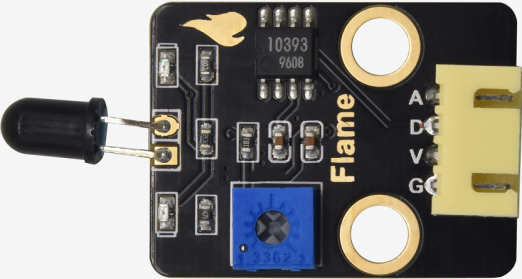
Working voltage: 3.3V-5V (DC)
Current: 100mA
Maximum power: 0.5W
Work temperature: -10 ° C to +50 degrees Celsius
Sensor size: 31.6mmx23.7mm
Interface: 4pin turn 3PIN interface
Output signal: analog signals A0, A1
(3)Connection Diagram:
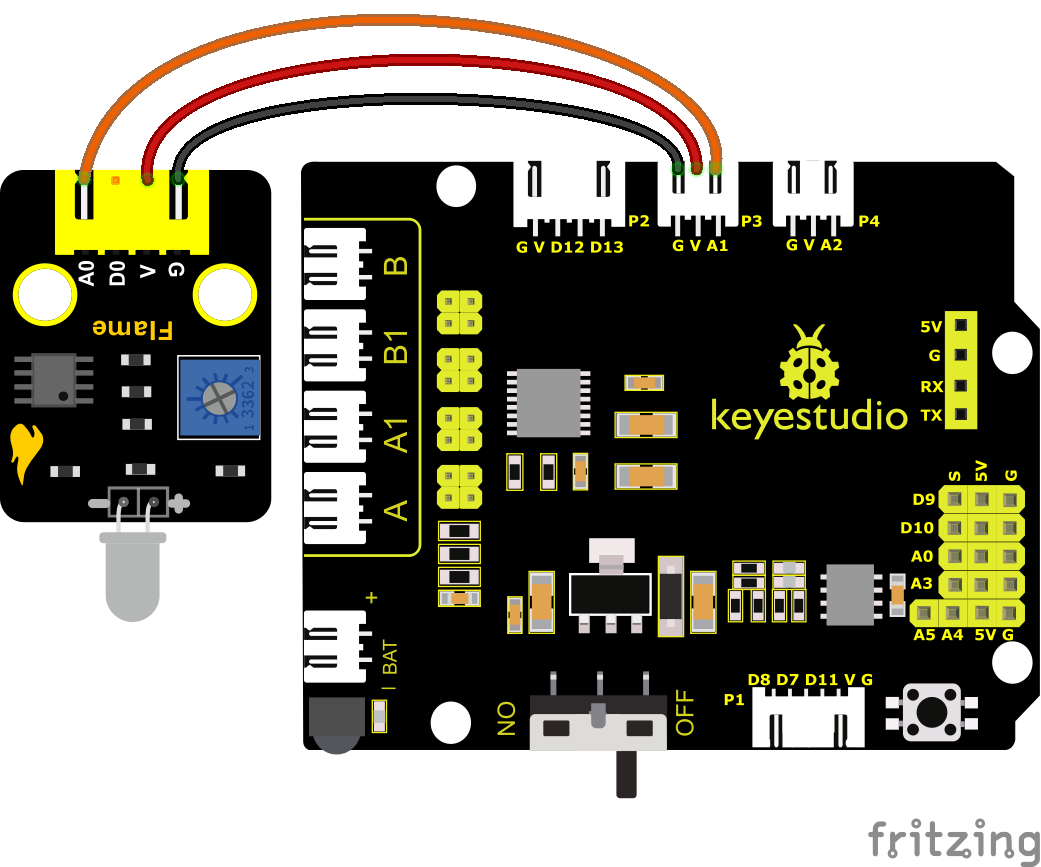
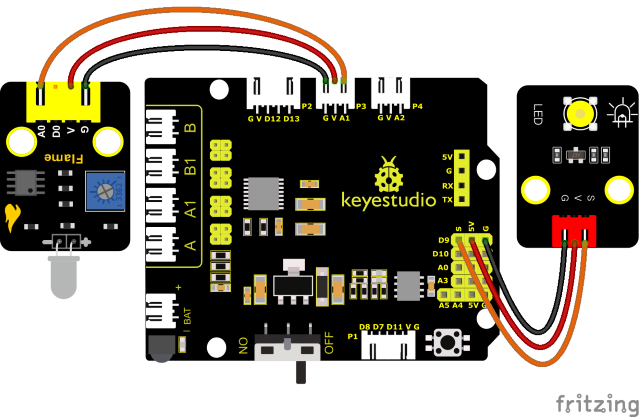
Pin A of two photoresistors are connected to A1 and A2. We connect the flame sensor to A1 and A2. We replace two photoresistors and the ultrasonic sensor with two flame sensors and a fan, an extinguishing car is created.
Note: 1)This experiment requires the use of a fire source. Please make it away from flammable items to prevent fire. Children should experiment under adult supervision. If you cannot confirm that you are safe, please abandon the experiment. 2)The flame sensoris not fireproof, please do not burn it directly with flame.
(4)Test Code:
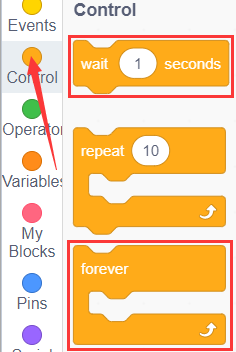
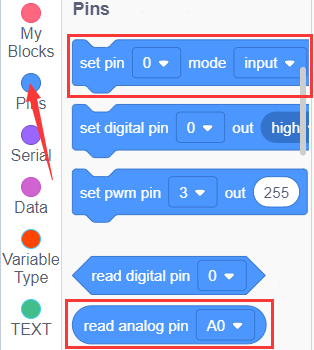
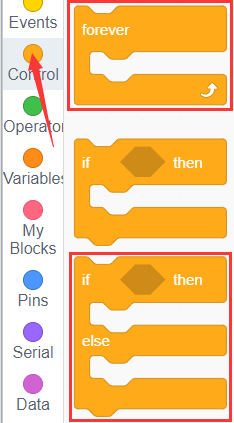
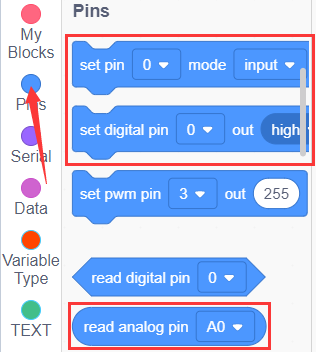
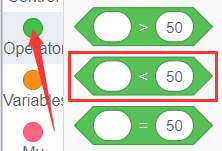
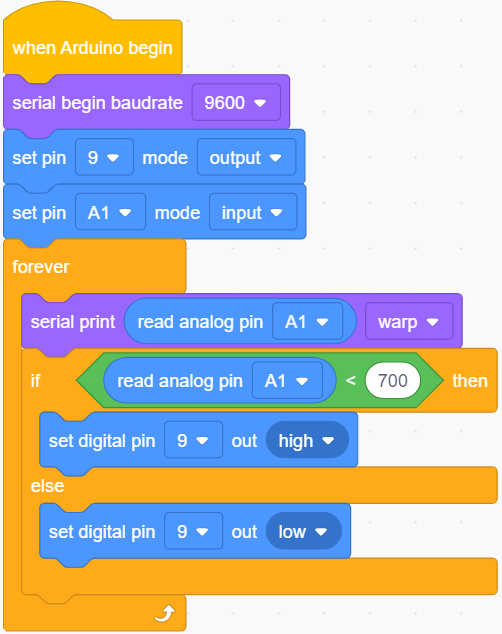
You can also drag blocks to edit your code, as shown below

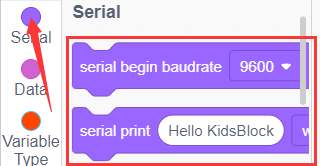
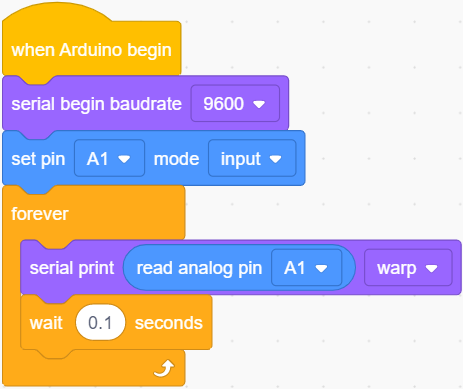
Complete Test Code
(Note: Do not connect the Bluetooth module before uploading the code, because uploading the code also uses serial communication, and there may be conflicts with the Bluetooth serial communication, which can cause the upload to fail.)
(5)Test Results:
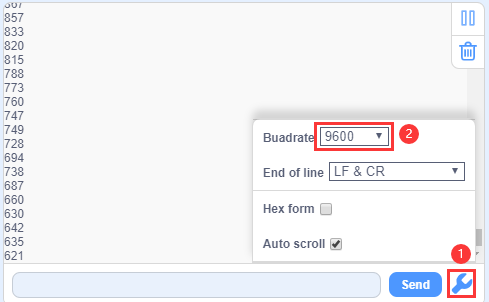
Wire up components, burn the code, open the serial monitor and set the baud rate to 9600.
You can view the simulation value of flame sensor.
The closer the flame, the smaller the simulation value.
Adjust the potentiometer on the module to maintain the LED at the critical point. When the sensor does not detect flame, the LED will be off, but if the sensor detects flame, the LED will be on.

(6)Extension Practice:
Note: 1)This experiment requires the use of a fire source. Please make it away from flammable items to prevent fire. Children should experiment under adult supervision. If you cannot confirm that you are safe, please abandon the experiment. 2)The flame sensoris not fireproof, please do not burn it directly with flame. We can control an external LED with the flame sensor. The LED still is connected to D9. When fire is connected, LED will be on.
You can drag blocs to edit your code, as shown below
Complete Test Code
(Note: Do not connect the Bluetooth module before uploading the code, because uploading the code also uses serial communication, and there may be conflicts with the Bluetooth serial communication, which can cause the upload to fail.)
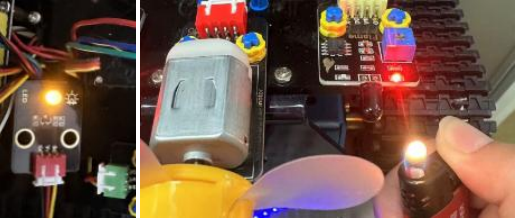
You can use the flame of a lighter near the left flame sensor. When the flame sensor detects a flame, the LED module will light up as an alarm.
Note: Please make it away from flammable items to prevent fire. Children should experiment under adult supervision. If you cannot confirm that you are safe, please abandon the experiment. The flame sensor is not fireproof, please do not burn it directly with flame.