1.Getting Started with Micro:bit
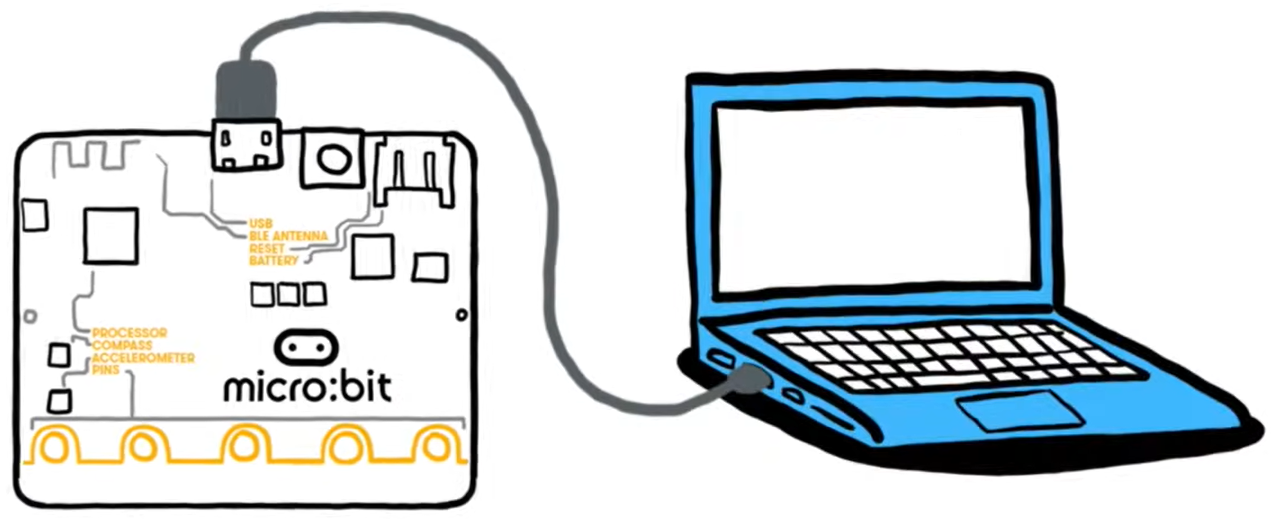
Step 1: connect the Micro: Bit main board V2 with your computer
Firstly, link the Micro: Bit main board V2 with your computer via the USB cable.
Step 2: if the red LED on the back of the board is on, that means the board is powered. Then Micro: Bit main board V2 will appear on your computer as a driver named ‘MICROBIT’. Please note that it is not an ordinary USB disk as shown below.

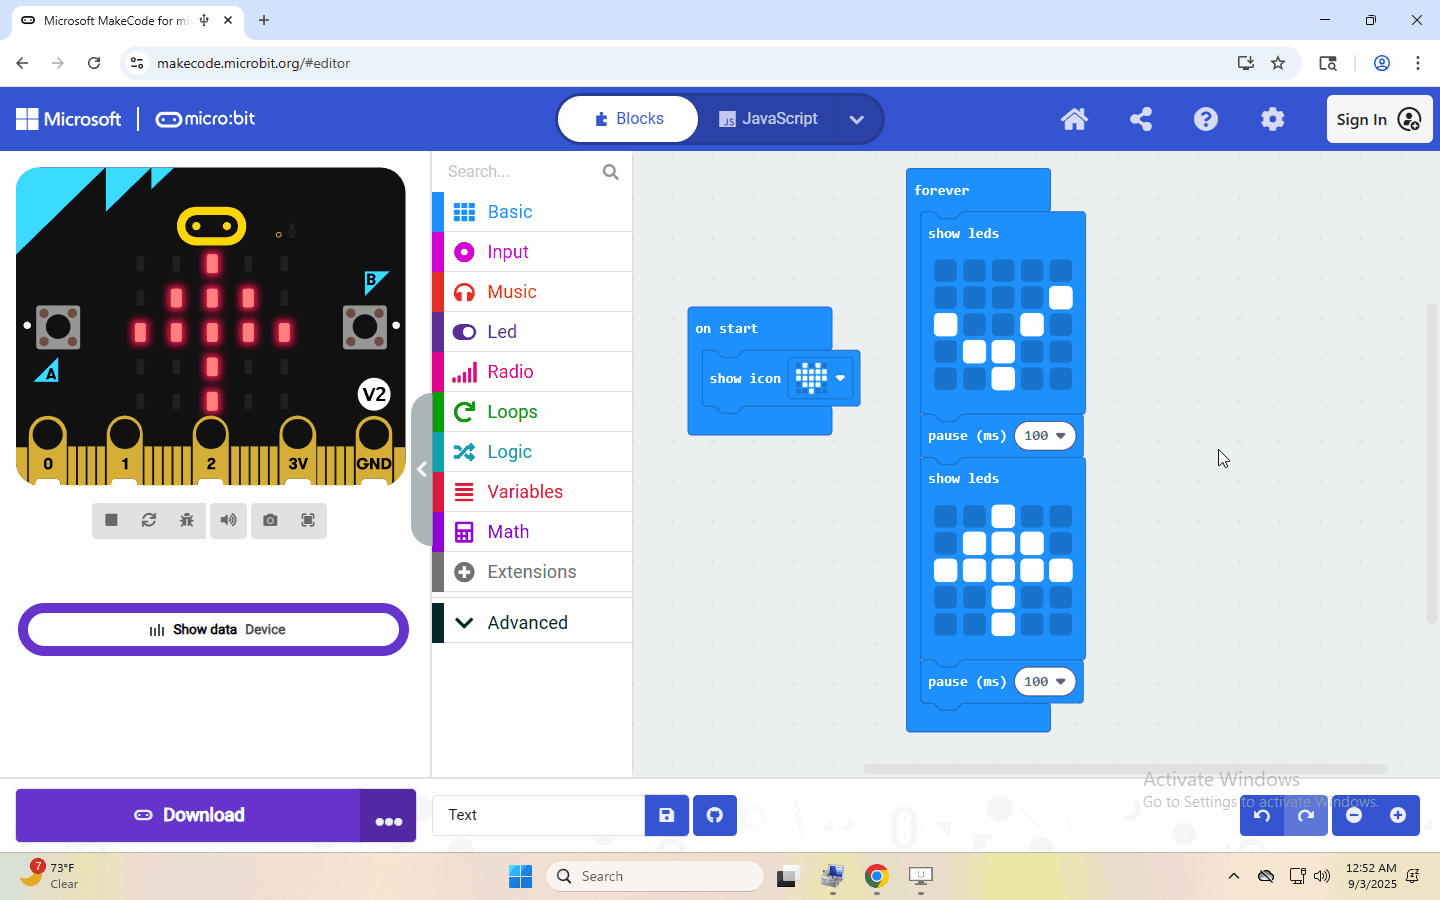
Step 3: write programs
https://makecode.microbit.org/
Congratulations on completing your first code! You should now see the 5x5 LED dot matrix displaying various patterns.
Next, I will demonstrate downloading the written code to the computer and uploading it using a different method.