Project 13 I receive a signal
1.Introduction
IR is widely used in remote control. In this lesson, we will use a IR receiver module as a decoder of command from any IR remote controller. Thus, you know how IR can realize control of a robot or how IR is applied in interactive works.
2.Hardware required
EASY plug controller Board x1
USB cable x1
EASY plug cable x2
EASY plug IR Receiver Module x1
EASY plug 1602 I2C Module x1
Mini IR remote controller x1 (not included)
Below is a brief introduction of IR Receiver Module so you can gain a better idea of how IR remote control works.
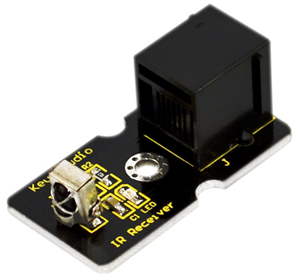
Infrared receiver is a component with functions of reception, amplification, and demodulation. Its internal IC has already completed demodulation so it directly outputs digital signal. This module is usually used together with IR transmitter module. Below are its specifications:
Power Supply: 5V
Interface:Digital
Modulate Frequency: 38Khz
Module interface socket:JST PH2.0
Size: 38*20mm
Weight: 4g
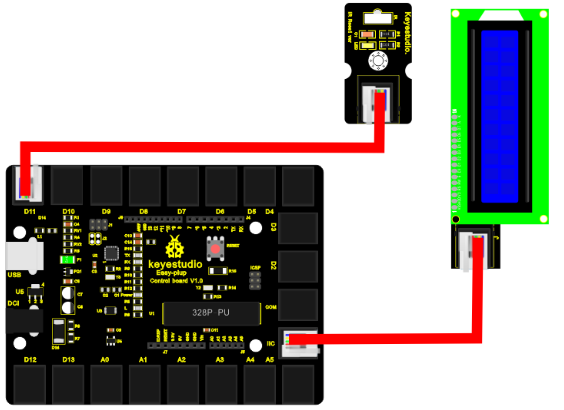
3.Connection Diagram
Now, connect the IR Receiver Module to the D11 port of the controller board, and LCD module to IIC port using the EASY plug cables.
4.Sample Code
Connect the board to your PC using the USB cable; copy below code into Arduino IDE, and click upload to upload it to your board.
#include <IRremote.h>    // place file “IRremote.h” under the directory “libraries” of Arduino
#include <Wire.h>    // place file “Wire.h” under the directory “libraries” of Arduino
#include <LiquidCrystal_I2C.h>   // place file “LiquidCrystal_I2C.h” under the directory “libraries” of Arduino
int RECV_PIN = 11; //define input pin on Arduino
IRrecv irrecv(RECV_PIN);
decode_results results;
LiquidCrystal_I2C lcd(0x27,16,2);  // set the LCD address to 0x27 for a 16 chars and 2 line display

void setup()
{
  lcd.init();                      // initialize the lcd
  lcd.init();
  // Print a message to the LCD.
  lcd.backlight();
  lcd.setCursor(0,0);
  lcd.print("remote control:");
  irrecv.enableIRIn(); // Start the receiver
}

void loop()
{
  if (irrecv.decode(&results))
  {
    lcd.setCursor(3,1);
    lcd.print(results.value, HEX);
    delay(500);
    irrecv.resume(); // Receive the next value
  }
  else
  {
    lcd.setCursor(3,1);
    lcd.print("          ");
  }
}
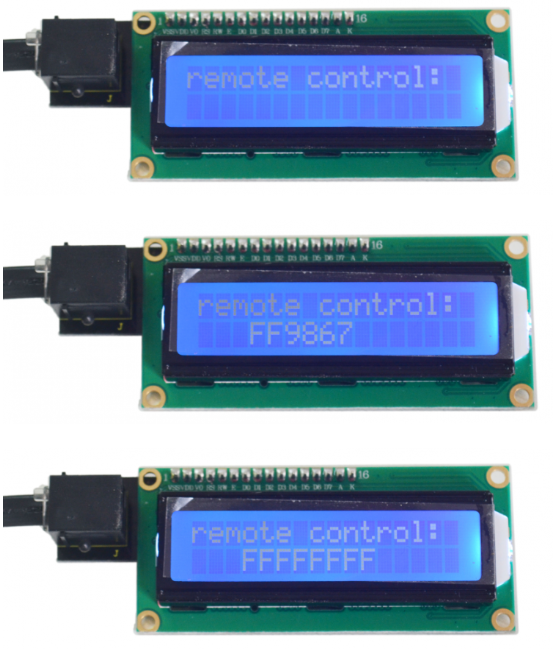
5.Result
After the above are done, you can see the first line of LCD displays “remote control:”; after you press buttons on the remote controller, in the second line of LCD, you can see it displays a hexadecimal number for 0.5S corresponding to each button; if you hold a button in pressed state, you can see the second line displays “FFFFFFFF”.