Project 3 My LCD display
1.Introduction
LCDs are very common and useful in our life. It’s widely applied on phone screens and TV screens. In this lesson, we will introduce you a 1602 LCD module to help you understand how it works.
2.Hardware required
EASY plug controller Board x1
USB cable x1
EASY plug cable x1
EASY plug 1602 I2C Module x1
First, let’s take a look at this 1602 I2C Module.
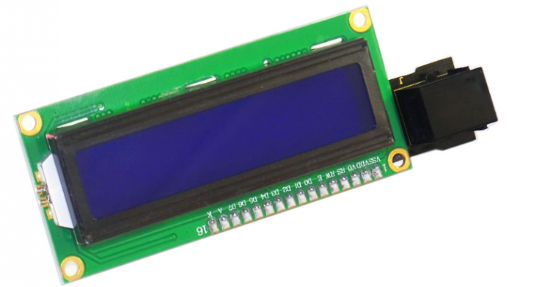
EASY plug 1602 I2C module is a 16 character by 2 line LCD display with blue background and white backlight. This LCD is ready-to-use because it is compatible with the Arduino Liquid Crystal Library. The original 1602 LCD needs 7 IO ports to be up and running, this easy plug design makes the wire connection easier than ever. Below are its specifications:
I2C Address: 0x27
Back lit (Blue with white char color)
Supply voltage: 5V
Adjustable contrast
Size: 98*36mm
Weight: 4g
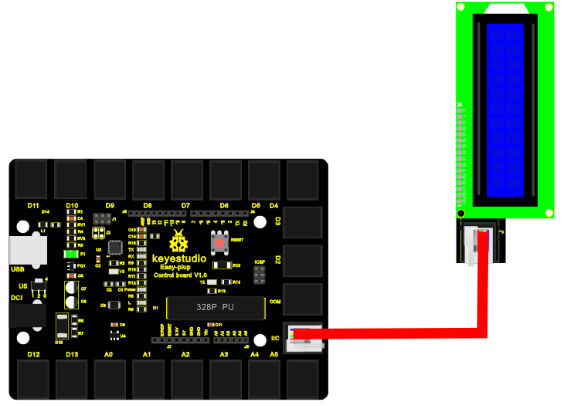
3.Connection Diagram
Now, connect the LCD module to the IIC port of the controller board using the EASY plug cable.
4.Sample Code
Connect the board to your PC using the USB cable; copy below code into Arduino IDE, and click upload to upload it to your board.
//YWROBOT
//Compatible with the Arduino IDE 1.0
//Library version:1.1
#include <Wire.h>    // Place file “Wire.h” under the directory “library” of Arduino
#include <LiquidCrystal_I2C.h>  // Place file “LiquidCrystal_I2C.h” under the directory “library” of Arduino
LiquidCrystal_I2C lcd(0x27,16,2);  // set the LCD address to 0x27 for a 16 chars and 2 line display

void setup()
{
  lcd.init();                      // initialize the lcd
  lcd.init();
  // Print a message to the LCD.
  lcd.backlight();
  lcd.setCursor(2,0);
  lcd.print("Hello, world!");
  lcd.setCursor(2,1);
  lcd.print("Hello, keyes!");
}

void loop()
{
}
5.Result
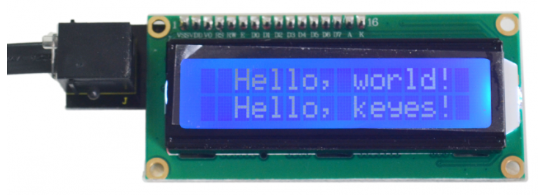
After power is on, the first line of LCD will display “Hello, world!”, and the second line will display “Hello, keyes!”.