Project 10: Touch-sensitive Logo
1.Project Description
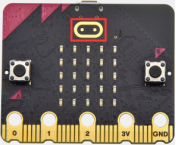
The Micro: Bit main board V2 is equipped with a golden touch-sensitive logo, which can act as an input component and function like an extra button.
It contains a capacitive touch sensor that senses small changes in the electric field when pressed (or touched), just like your phone or tablet screen do.When you press it , you can activate the program.
2.Components Needed
Micro:bit main board V2 *1
Micro USB cable*1
3.Test Code
Link computer with micro:bit board by micro USB cable, and program in MakeCode editor.
( 1 ) Delete block“on start”and“forever”;
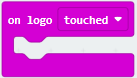
( 2 )Enter“Input”module to find and drag“on logo pressed” ;
Click the little triangle to find “touched”’;
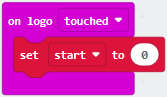
( 3 ) Enter module “Variables”→choose“Make a Variable”→input “start”→click “OK”.
The variable“start”is established;
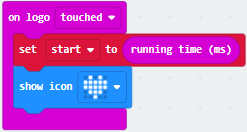
Enter“Variables”module to find and drag “set start to 0” into “on logo touched”block;
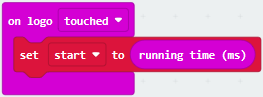
( 4 )Enter“Input”module →click “more”→ find and drag“running time(ms)” into the “0” of “set start to 0” block;
( 5 )Enter“Basic”module to find and drag“show icon ” into “on logo touched”block;
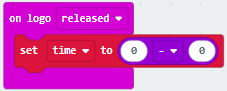
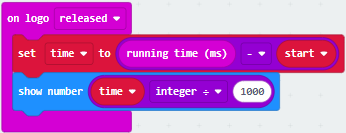
( 6 )Enter“Input”module to find and drag“on logo pressed”→choose “released”→ establish variable “time”;
Enter“Variables”module to find and drag “set time to 0”into “on logo pressed”block;
Enter“Math”module to find and drag “0-0”into the “0”of“set start to 0”block;
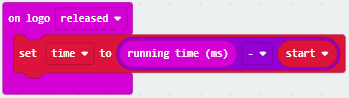
( 7 )Enter“Input”module→ “more” → find and drag “running time(ms)” into “0”on the left side of “0-0”;
Enter“Variables”module to find and drag“start” into “0”on the right side of “0-0”;
( 8 )Enter“Basic”module to find and drag“show number” into “on logo released”block;
Enter“Math”module to find and drag“square root 0” into “0”; Click the little triangle to find”integer÷”;
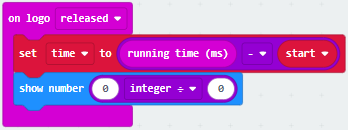
( 9 ) Enter“Variables”module to find and drag“time” into “0”on the left side of “0-0”and change the “0”on the right side to”1000”;
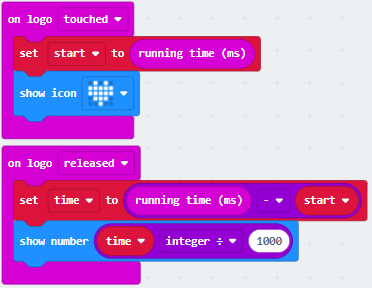
Complete Program:
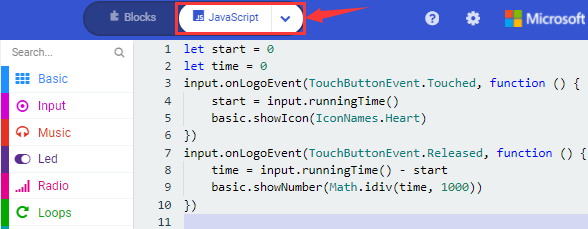
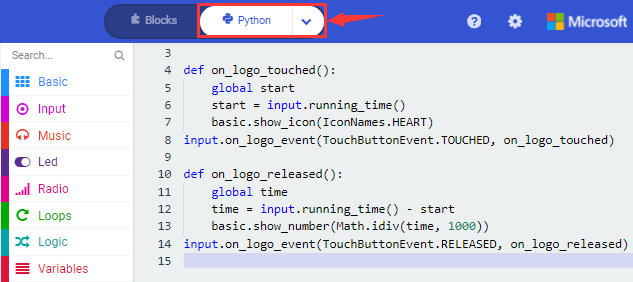
Select “JavaScript” and “Python” to switch into JavaScript and Python language code:
4.Test Results
After uploading the test code to micro:bit main board V2 and powering the board via the USB cable, the LED dot matrix exhibits the heart pattern when the touch-sensitive logo is pressed or touched while displays digit when the logo is released.